

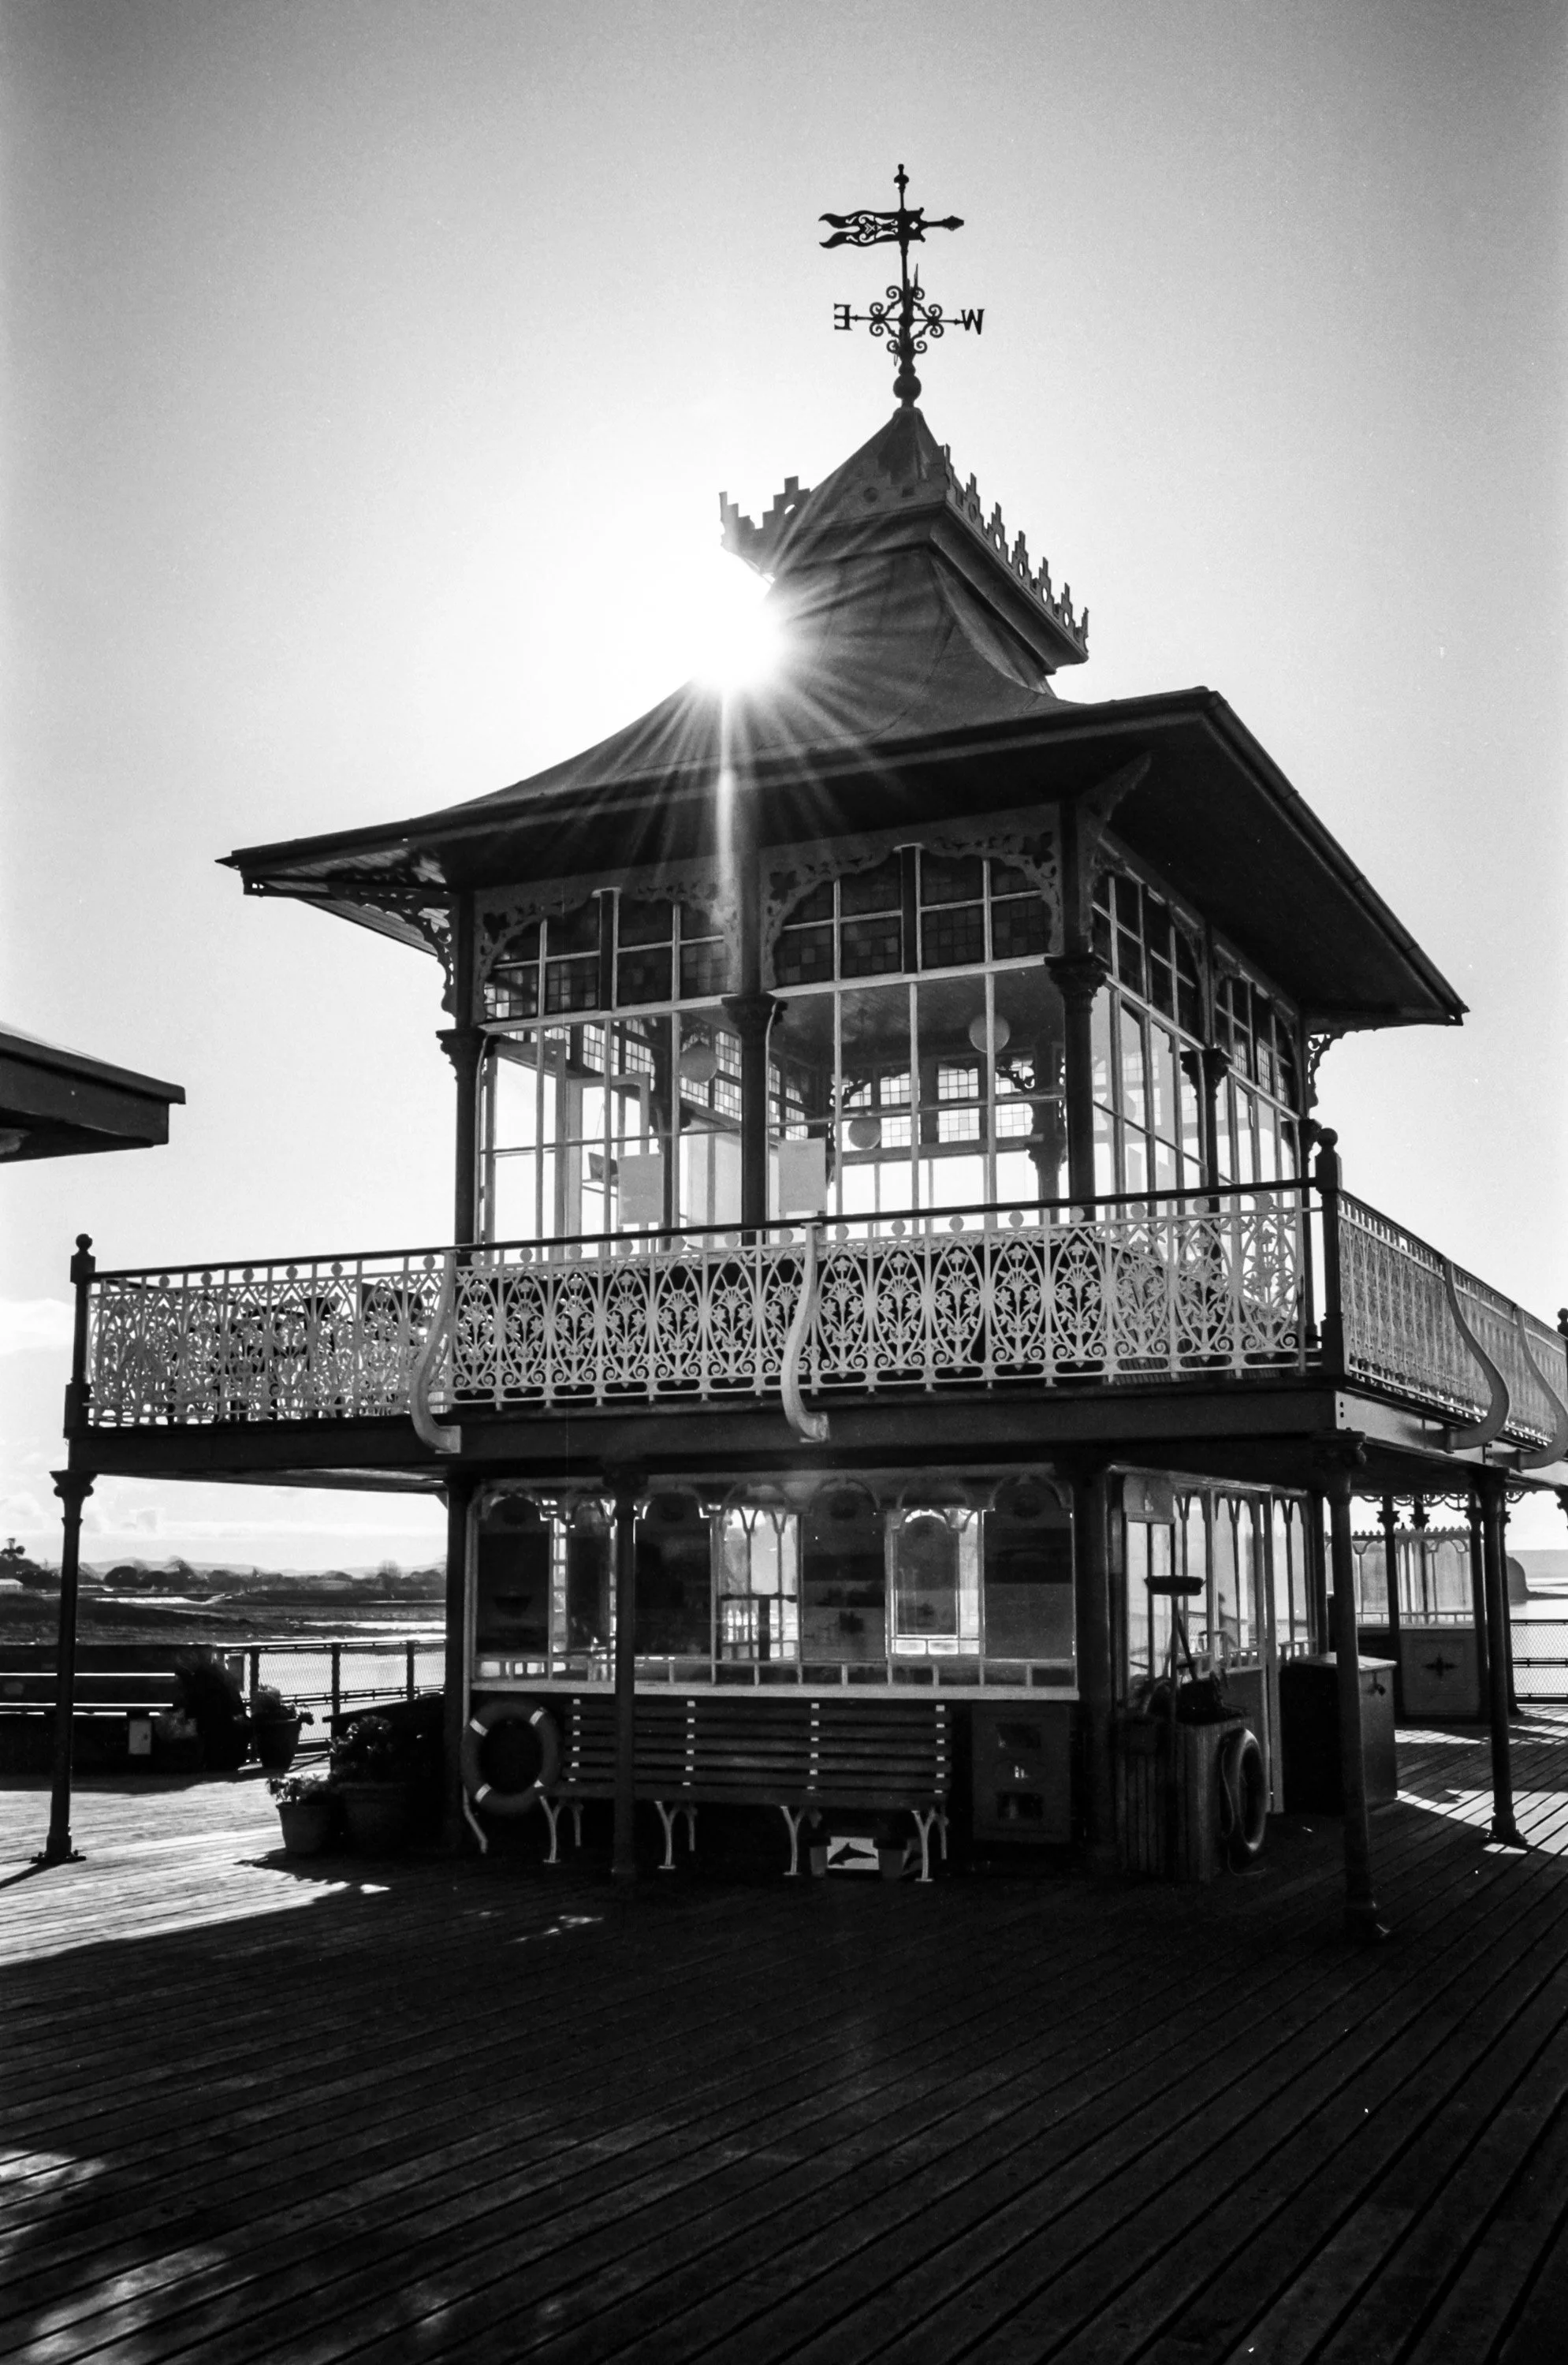
A year shooting film.
Jan-Dec 2023
Overview
In October 2022 I embarked on a small project, shooting film for a long weekend. Up to this point, I only made the occasional outing with my 1967 Leica M4 or even older 1946 model iiic and never usually managed to finish a whole roll of film in one sitting. The general plan was to shoot two or three rolls over the course of a long weekend. For the project, I purchased some new colour film stock to try out.
My digital processing often involves creating my own ‘filmic’ or ‘vintage’ look. With a vague plan to understand a little more about how different films look, I thought it would be great place get some inspiration. You can read all about this original project in my blog section here.
Hooked
I enjoyed the project more than I was expecting and came away planning to shoot more film. I anticipated a roll or so each month, alongside my usual digital work and promised myself to try to finish the film on the same day and get it processed without delay.
I stocked up on film but quickly found myself shooting a lot more than I expected so I had to buy more. Having done the rounds with a number of colour films, I started to explore black and white as well.
In November and December 2022, I shot around 20 rolls and about 12 different types of film stock. Clearly enjoying it more than I thought I would.
I started to understand the nuances between the different films and found a few favourites that I thought would be a good fit with my street photography.
New Inspiration
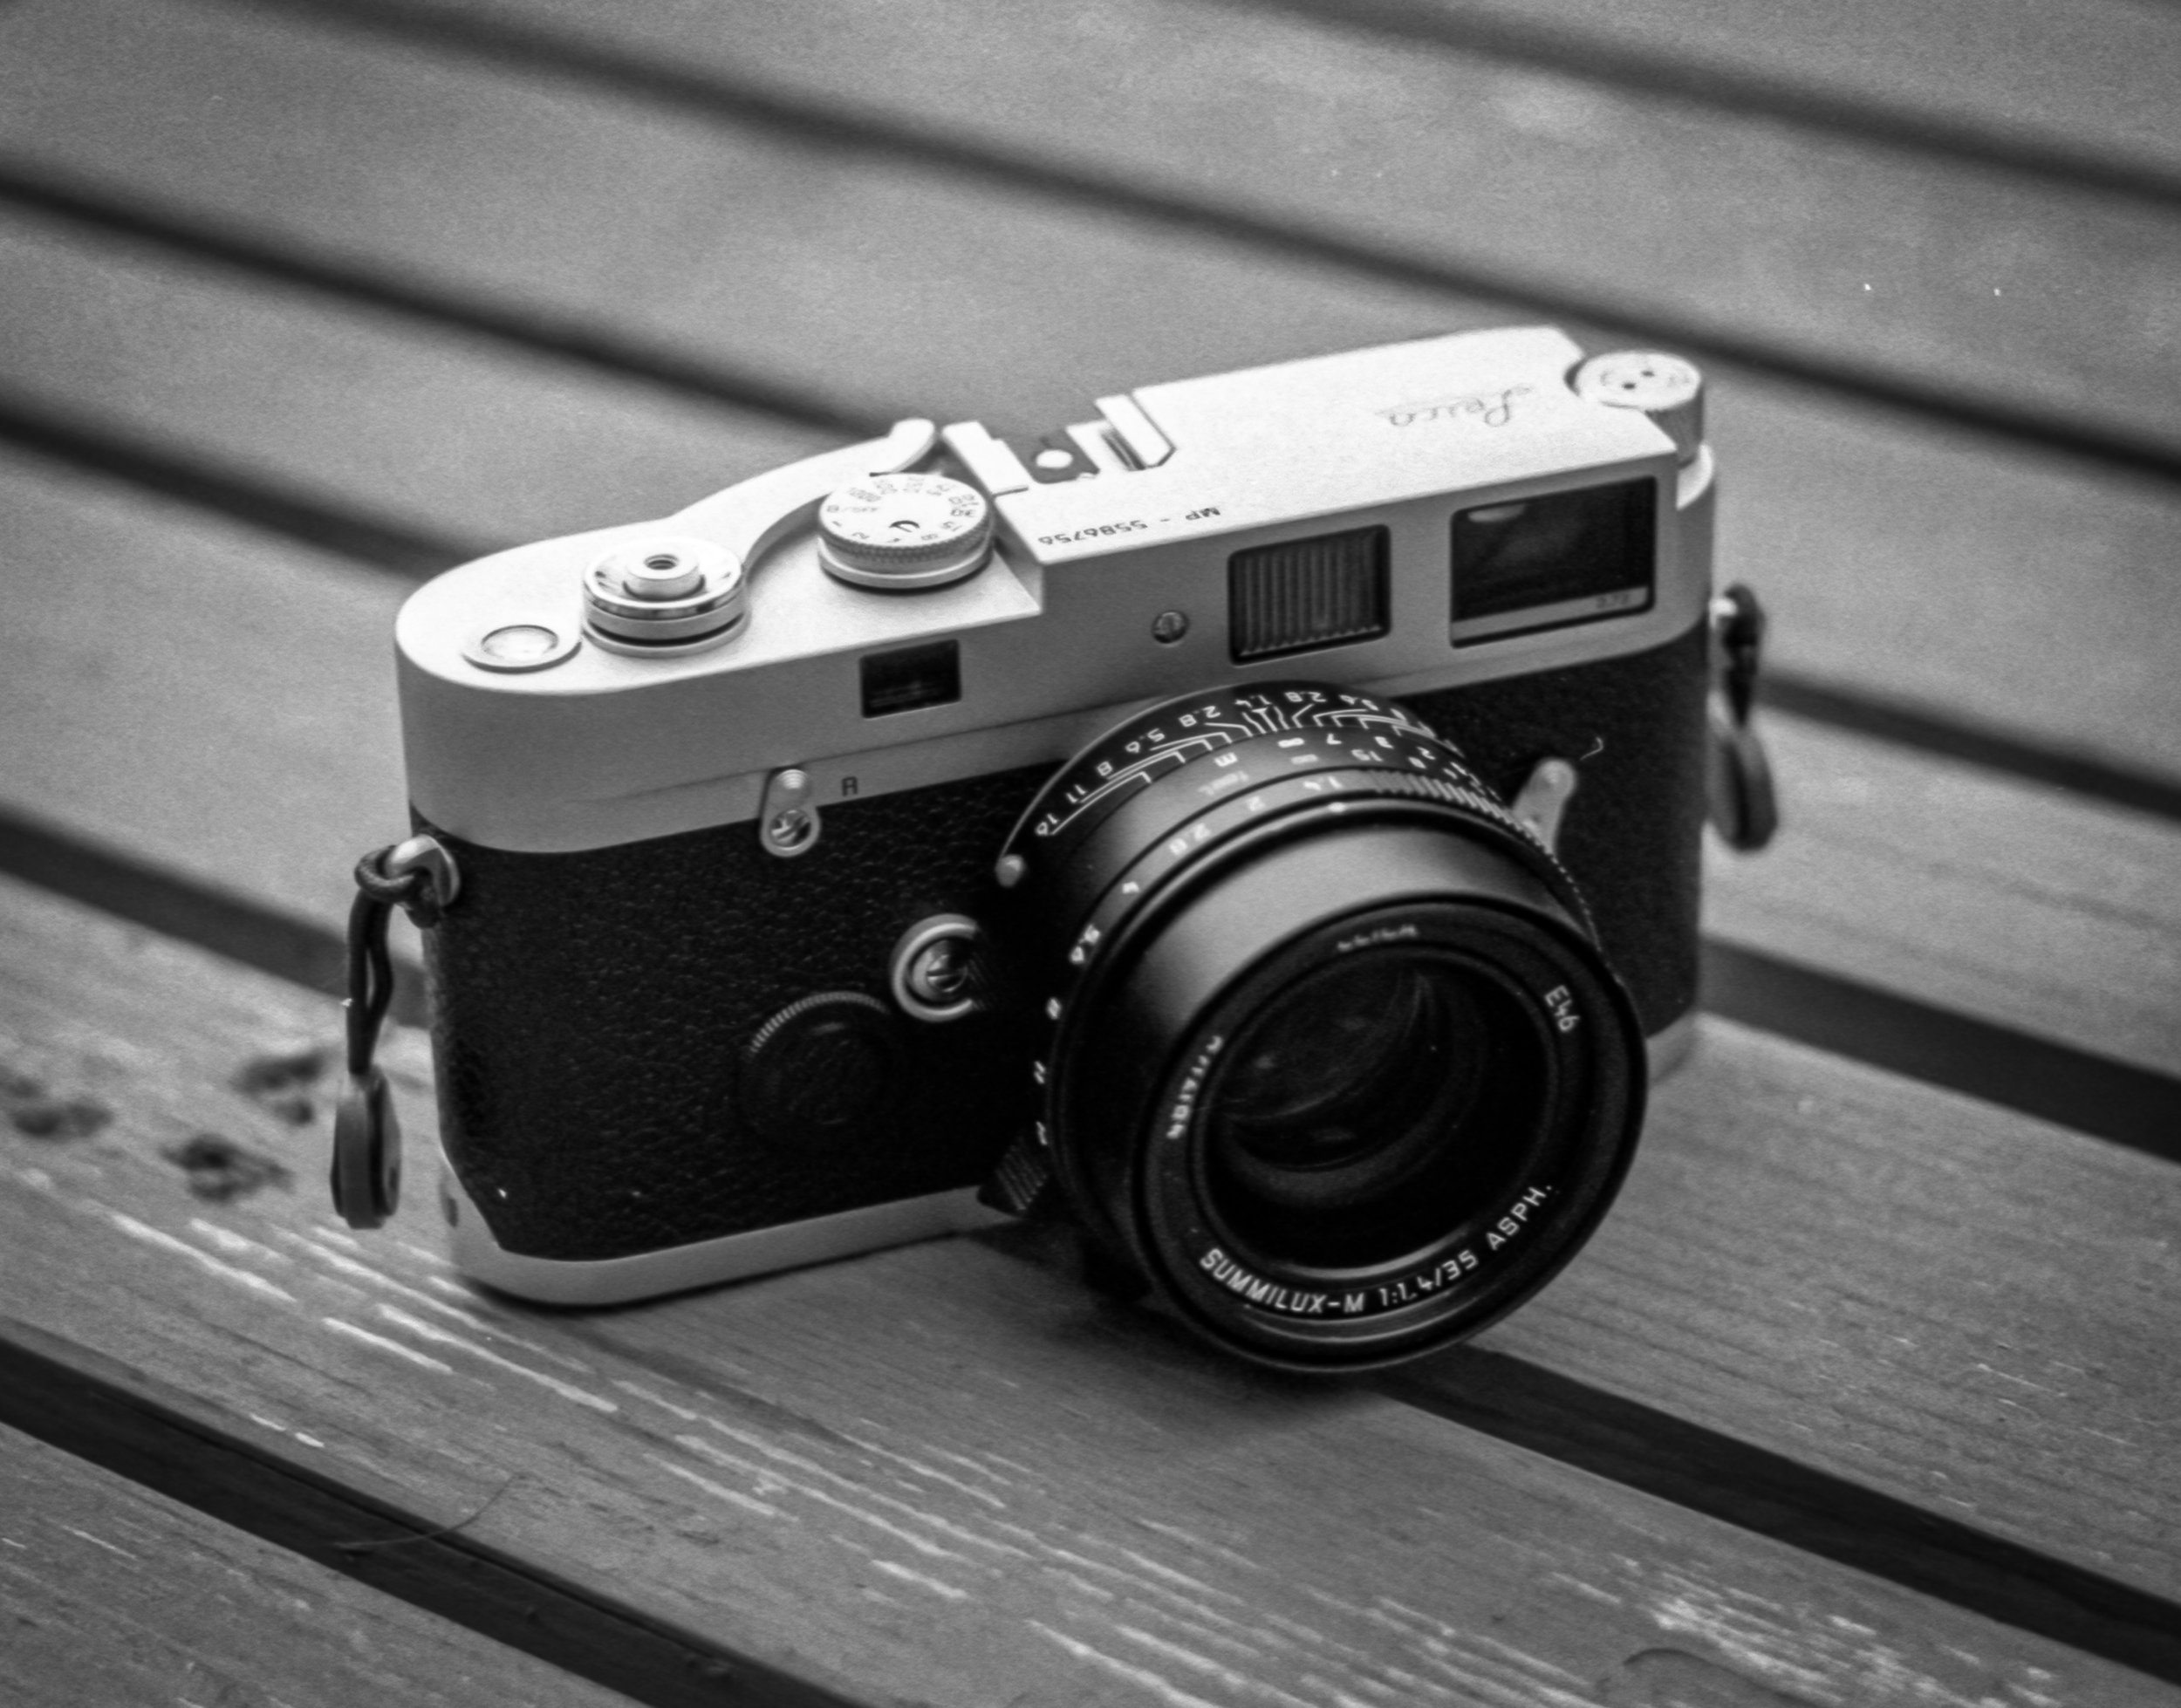
On the strength of this new found interest in film, I decided shoot film for a whole year and make it my primary medium for street photography. Concerned about putting this much work through a 57 year old camera and worried that a service at Leica may take around 4 months and wreck the project, I decided to trade it in and treat myself to a brand new film camera for 2023.
I went for the absolutely no-frills, Leica M-A. It’s the least expensive new film camera of three models on offer. It has no electronics, no light meter and just like my M4 is 100% mechanical. It’ll never freeze up, never run out of power and never need a firmware update. Unlike my digital cameras, there is no digital lag or warm-up time needed. It’s ready when I am, provided of course I’ve remembered to cock the shutter :-)
Now I have even more impetus to see the project through to completion. At the end of the project I can sell the M-A and get most of my money back. Maybe I’ll decide to keep it and continue to shoot film but it will always be alongside digital photography which can’t really be ignored.
Let’s kick off the project with January: Early photos were all done on the M4, latterly I switched over to the new M-A.

January 2023
I shot a number of films in January, still exploring which ones I liked the most and at this point, still paying to get the film developed and scanned. I do already own a scanner, but it’s so much more convenient to get someone else to do it… or is it? Hold that thought?
New Years Day Wild Swimmers - Kodak Porta 400
That’s dedication for you. I’m not referring to me and the fact that I’m out shooting on the 1st day of the year, but the ‘Wild Swimmers’ of course. A famous tradition a my local beach where people of all ages go skinny dipping on new years day. It’s said to have great health benefits and be highly invigorating. Maybe one day I’ll give it a go, but not today. Kodak Portra is famous for its muted colours and is nice for portraits, especially when over exposed.
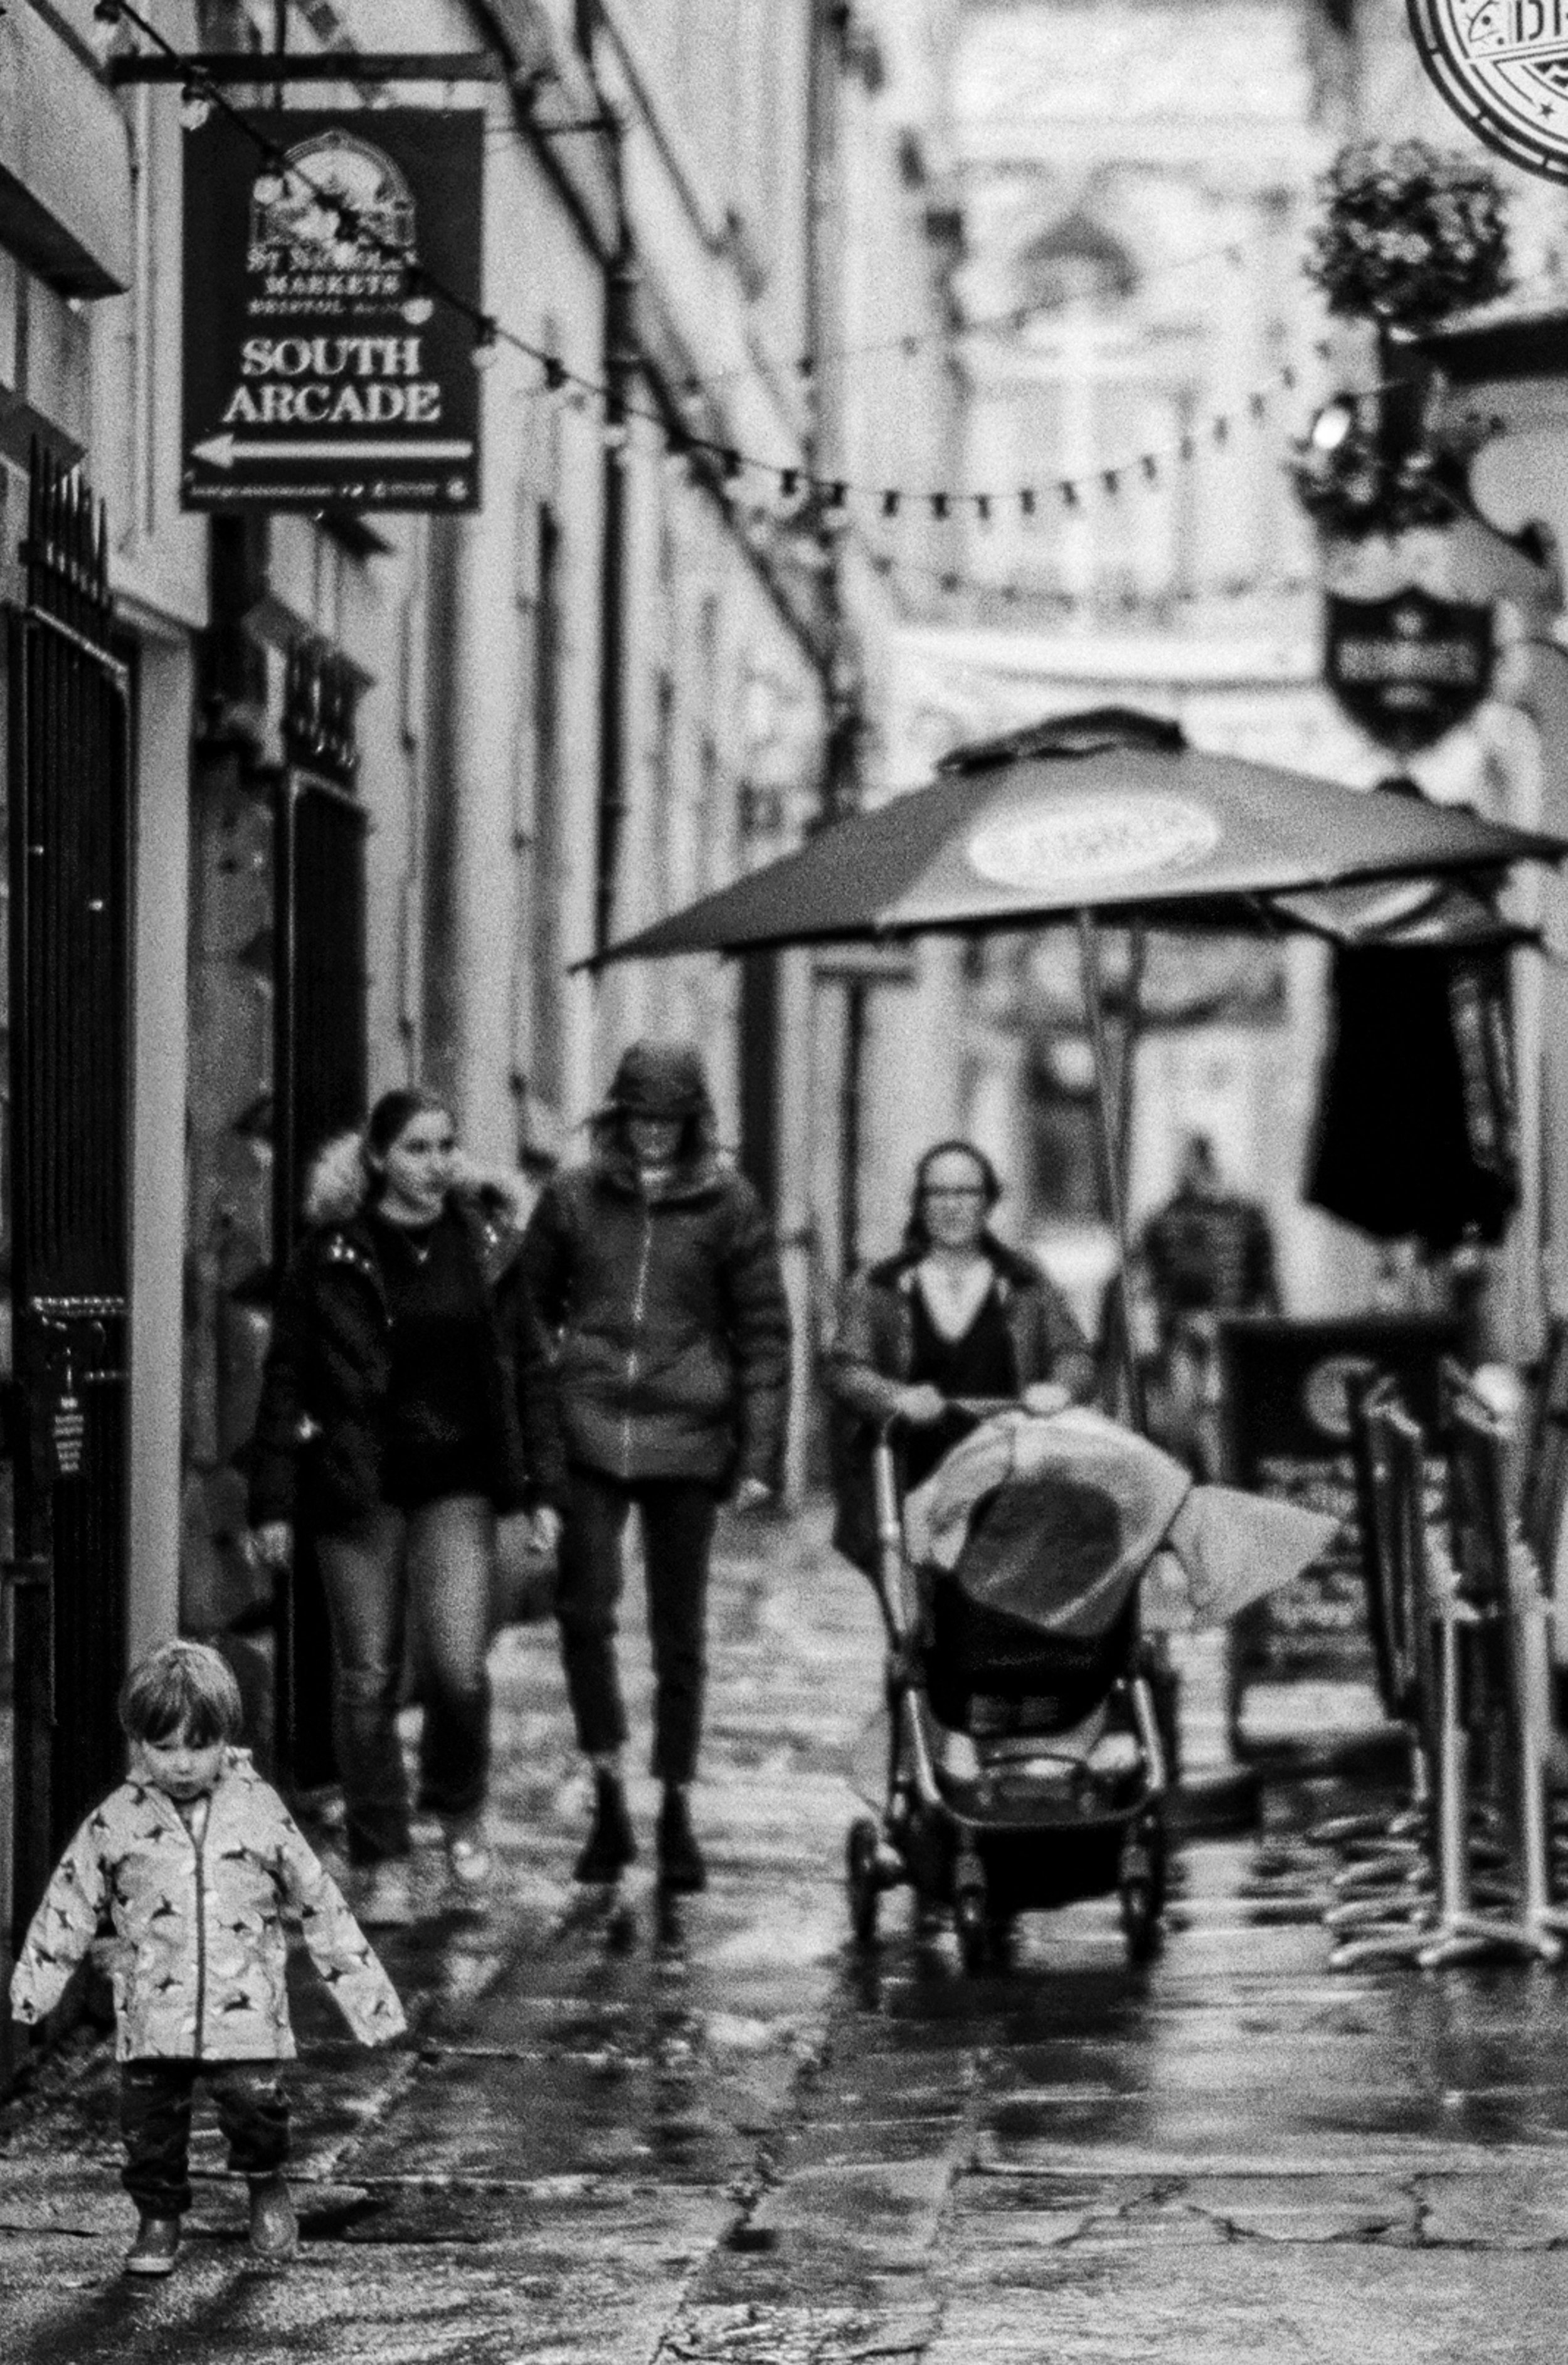
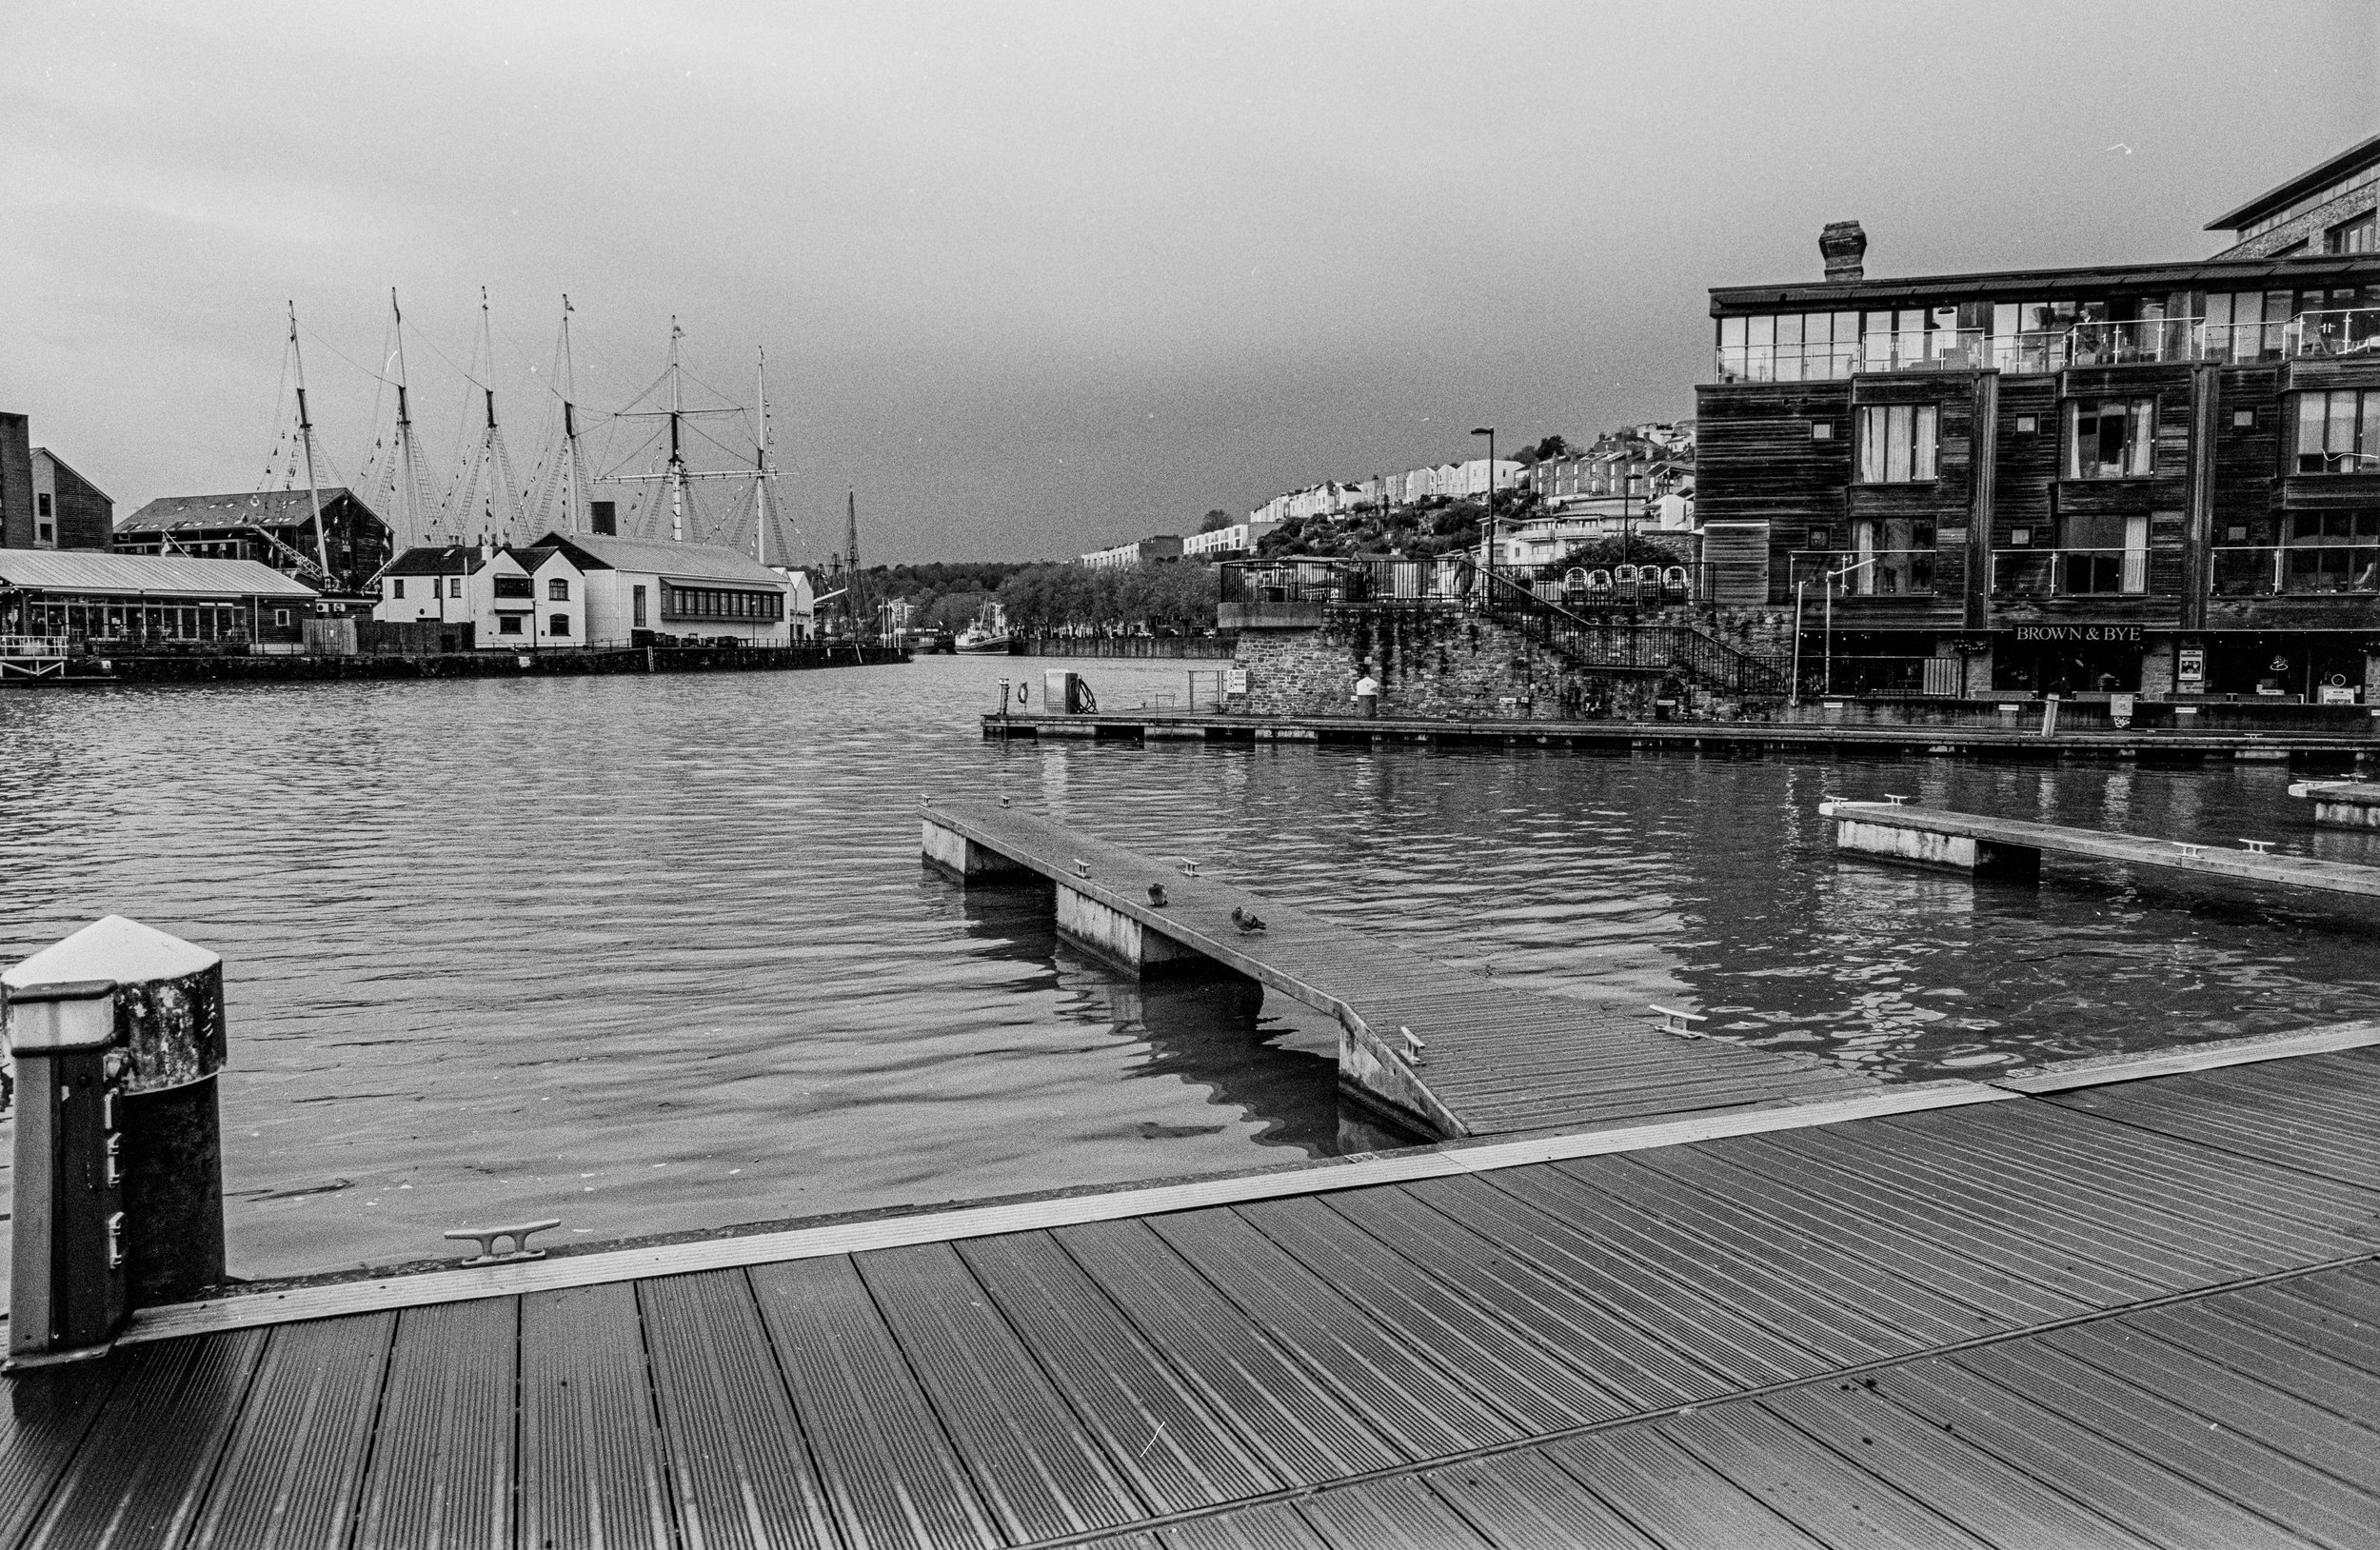
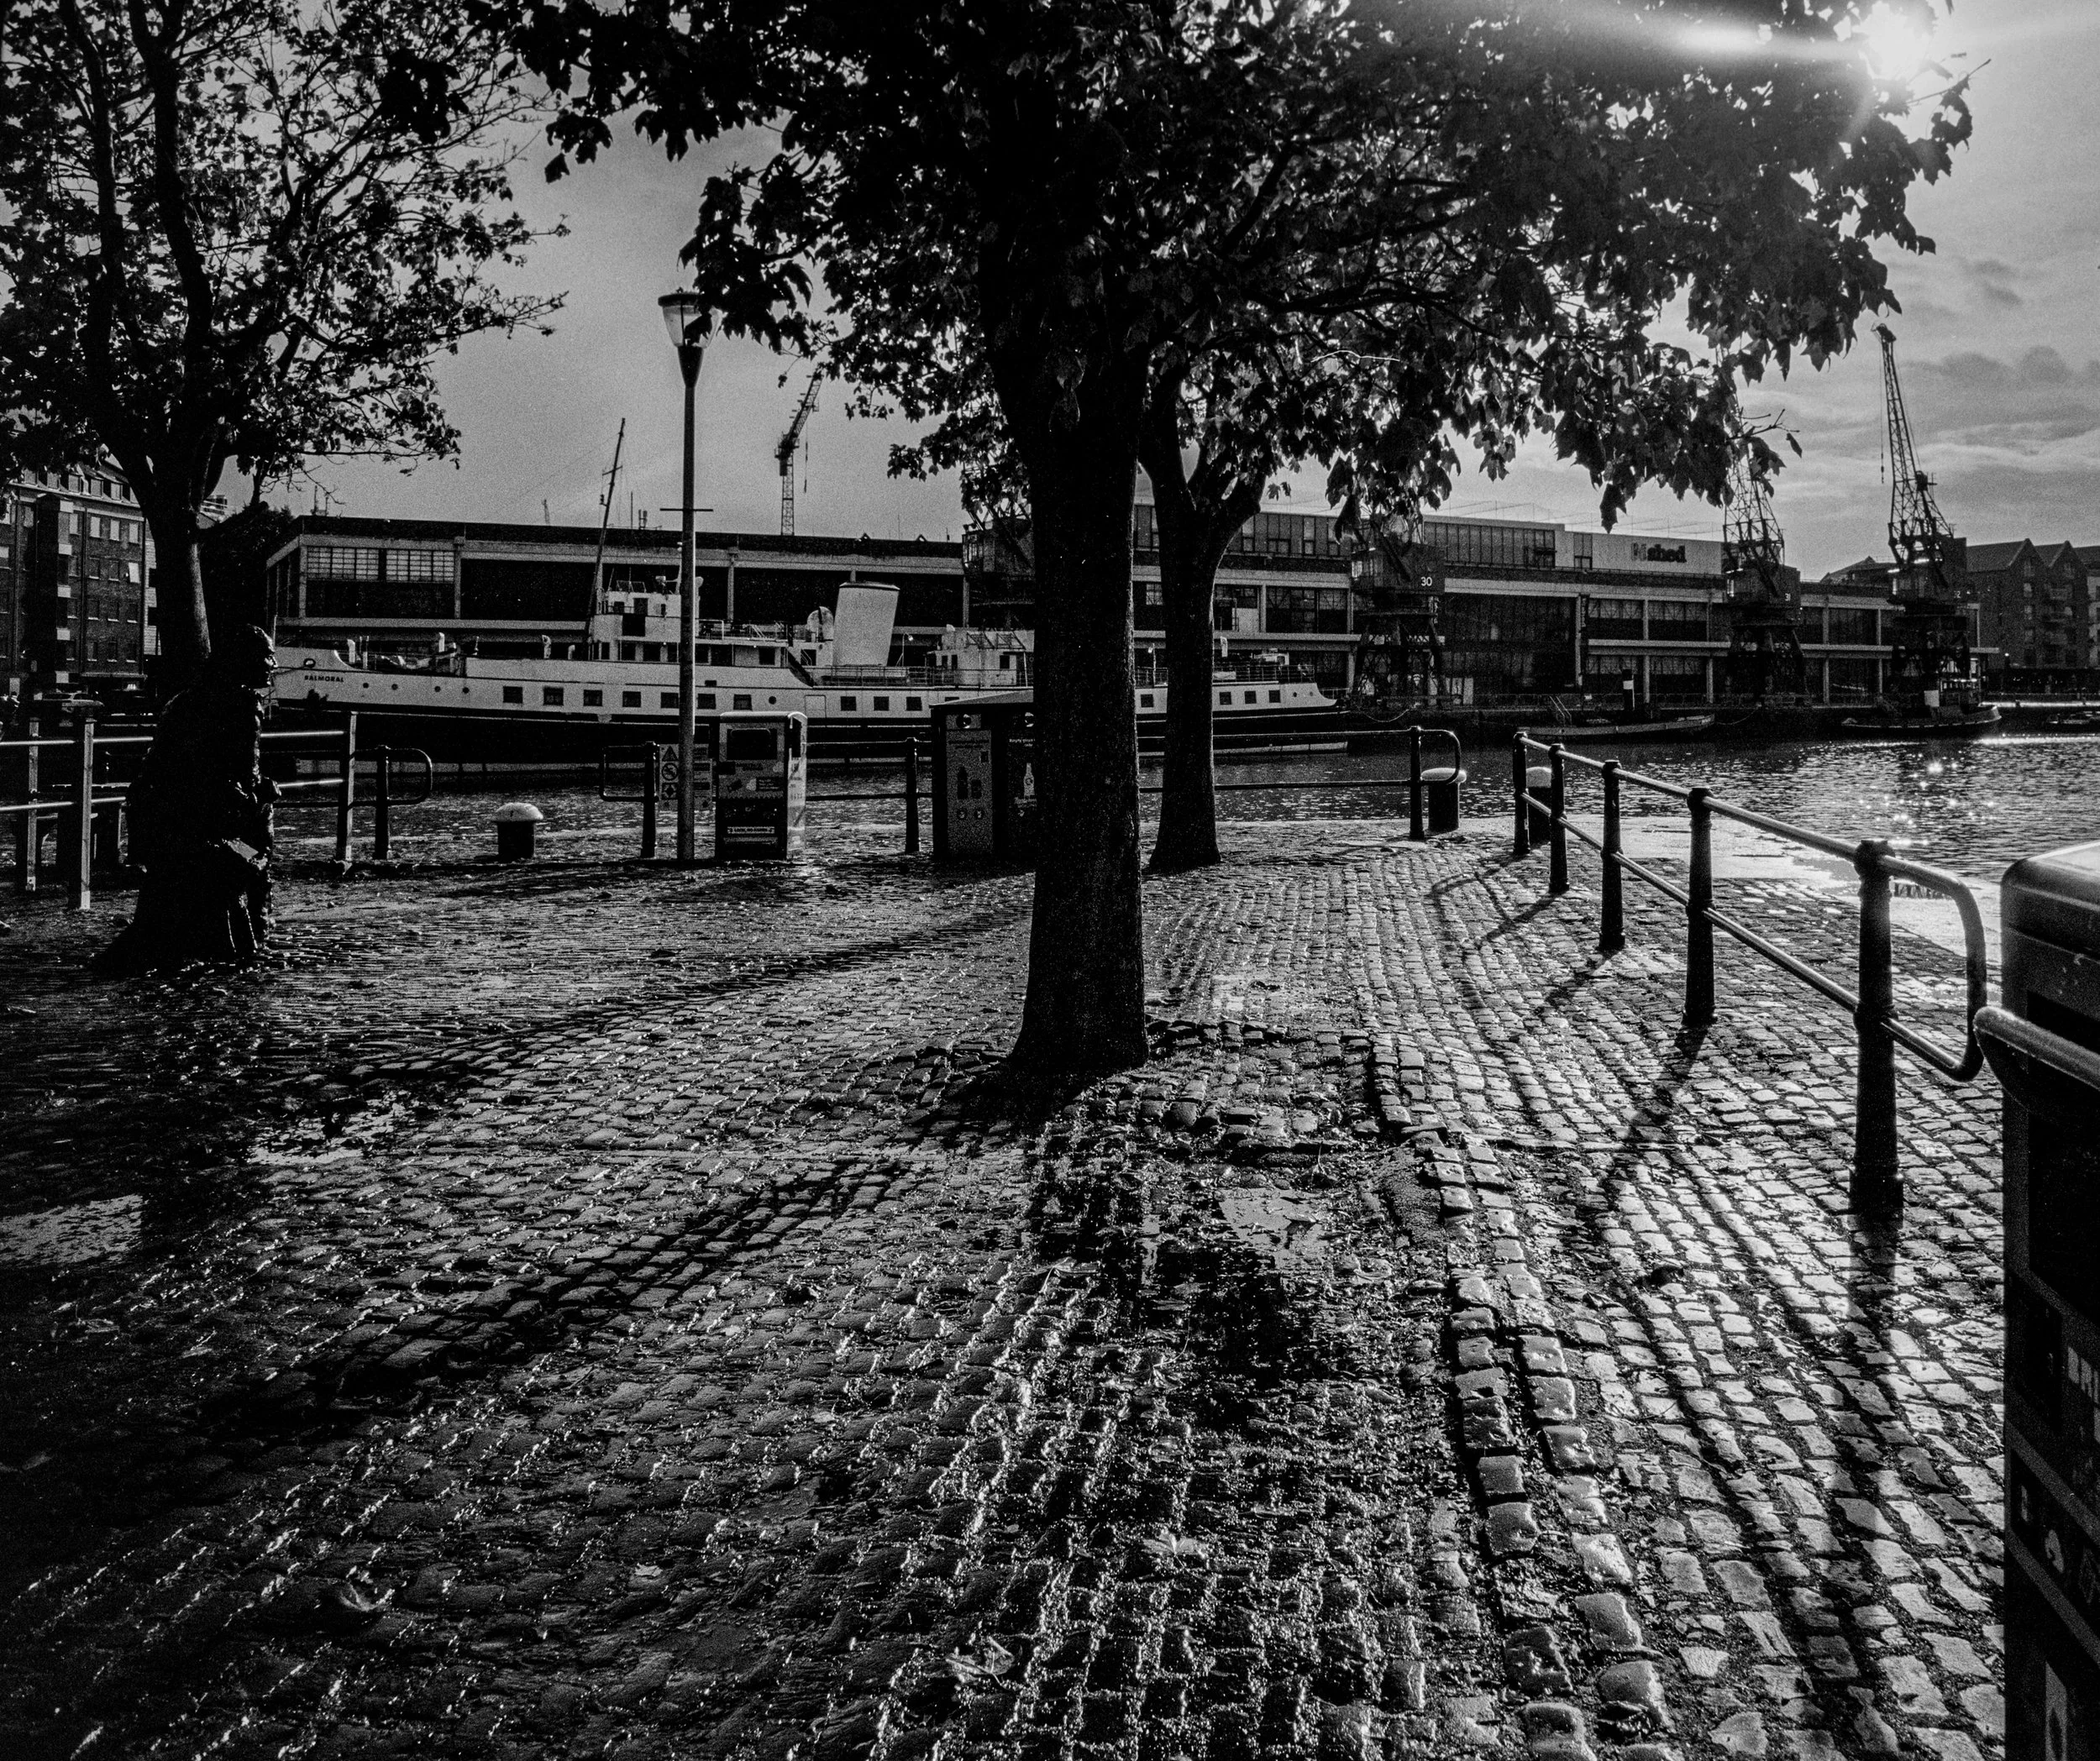
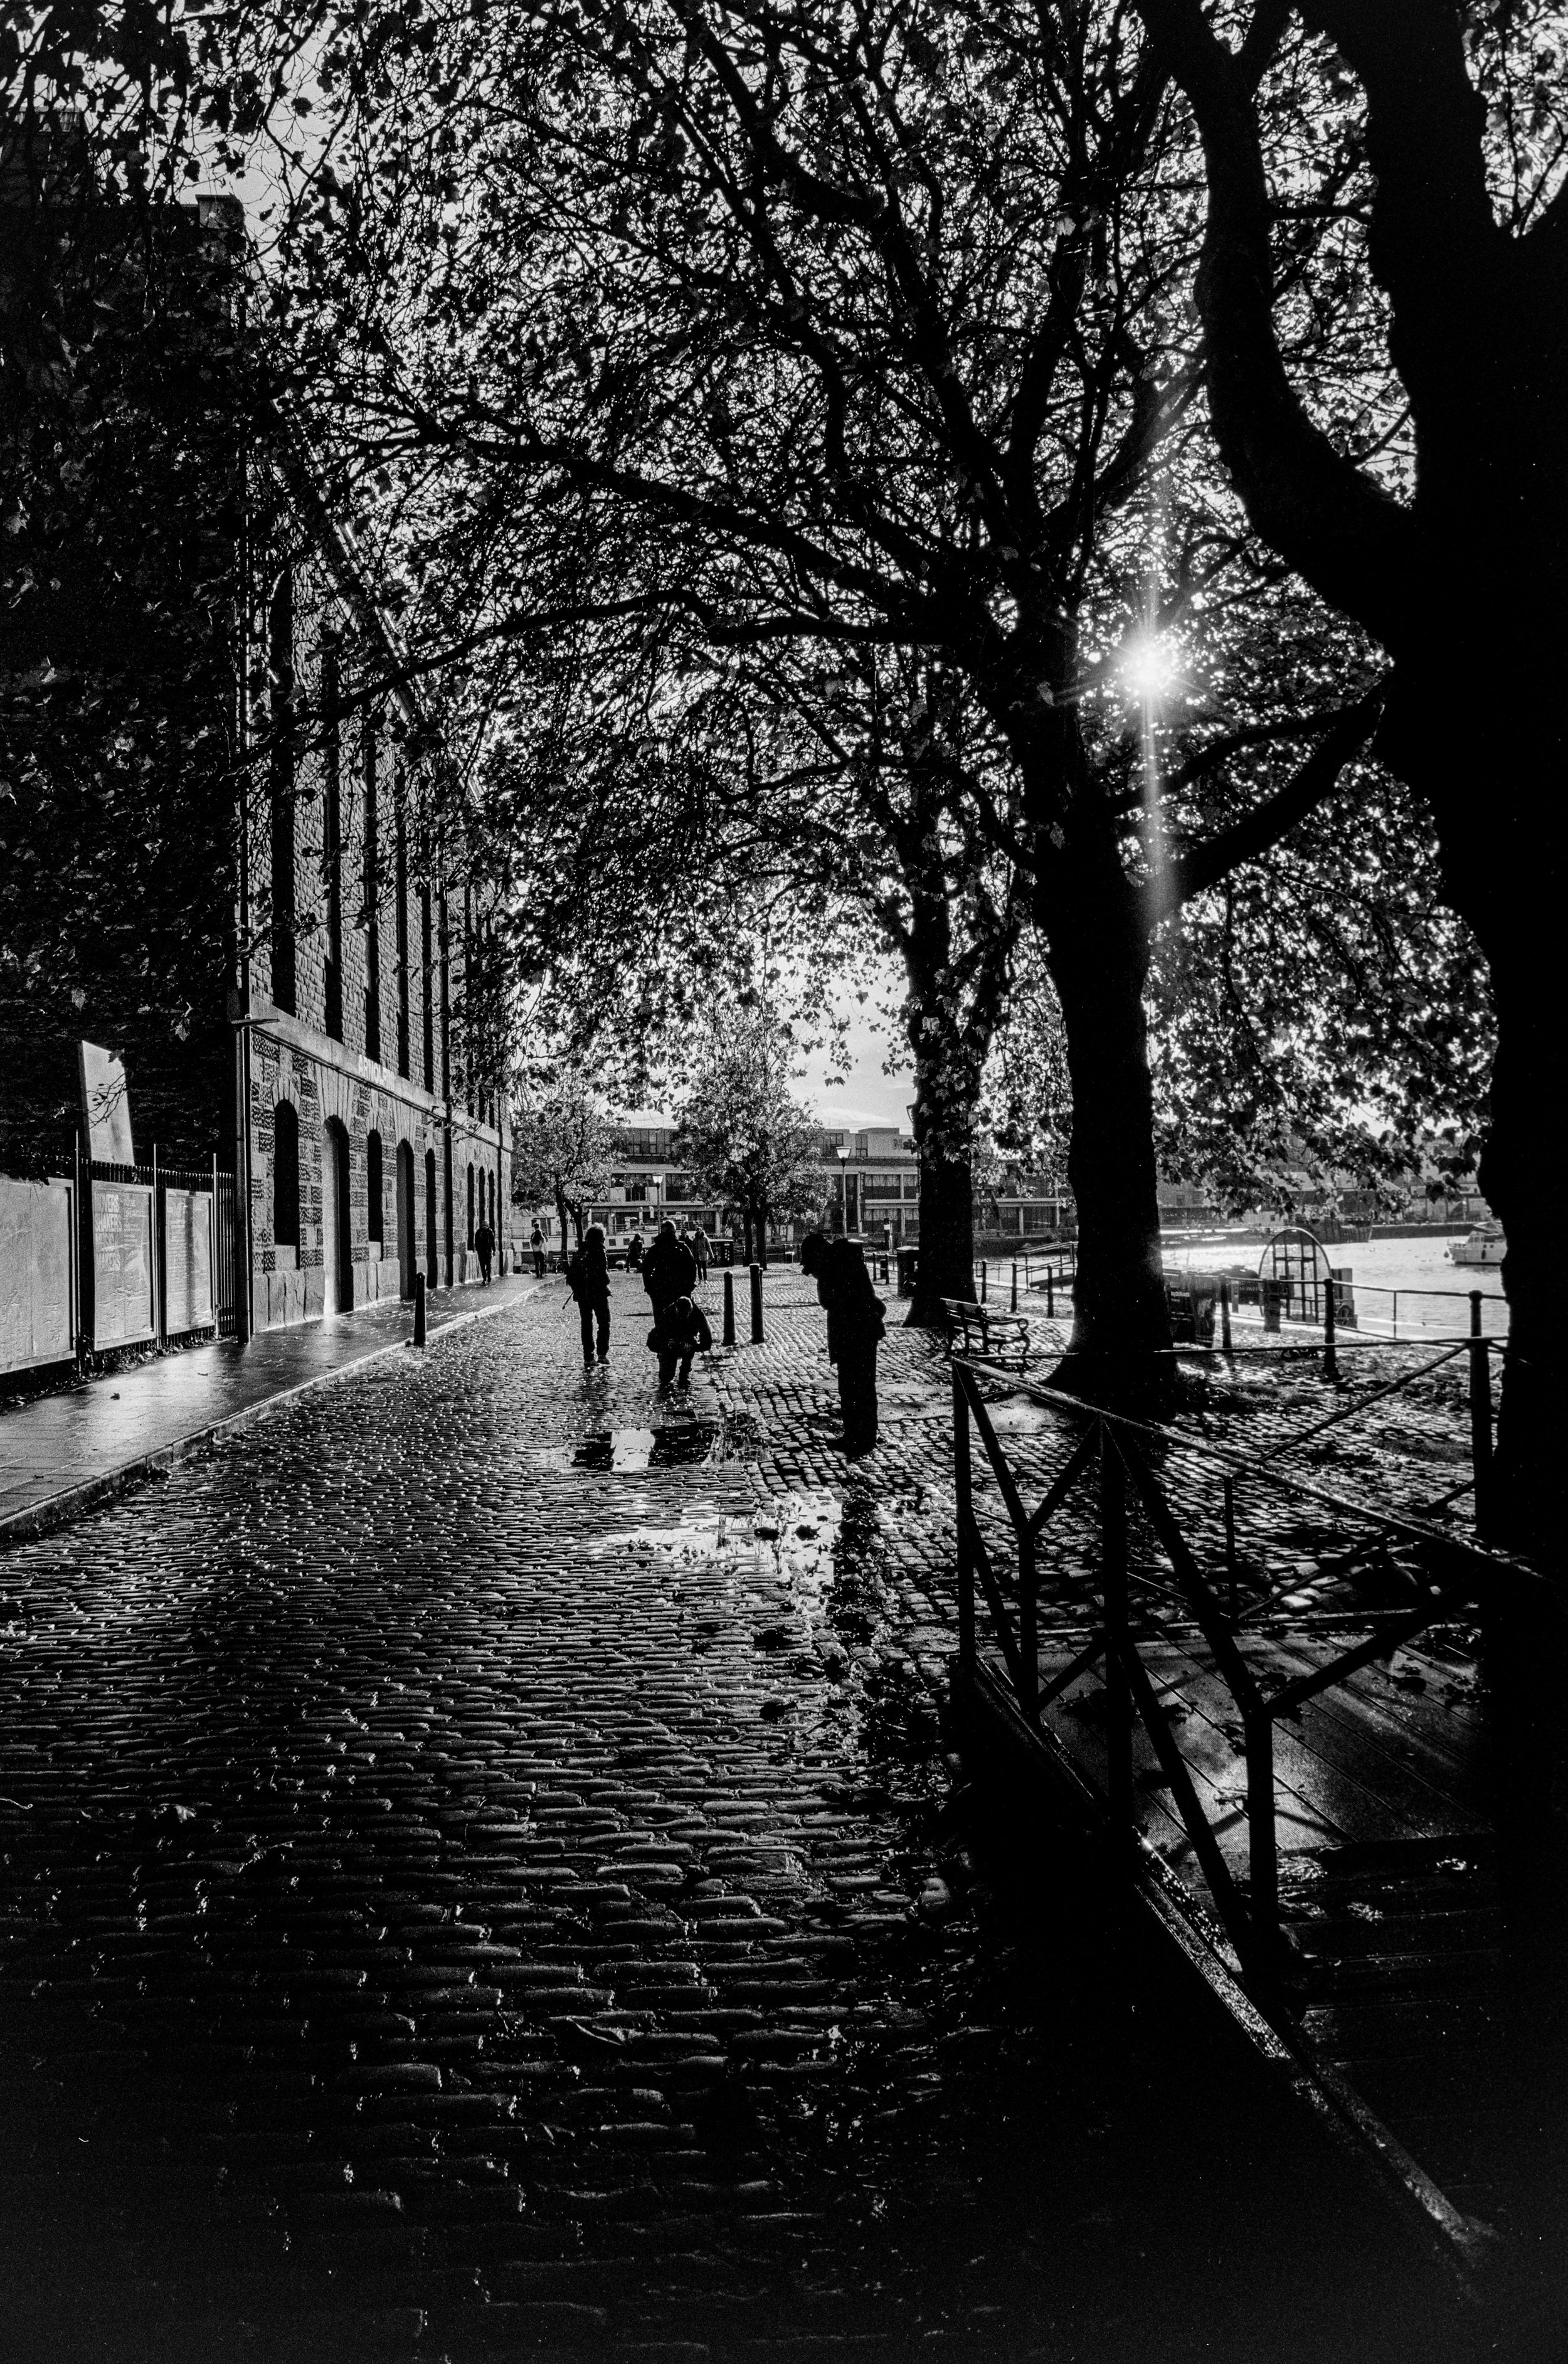
Bristol in the rain - Neopan Acros II by Fujifilm.
A nice contrasty black and white film. Great for street work and I can’t wait to try this for night shots. With low reciprocity failure (something that happens with long exposures), It’s supposed to be great for night work. This time, a few shots around Bristol. Acros II has already come onto my short-list for street photography.
New Year in Edinburgh - Kodak Ektar 100
This is a very vibrant colour film, particularly with reds and greens. It’s colour balanced for outdoor use only meaning it doesn’t play too nicely with indoor tungsten lights. You do however get some very interesting almost artistic colours indoors.
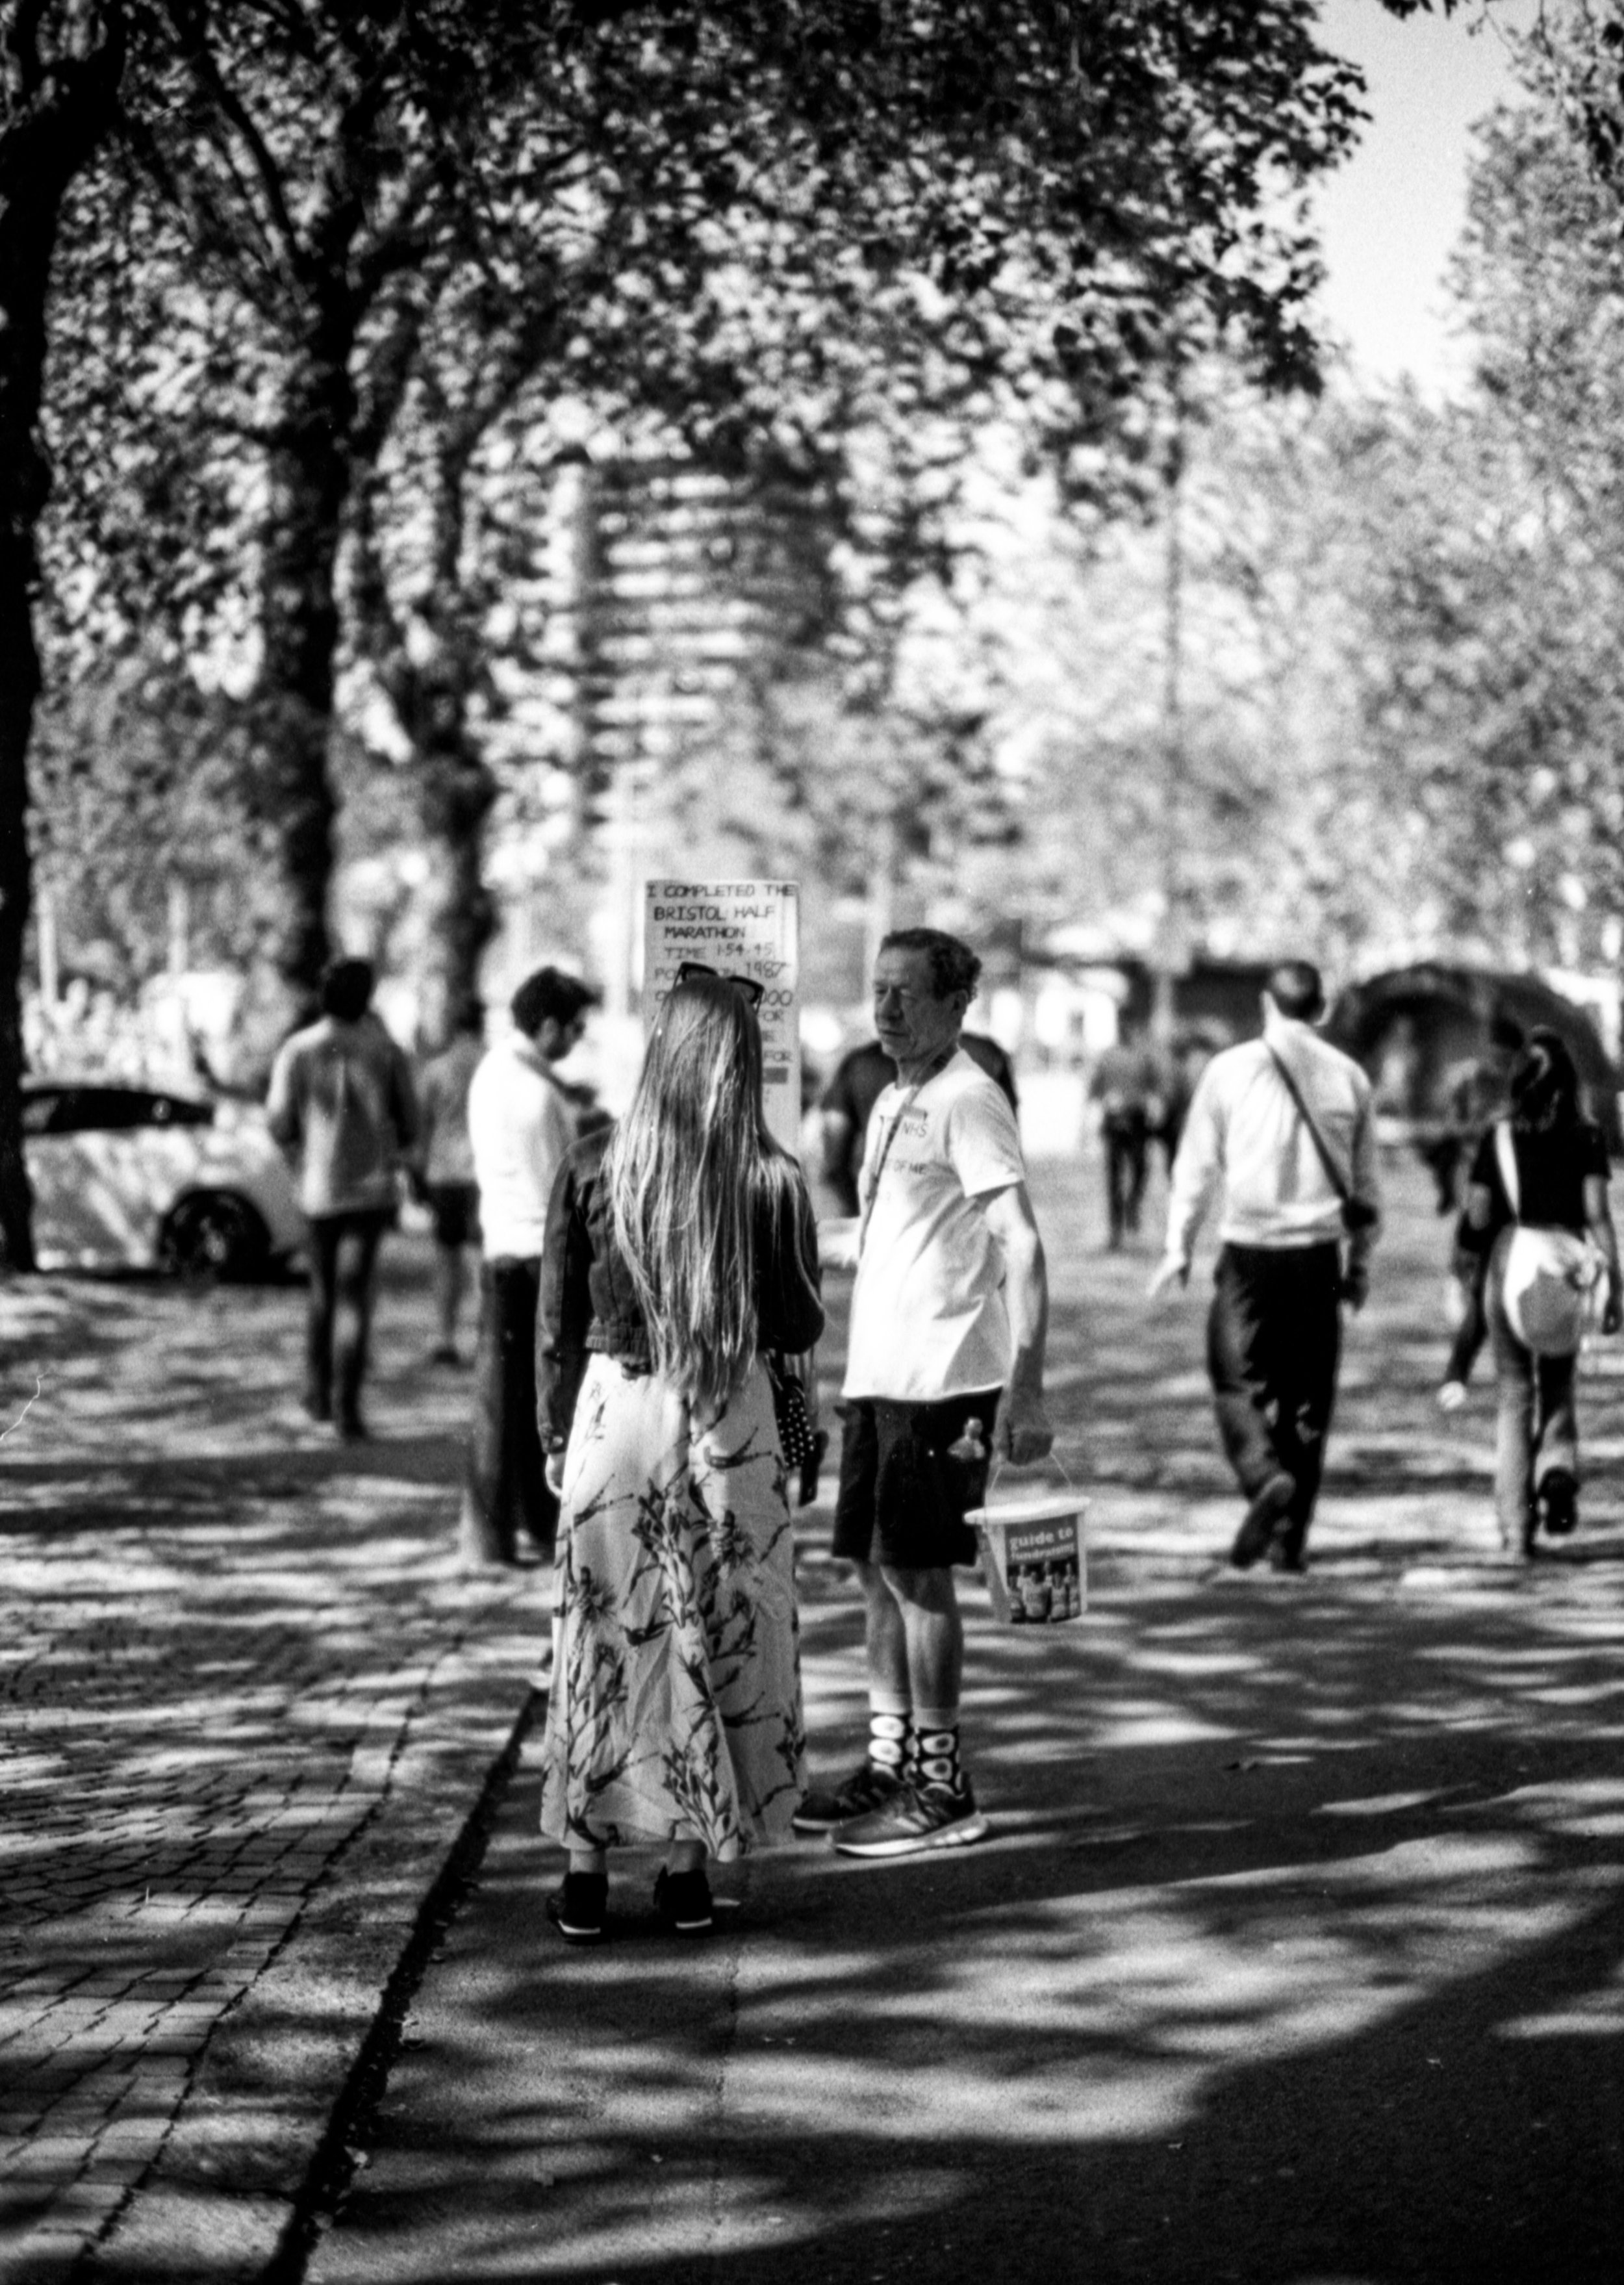
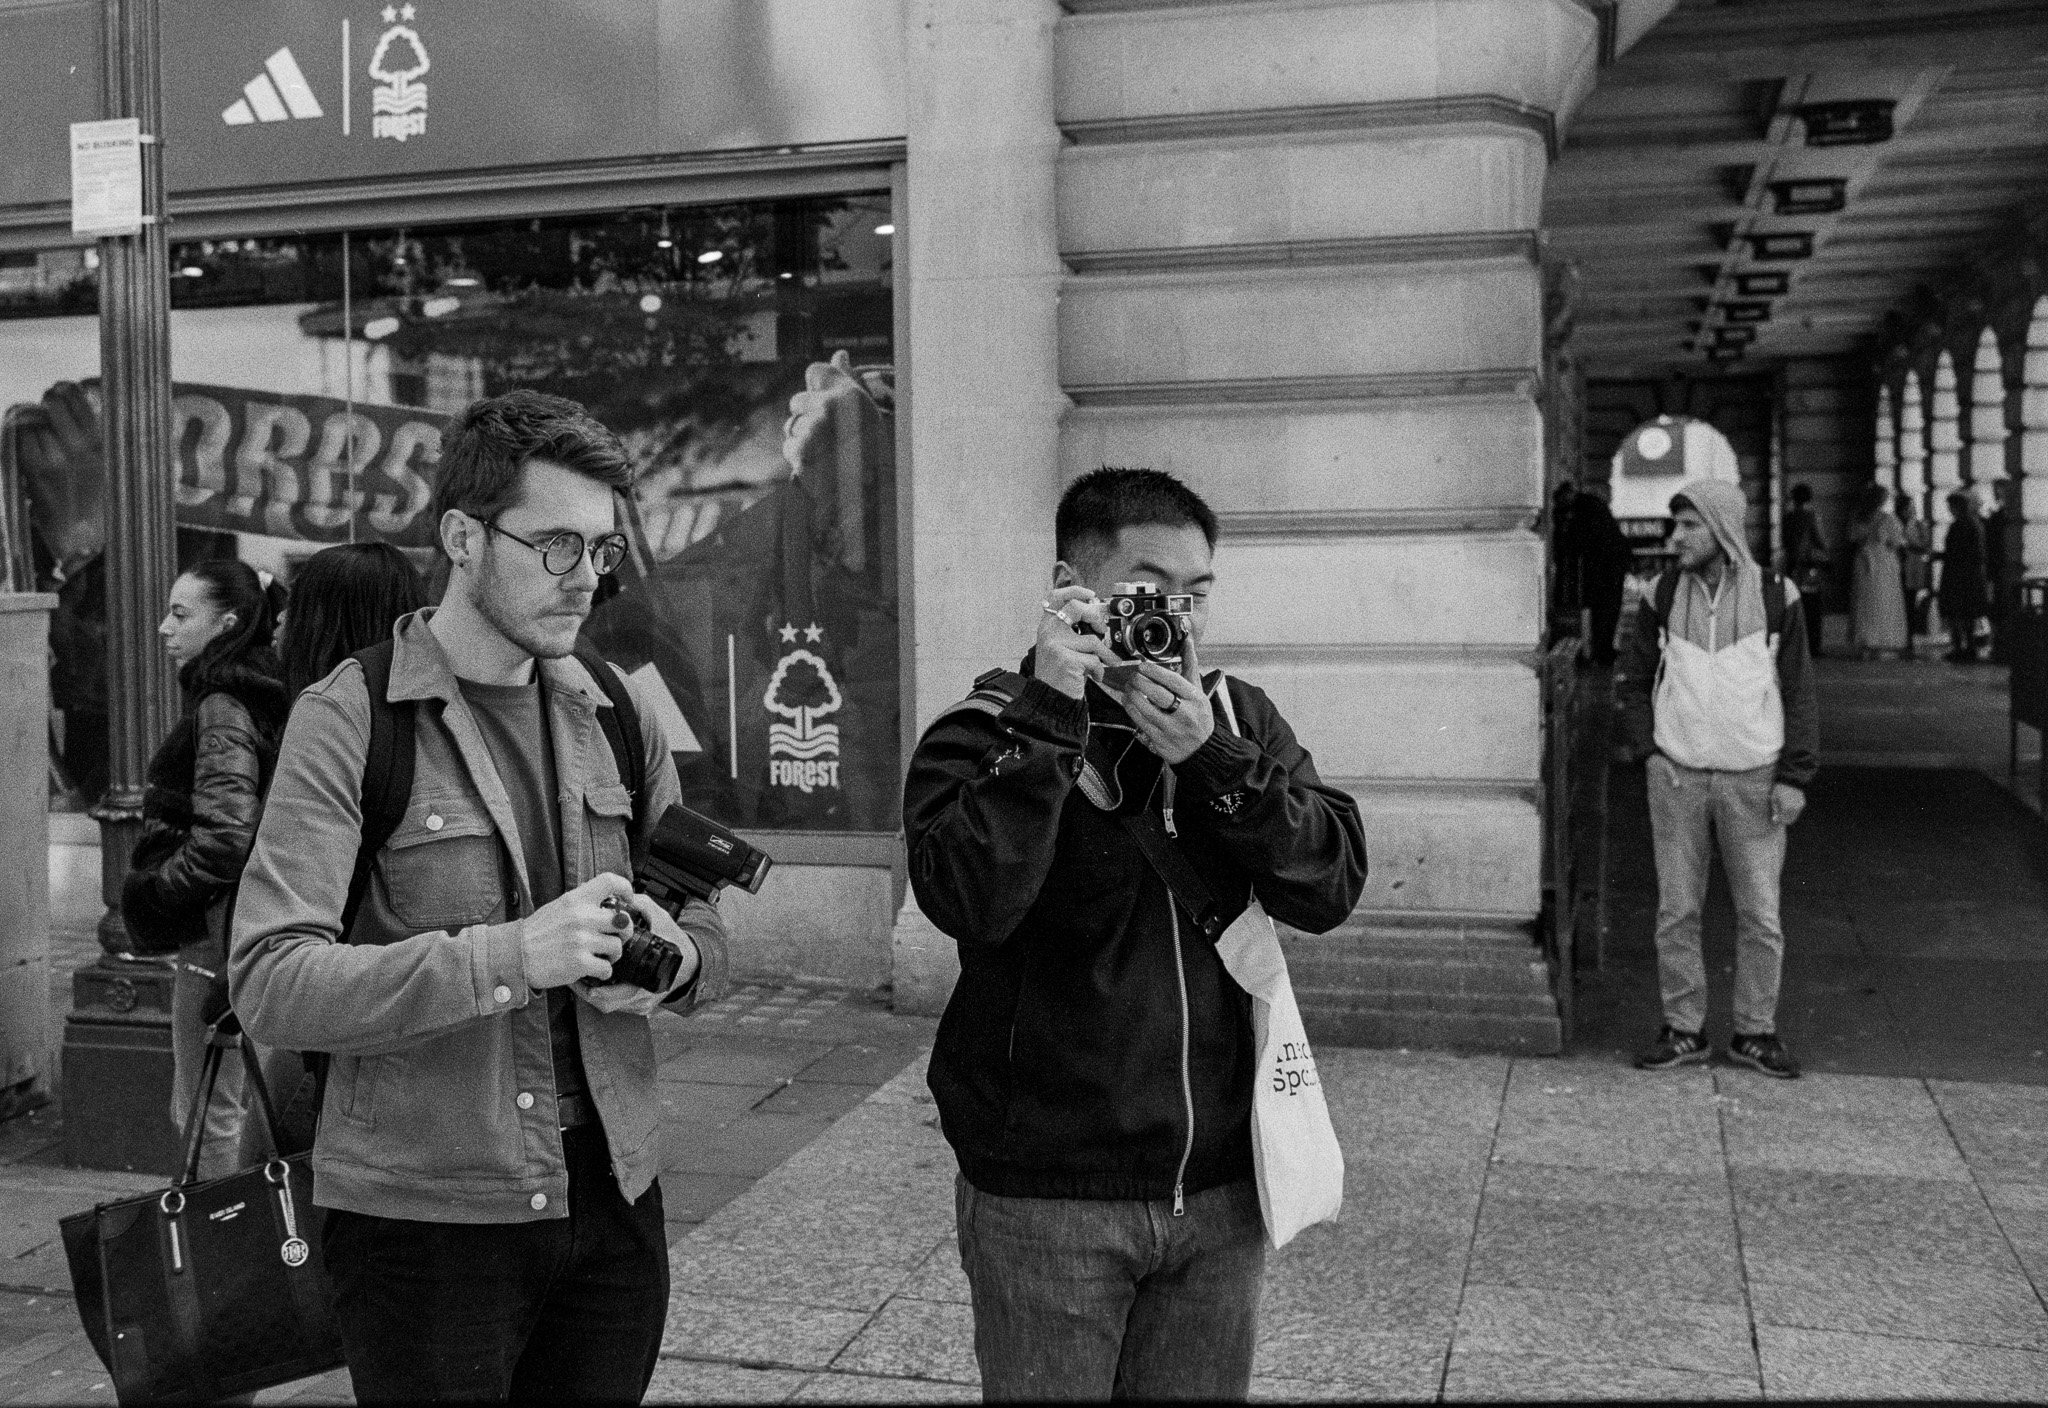
Bristol Street Photos - Kodak TMAX 100
This has become one of my favourite fine grained black and white films. Loads of contrast and sharp as you like. Very good for black and white portraits and I enjoy it for street photography, but it’s hard to get hold of so not readily available.
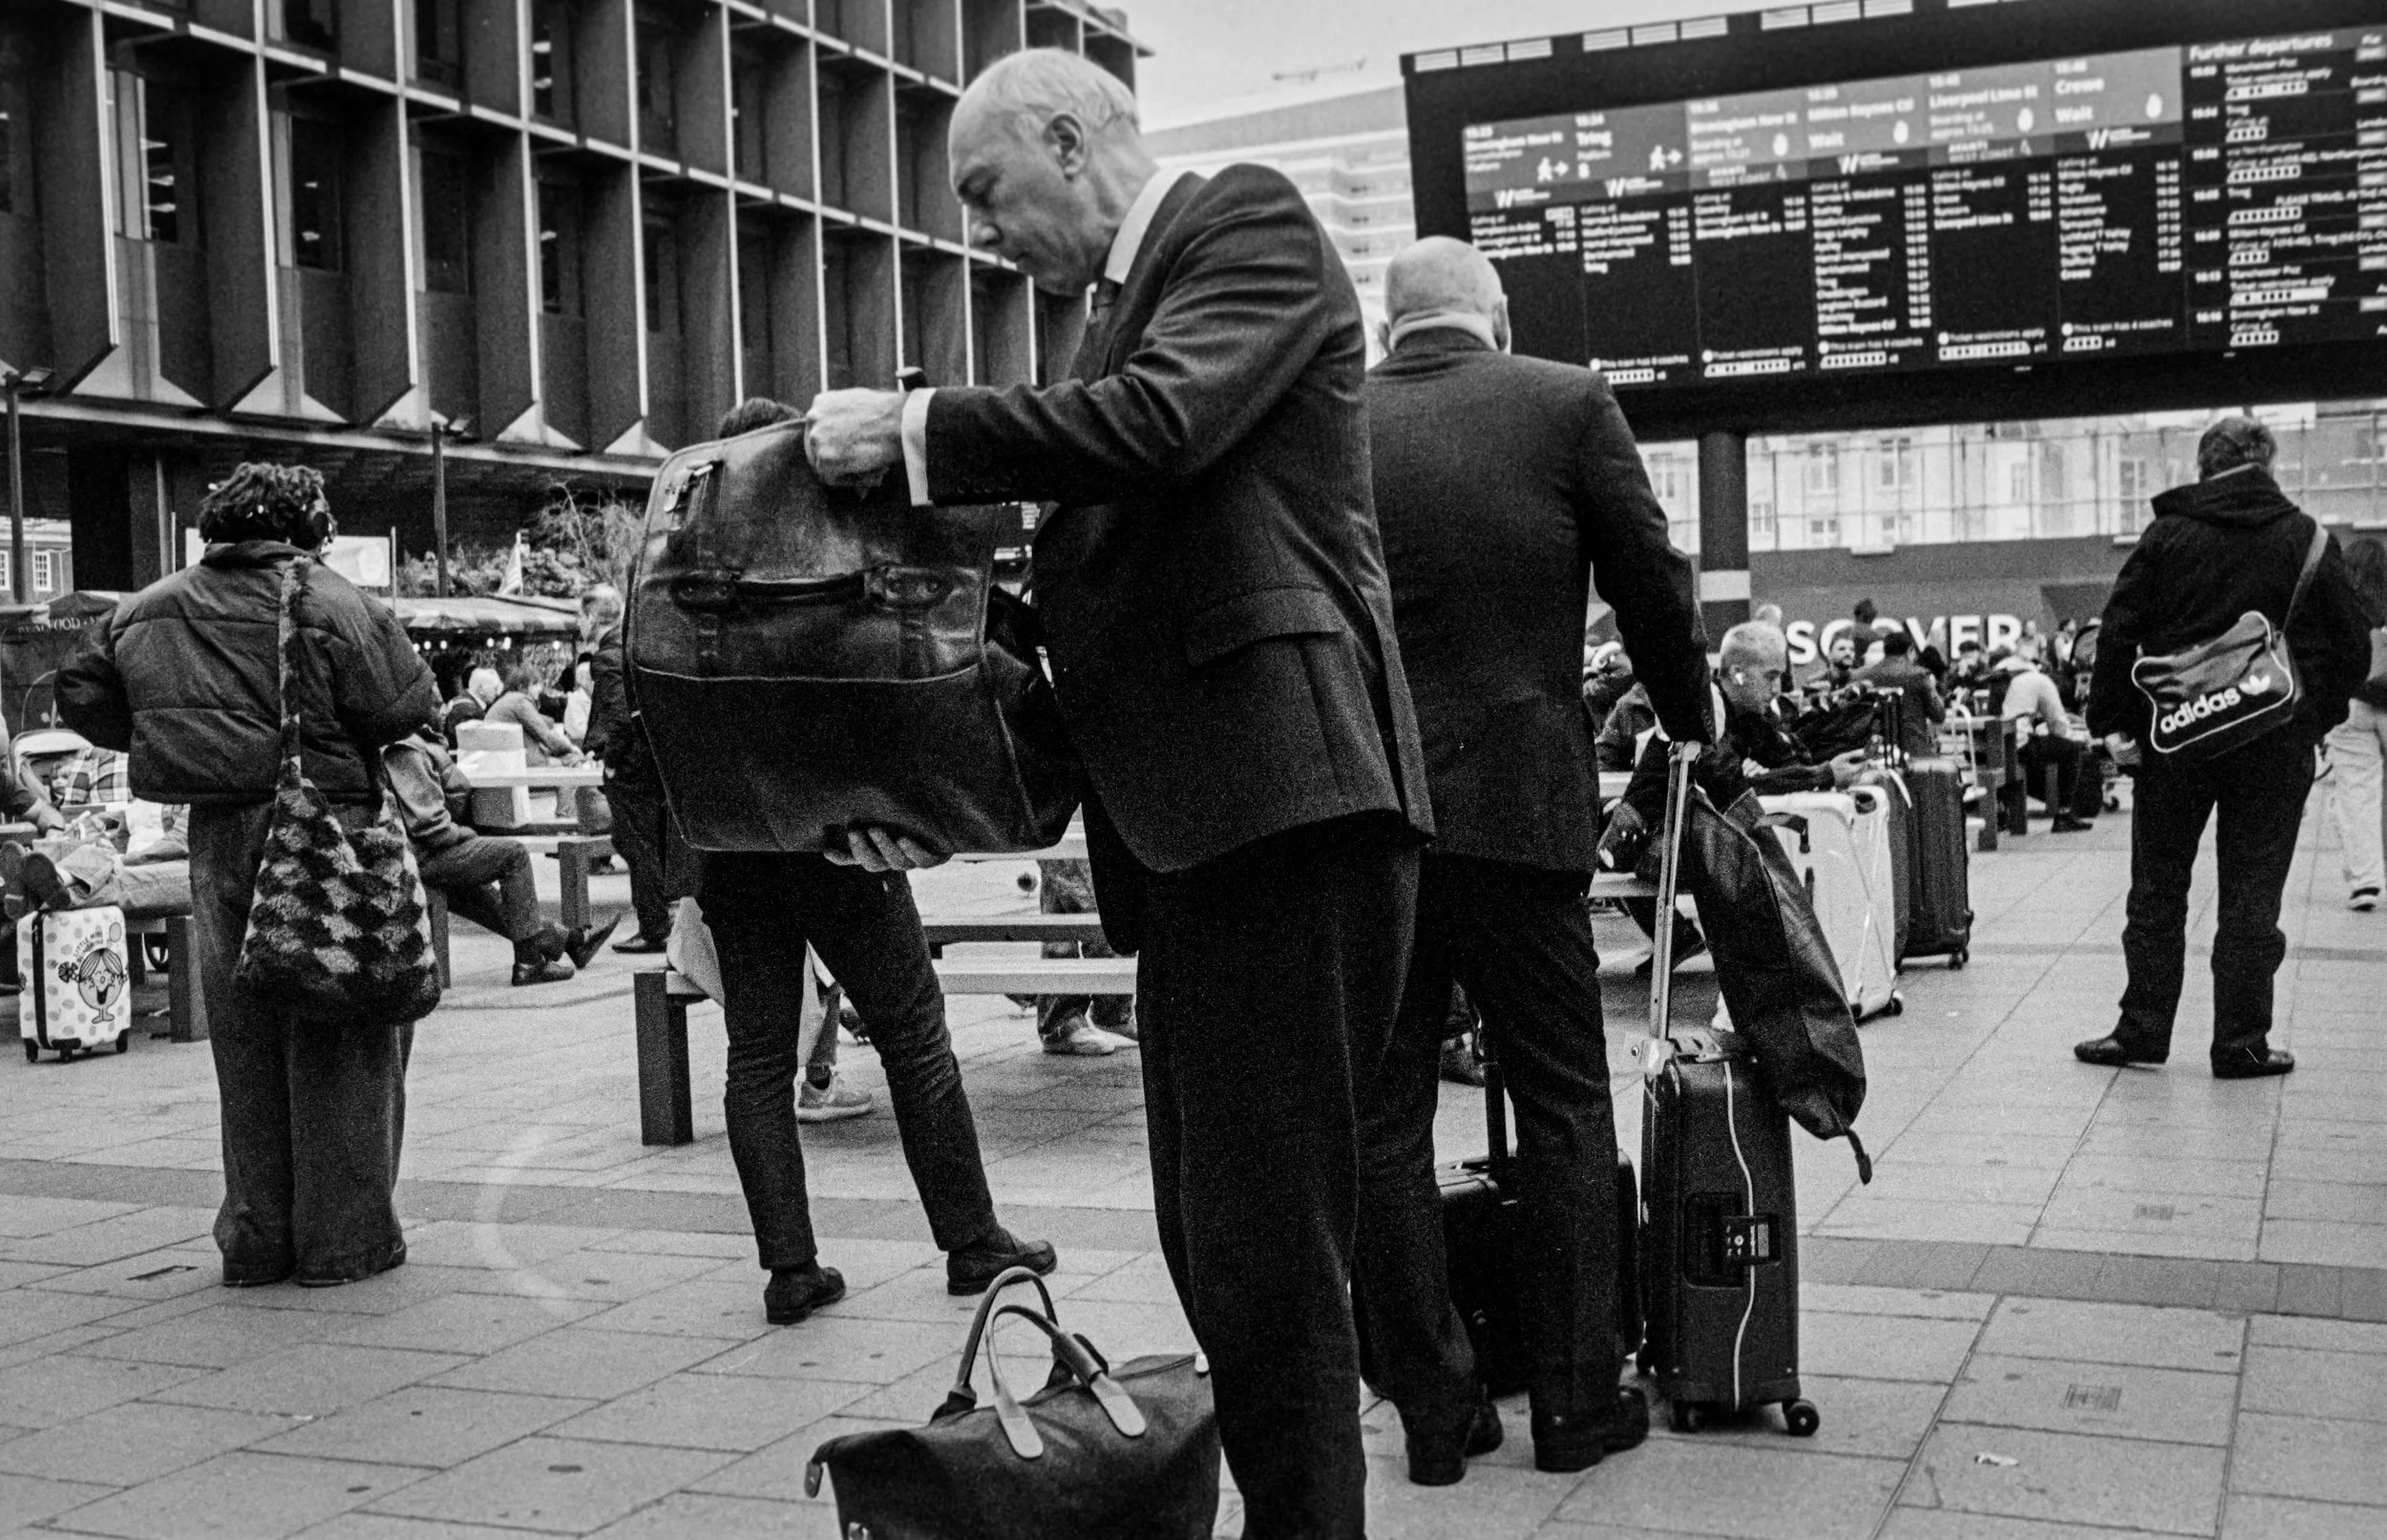
Bristol Street Photos - Kodak Tri-X 400
A very popular film with newspaper journalists back in the day. Classic grain, sharp when you need it to be, high contrast when you need it to be. It has a huge latitude for both push/pull processing as well as exposure error. I took a while to warm to this film but it’s now one of my favourites and unlike TMAX seems to be readily available.

Portra 400 - Wild swimmers at Clevedon.

Portra 400 - The mood was all about fun.

Portra 400 - The sea pool Clevedon

Portra 400 - Like an infinity pool but colder

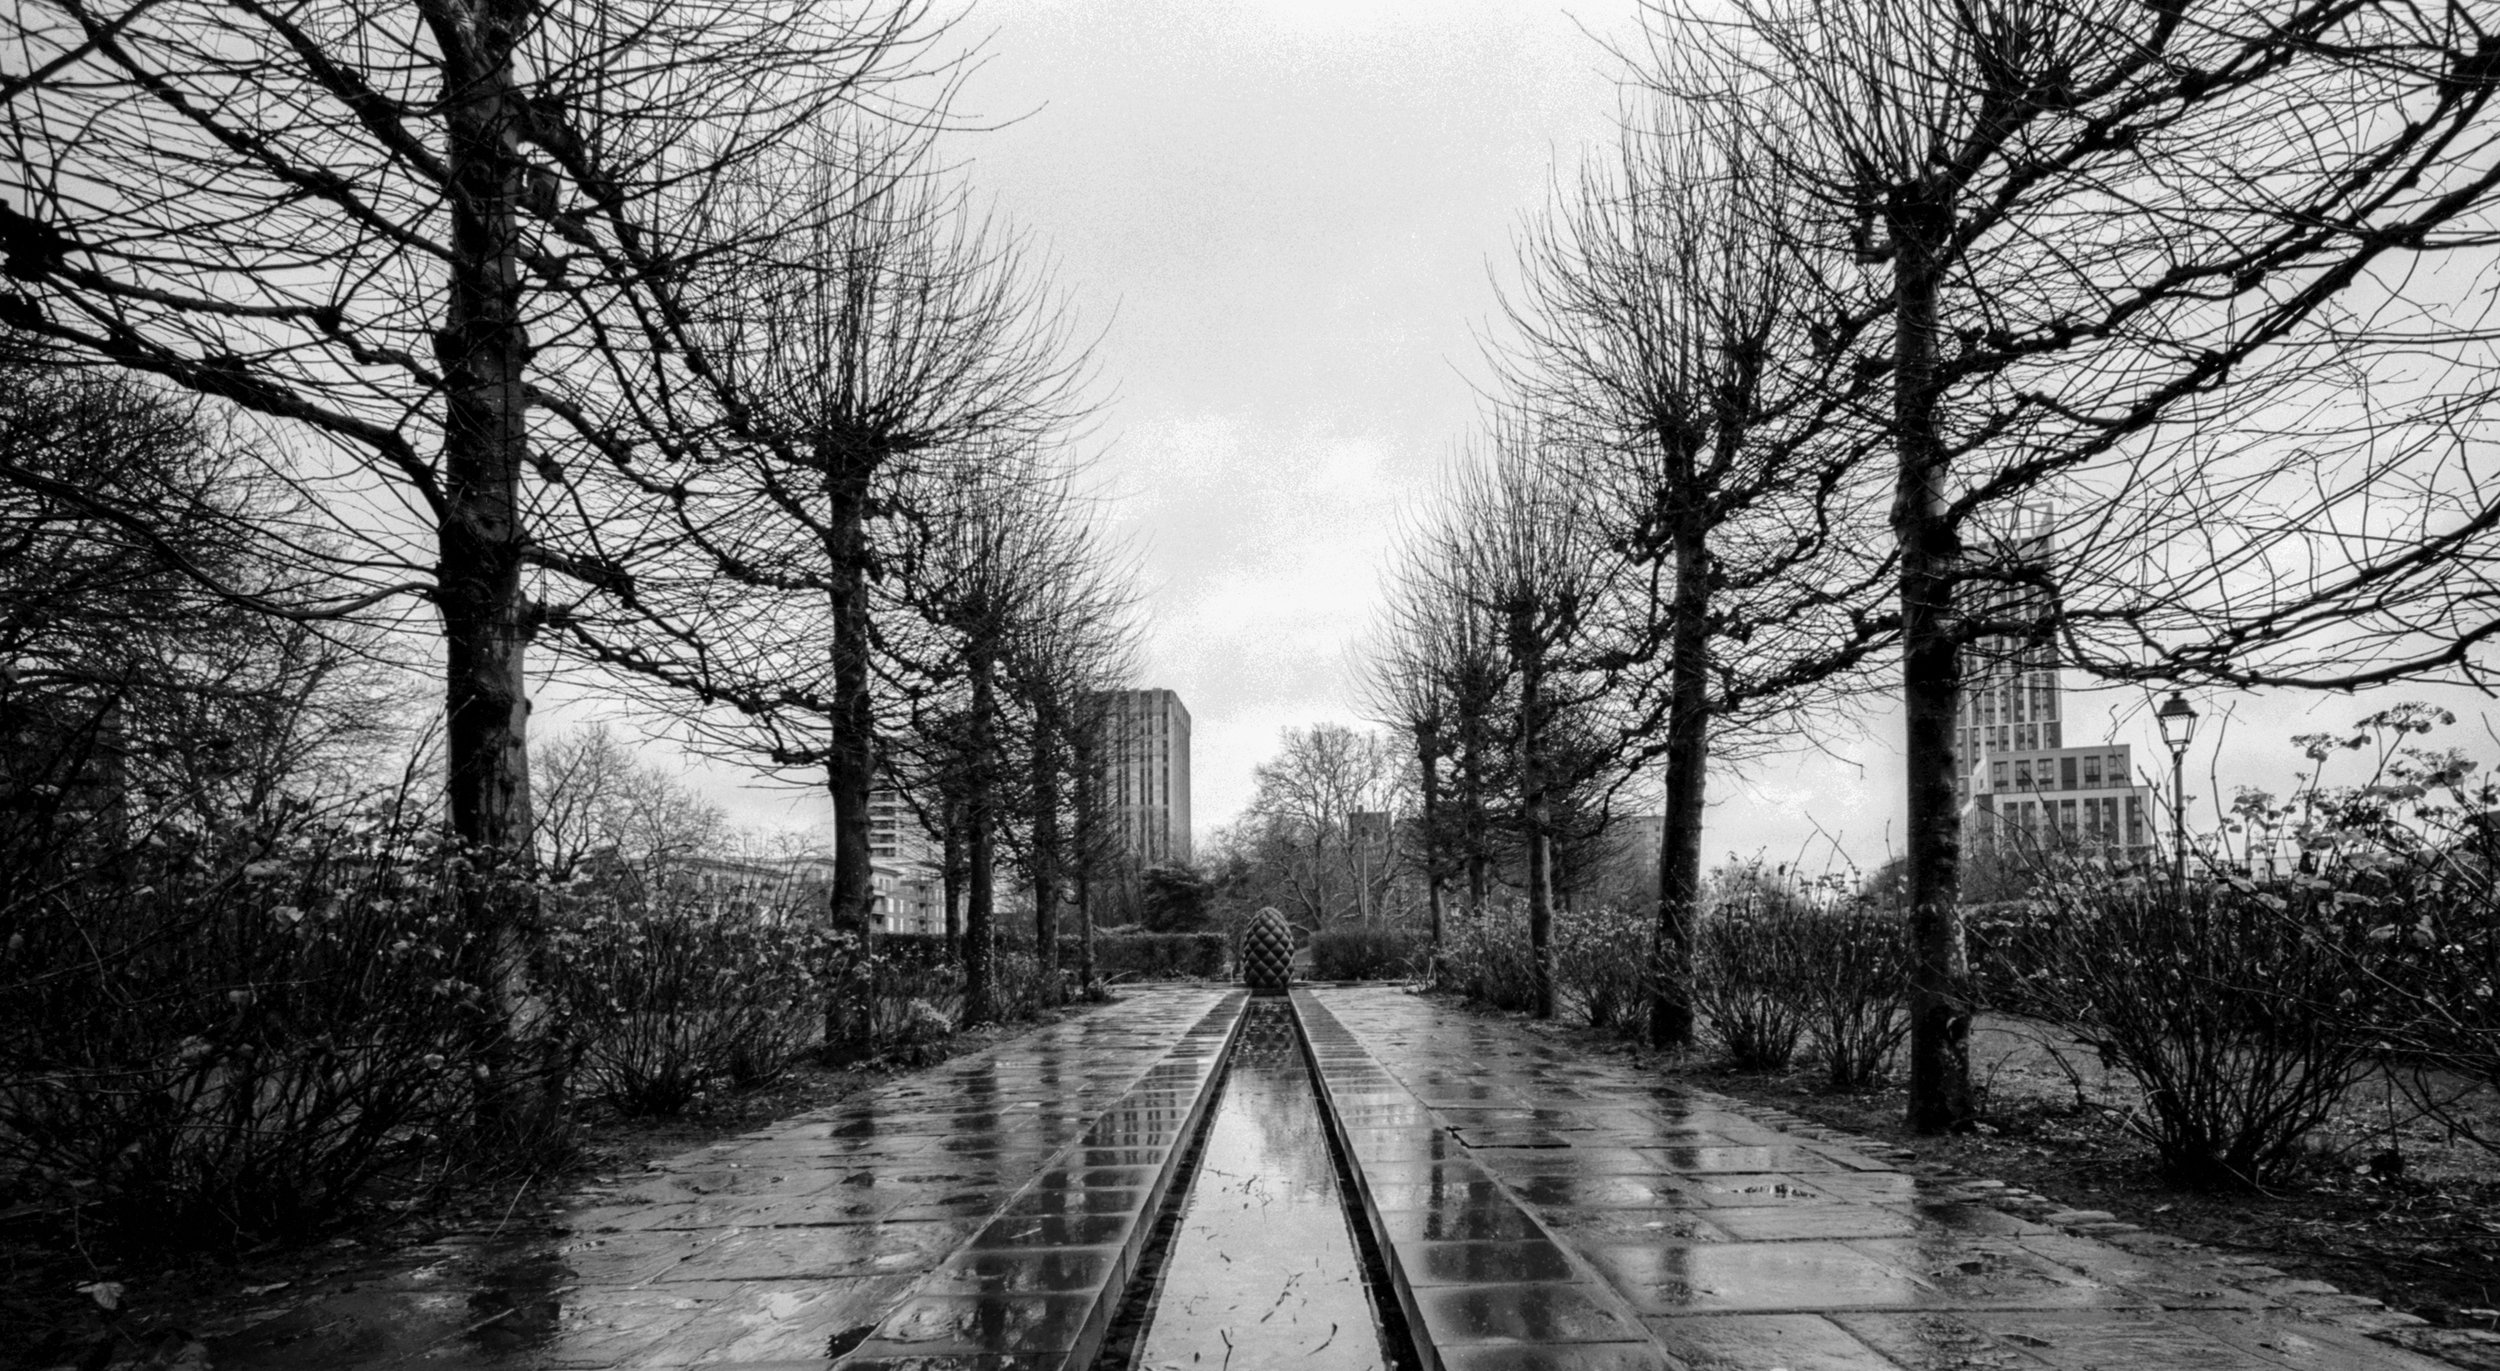
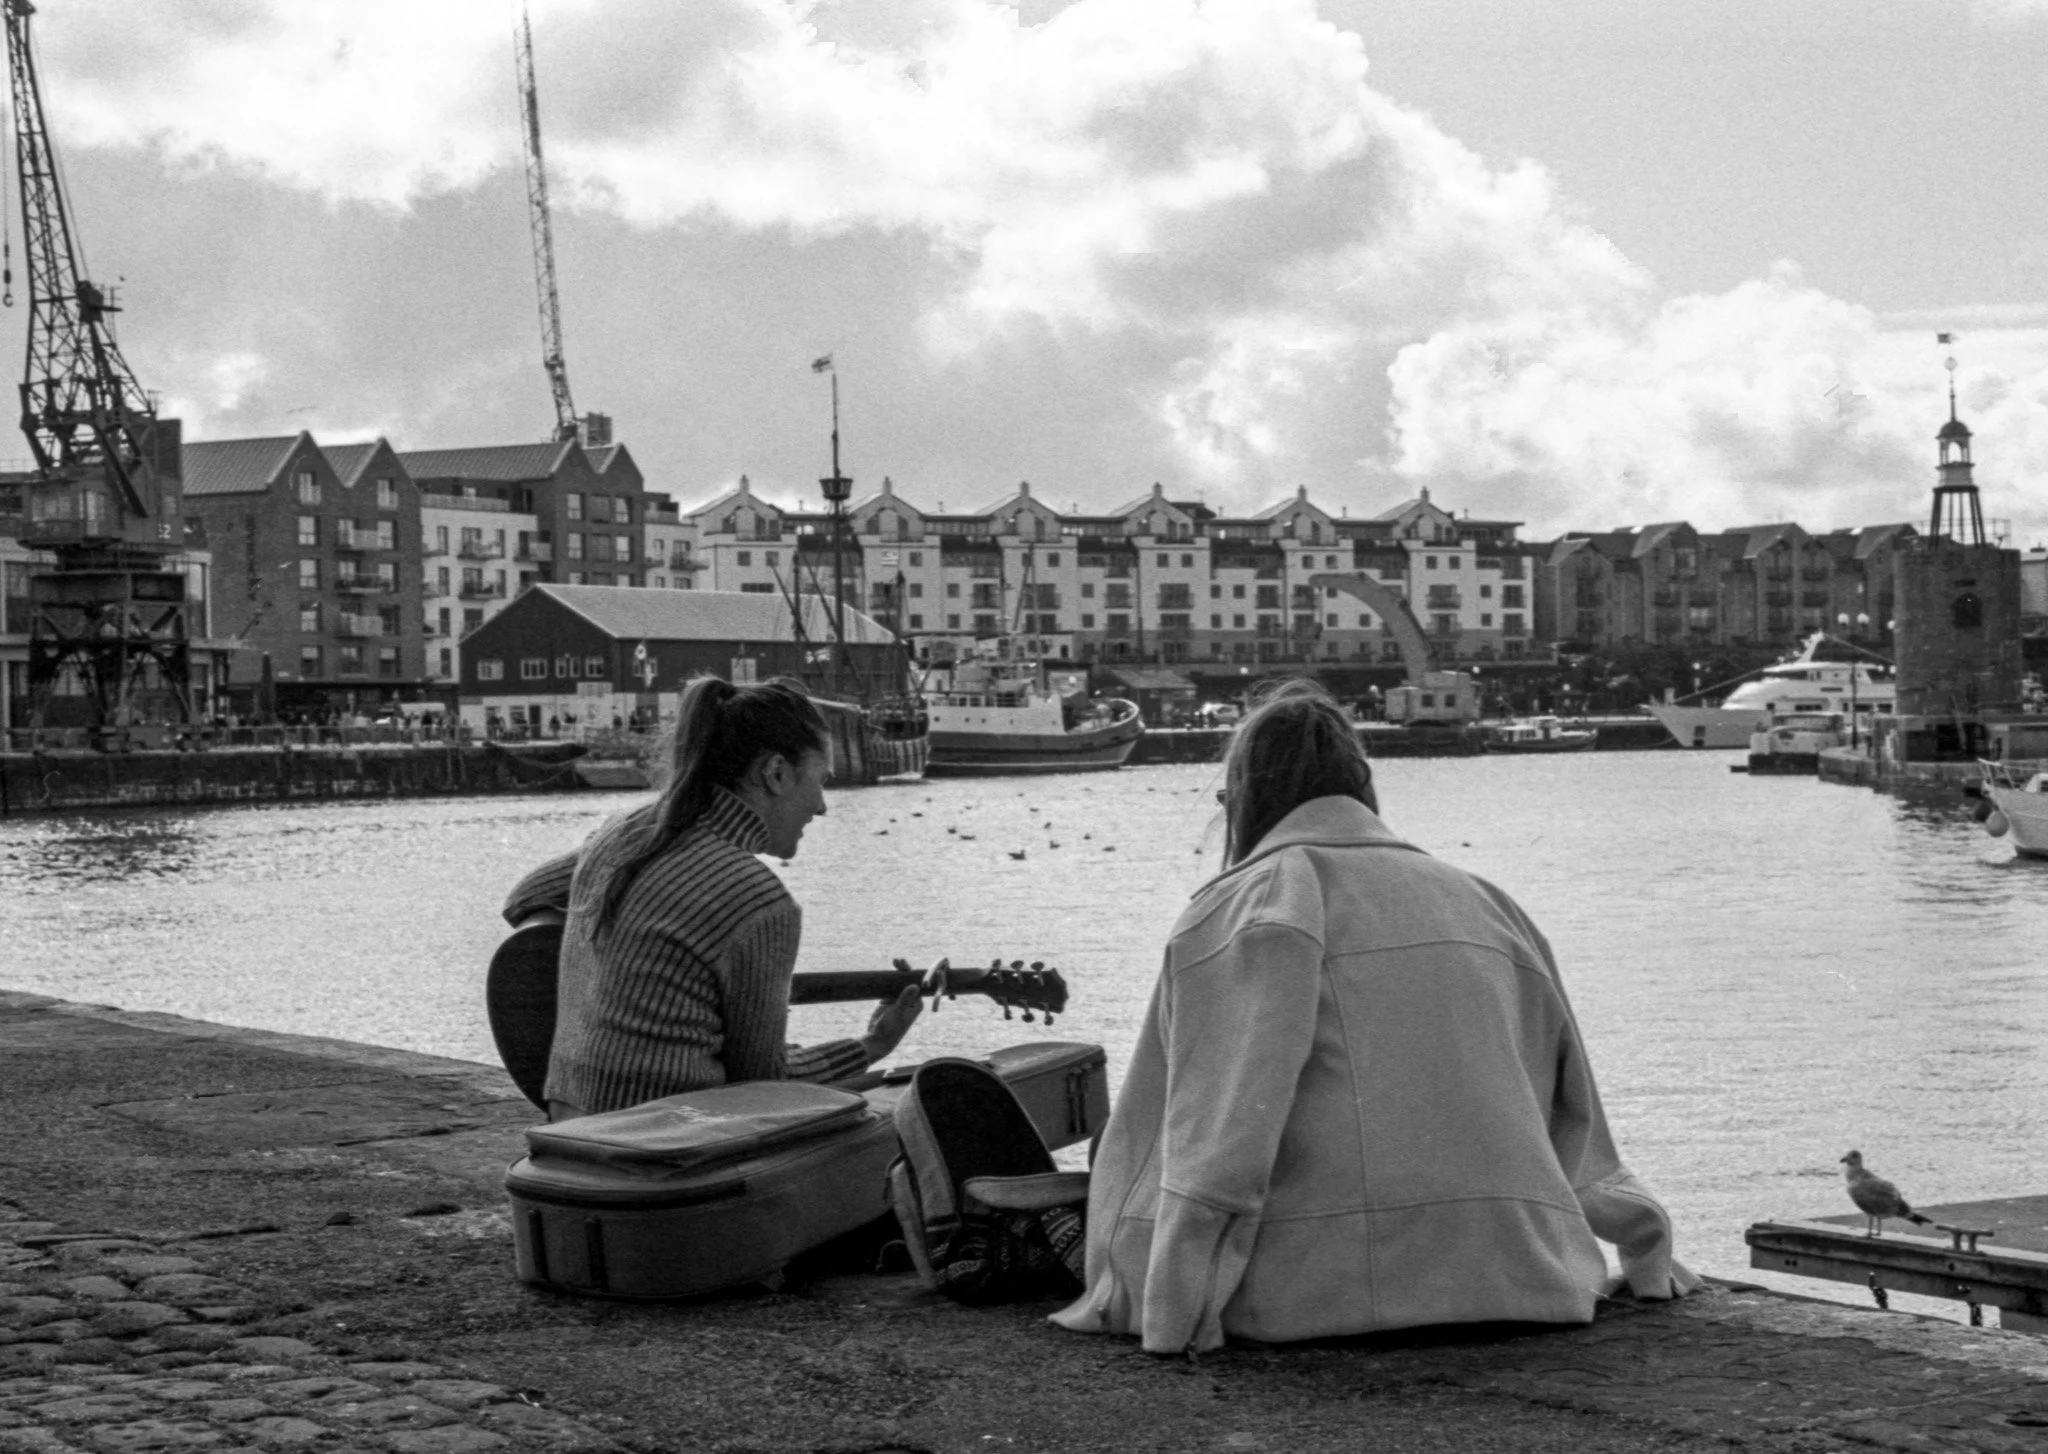
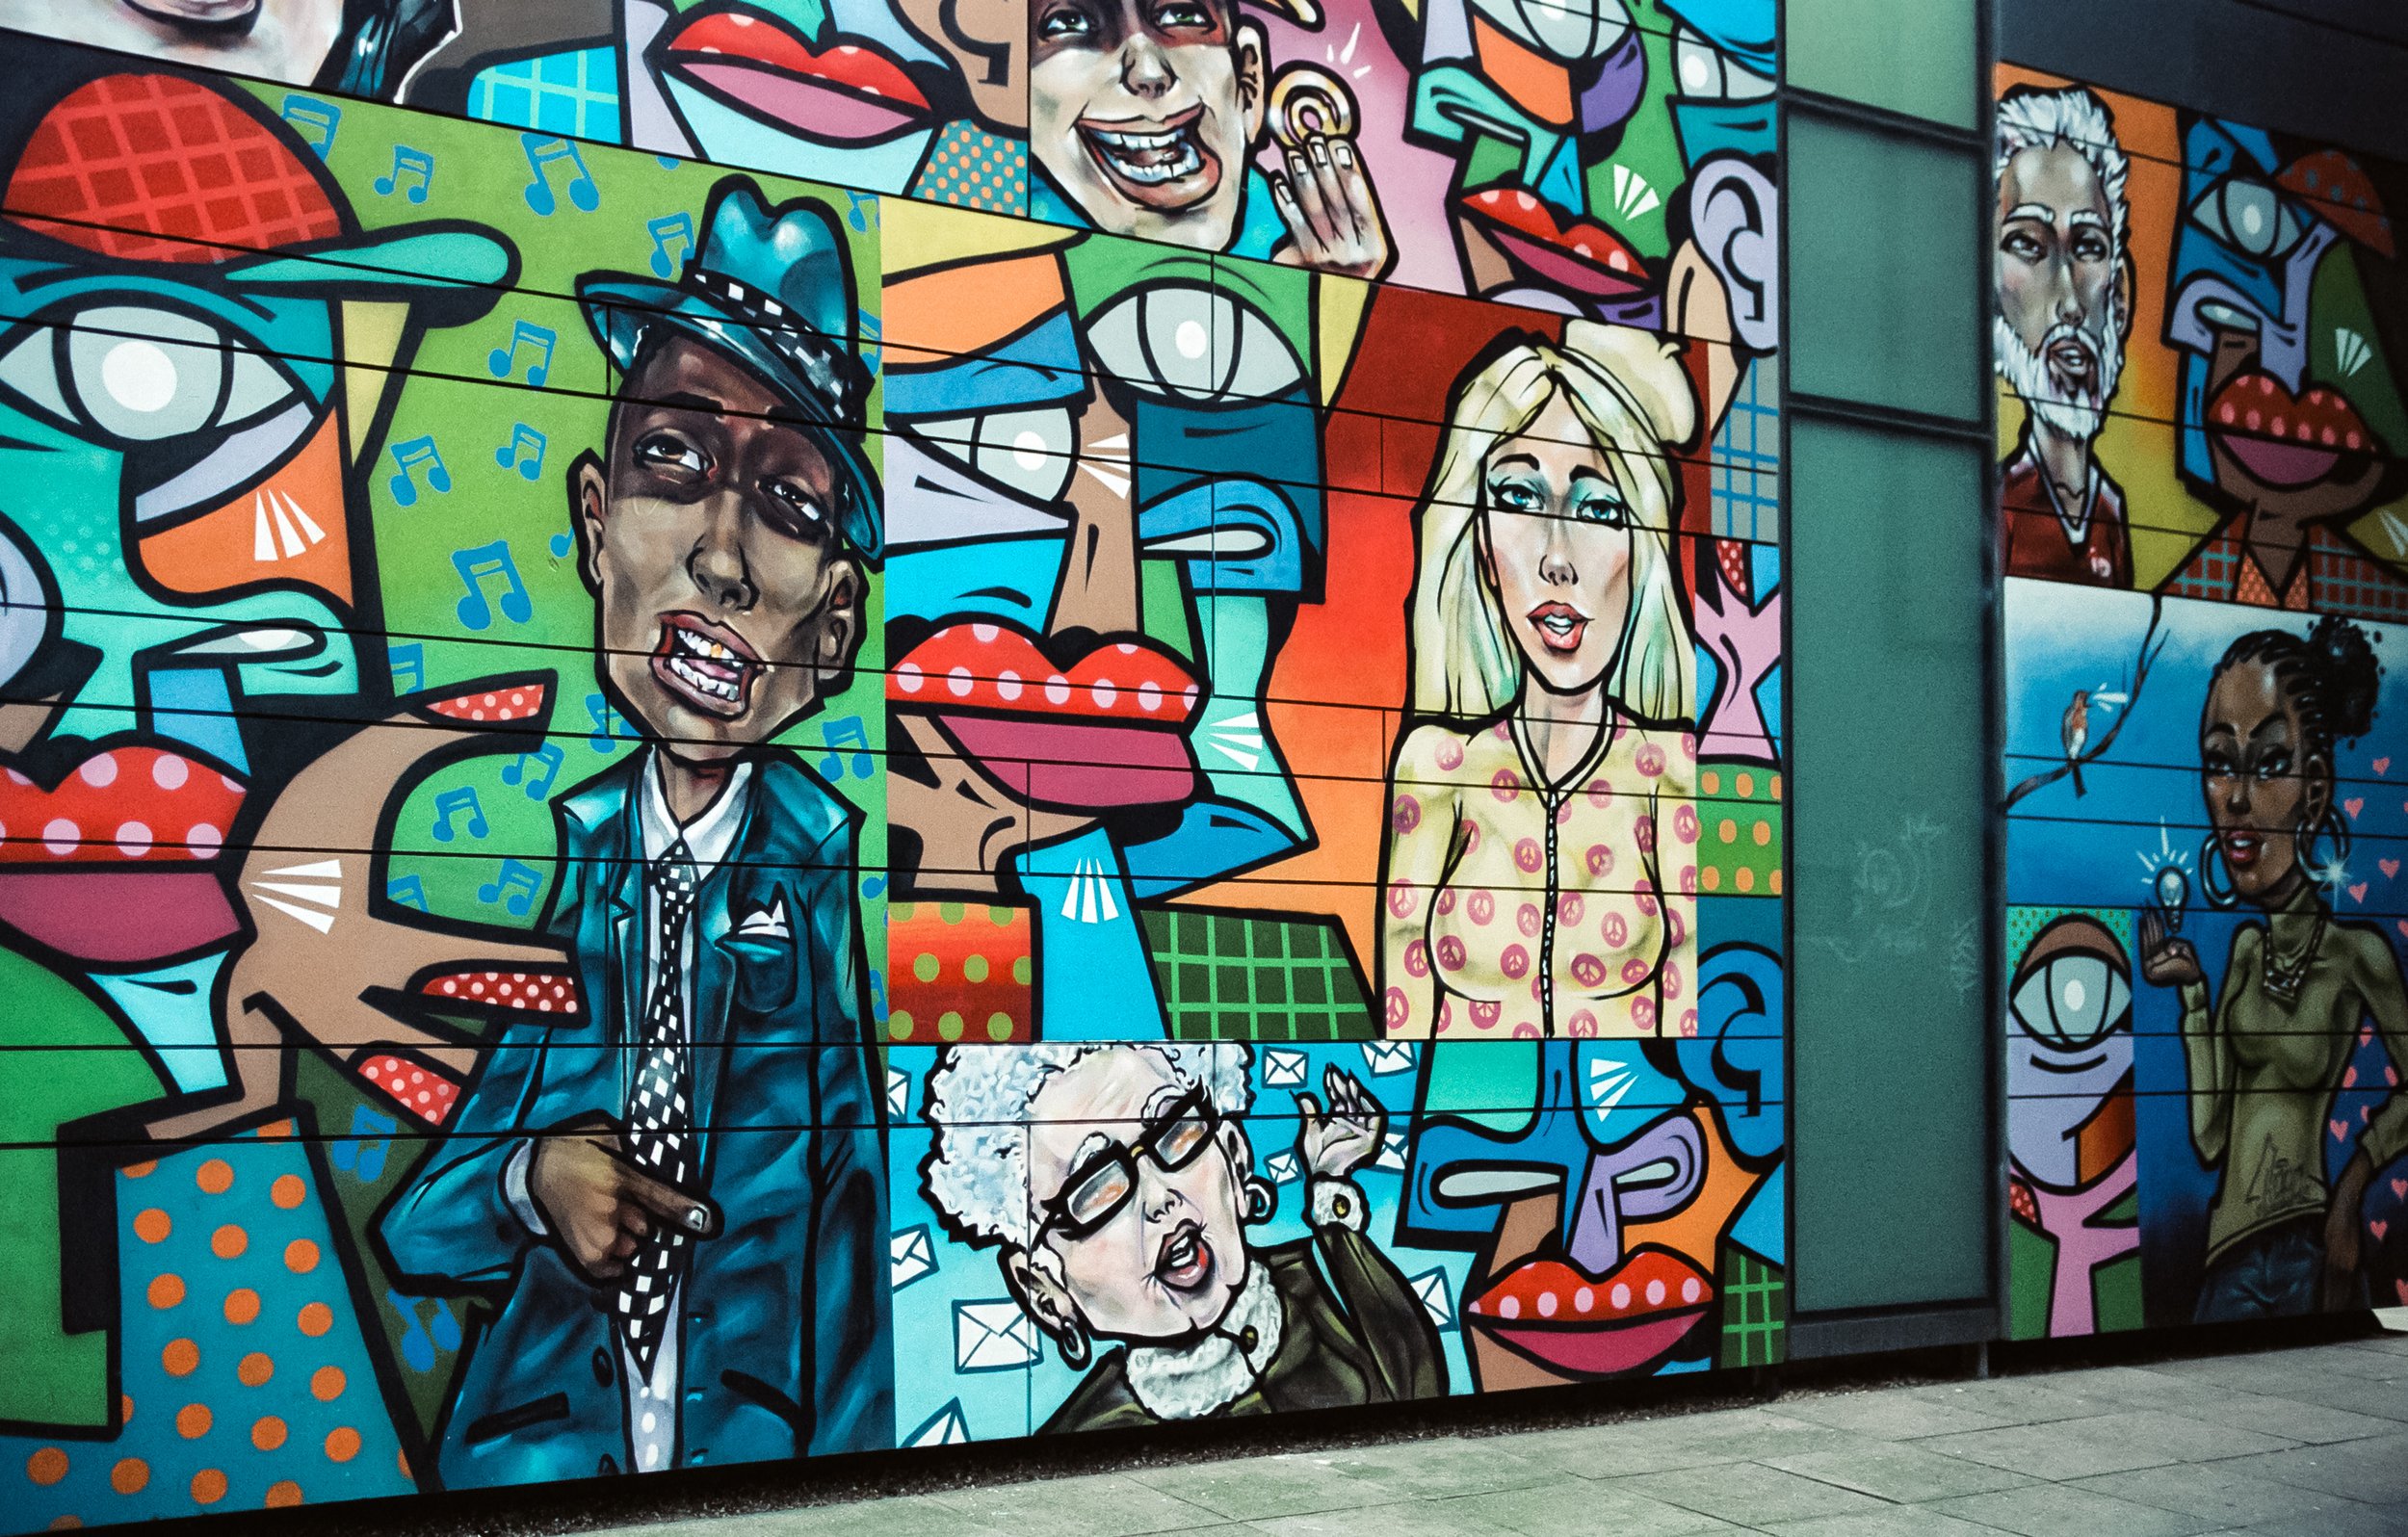
Neopan Acros II - Pero's bridge

Neopan Acros II - Gritty grafiti by Bell lane.

Neopan Acros II - Close to bell lane.

Neopan Acros II - Simon - A nice Bristol character
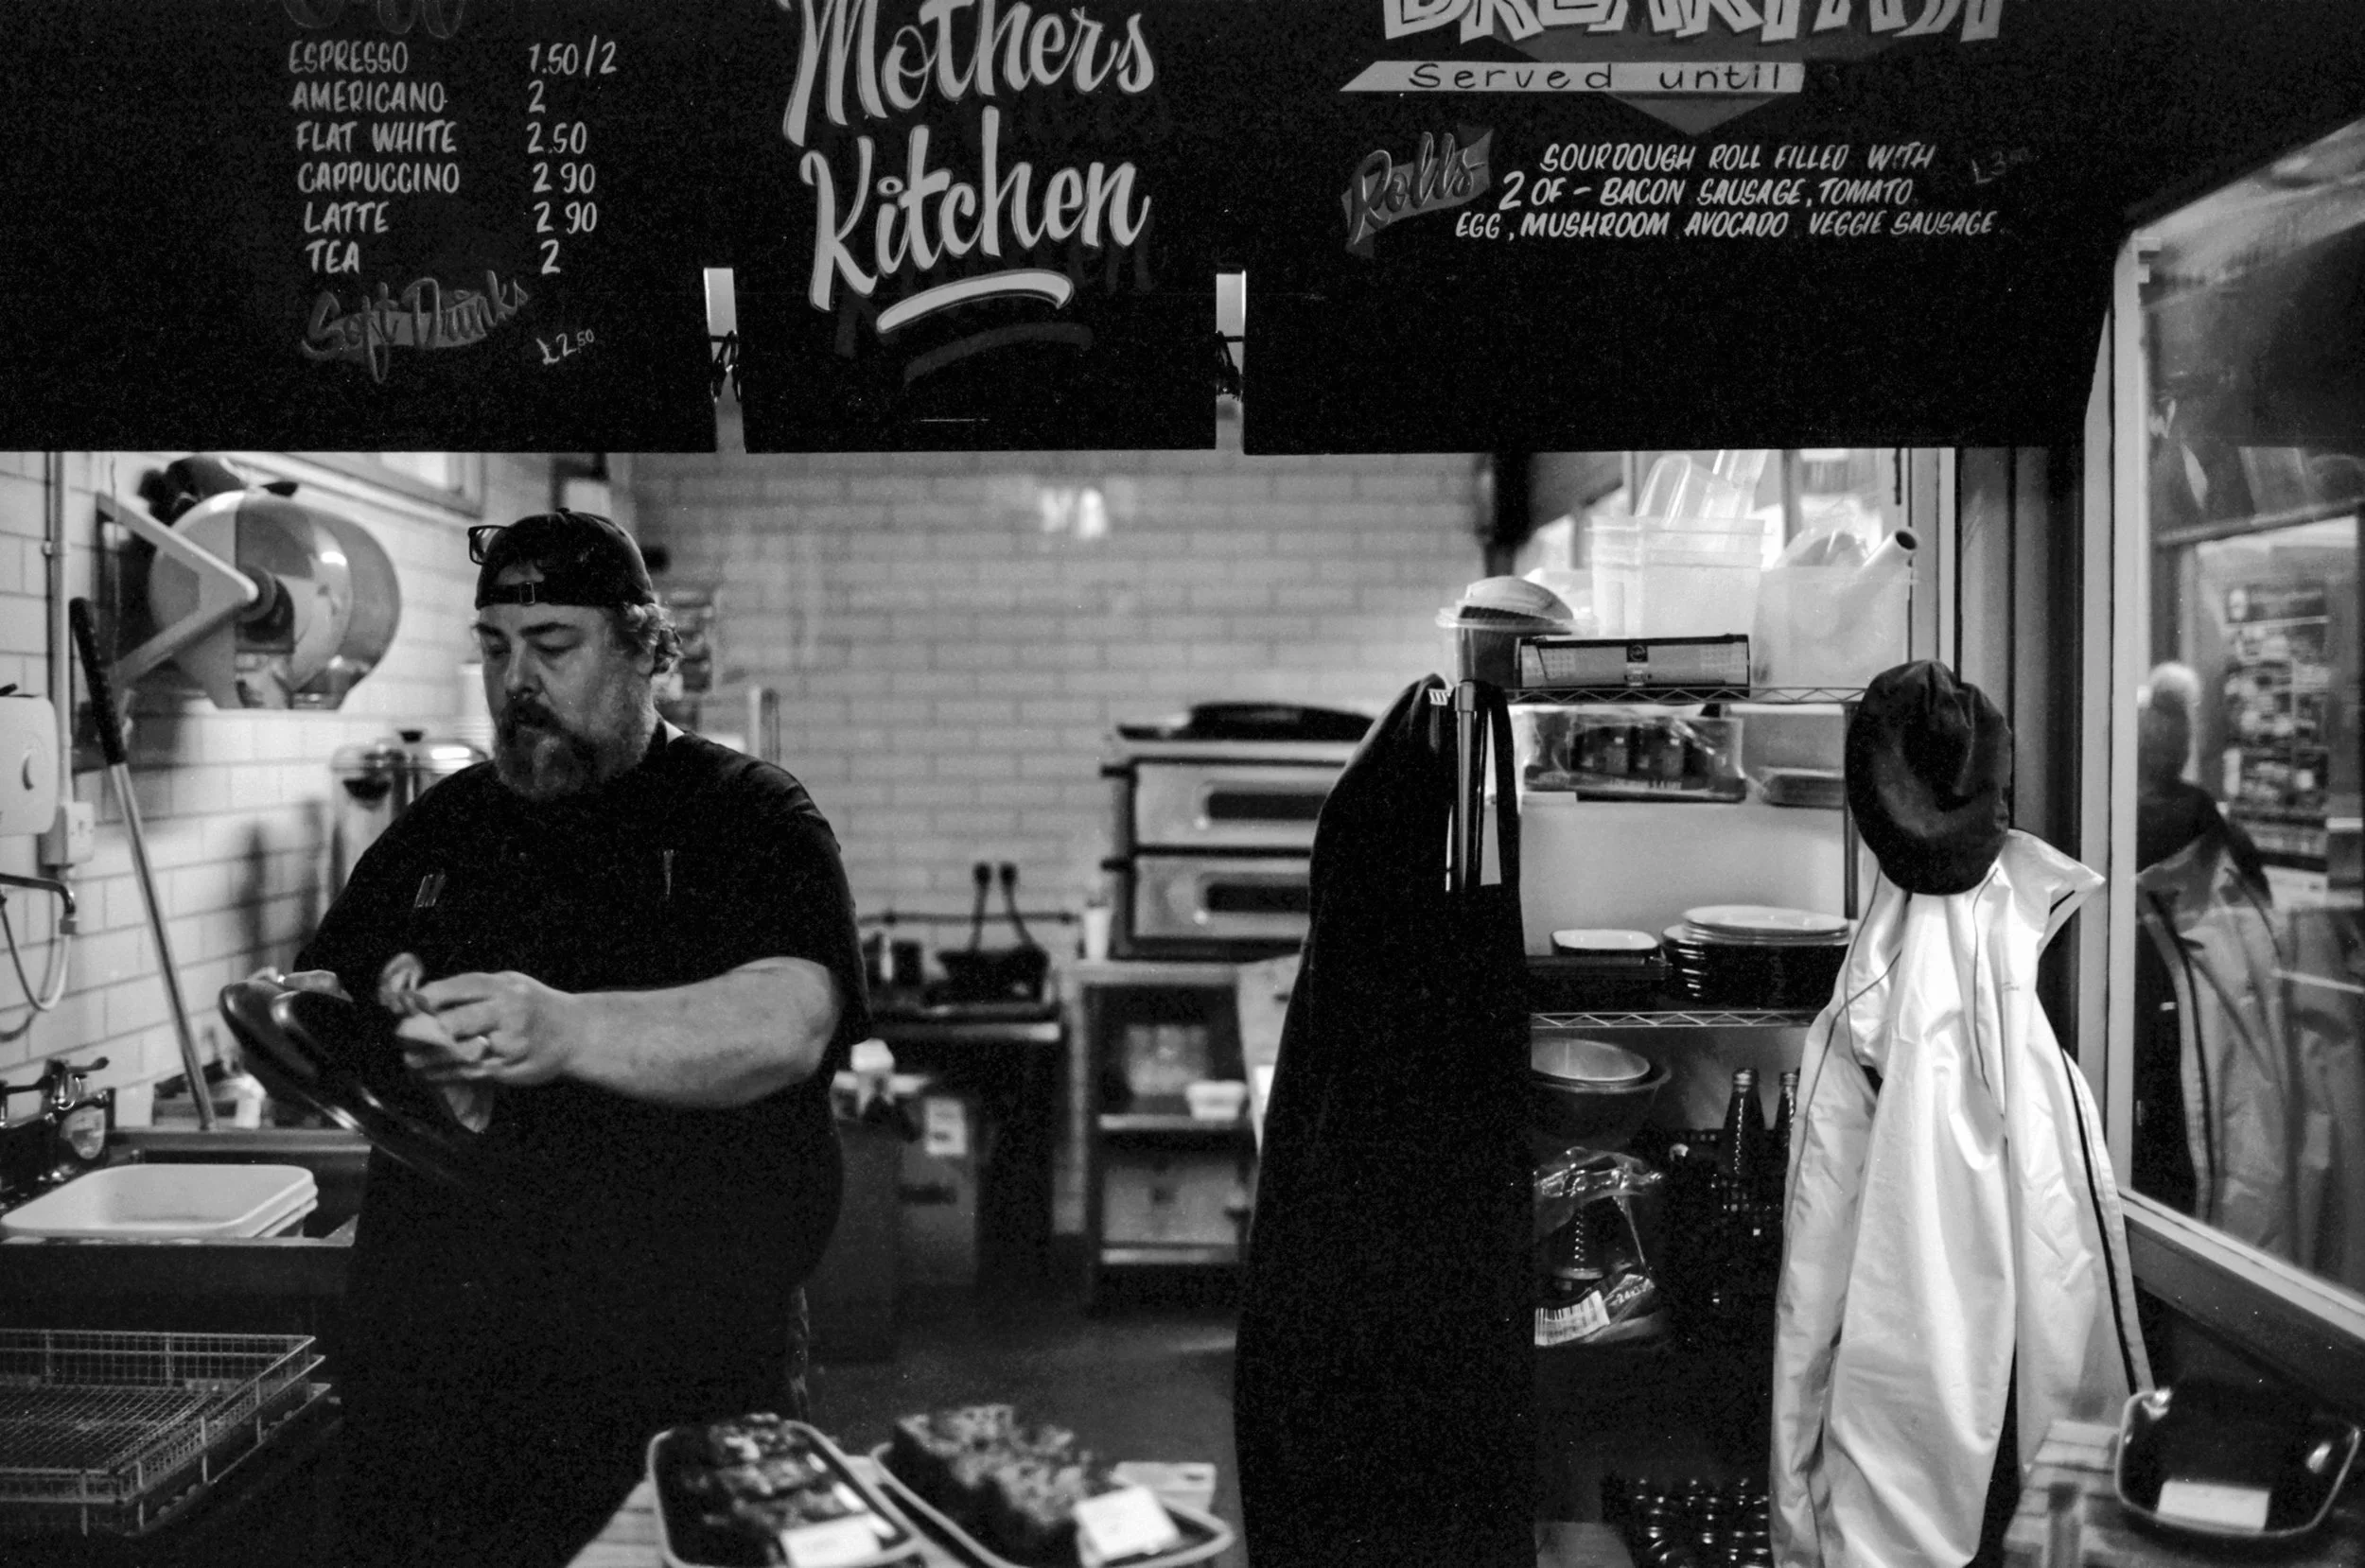
Neopan Acros II - Mothers Kitchen at St Nicks market.

Neopan Acros II - The Wellhead
Neopan Acros II - 16mm ultra wide angle shot using external VF

Kodak Ektar 100 - Edinburgh Grassmarket

Kodak Ektar 100 - Edinburgh Grassmarket looking down

Kodak Ektar 100 - Repurposed police boxes now selling coffee.

Kodak Ektar 100 - My attempts at a Christmas shot.

Kodak Ektar 100 - We had a little snow

Kodak TMAX 100 - VOI guy moving e-scooters around the city.

Kodak TMAX 100 - Finzels reach - 21mm wide angle shot

Kodak TMAX 100 - Sheepish 50mm
Kodak TMAX 100 - St Nicks Market

Kodak TMAX 100 - Guys chatting at St Nicks

Kodak TMAX 100 - Frenchay

Kodak TMAX 100 - More than molehills.

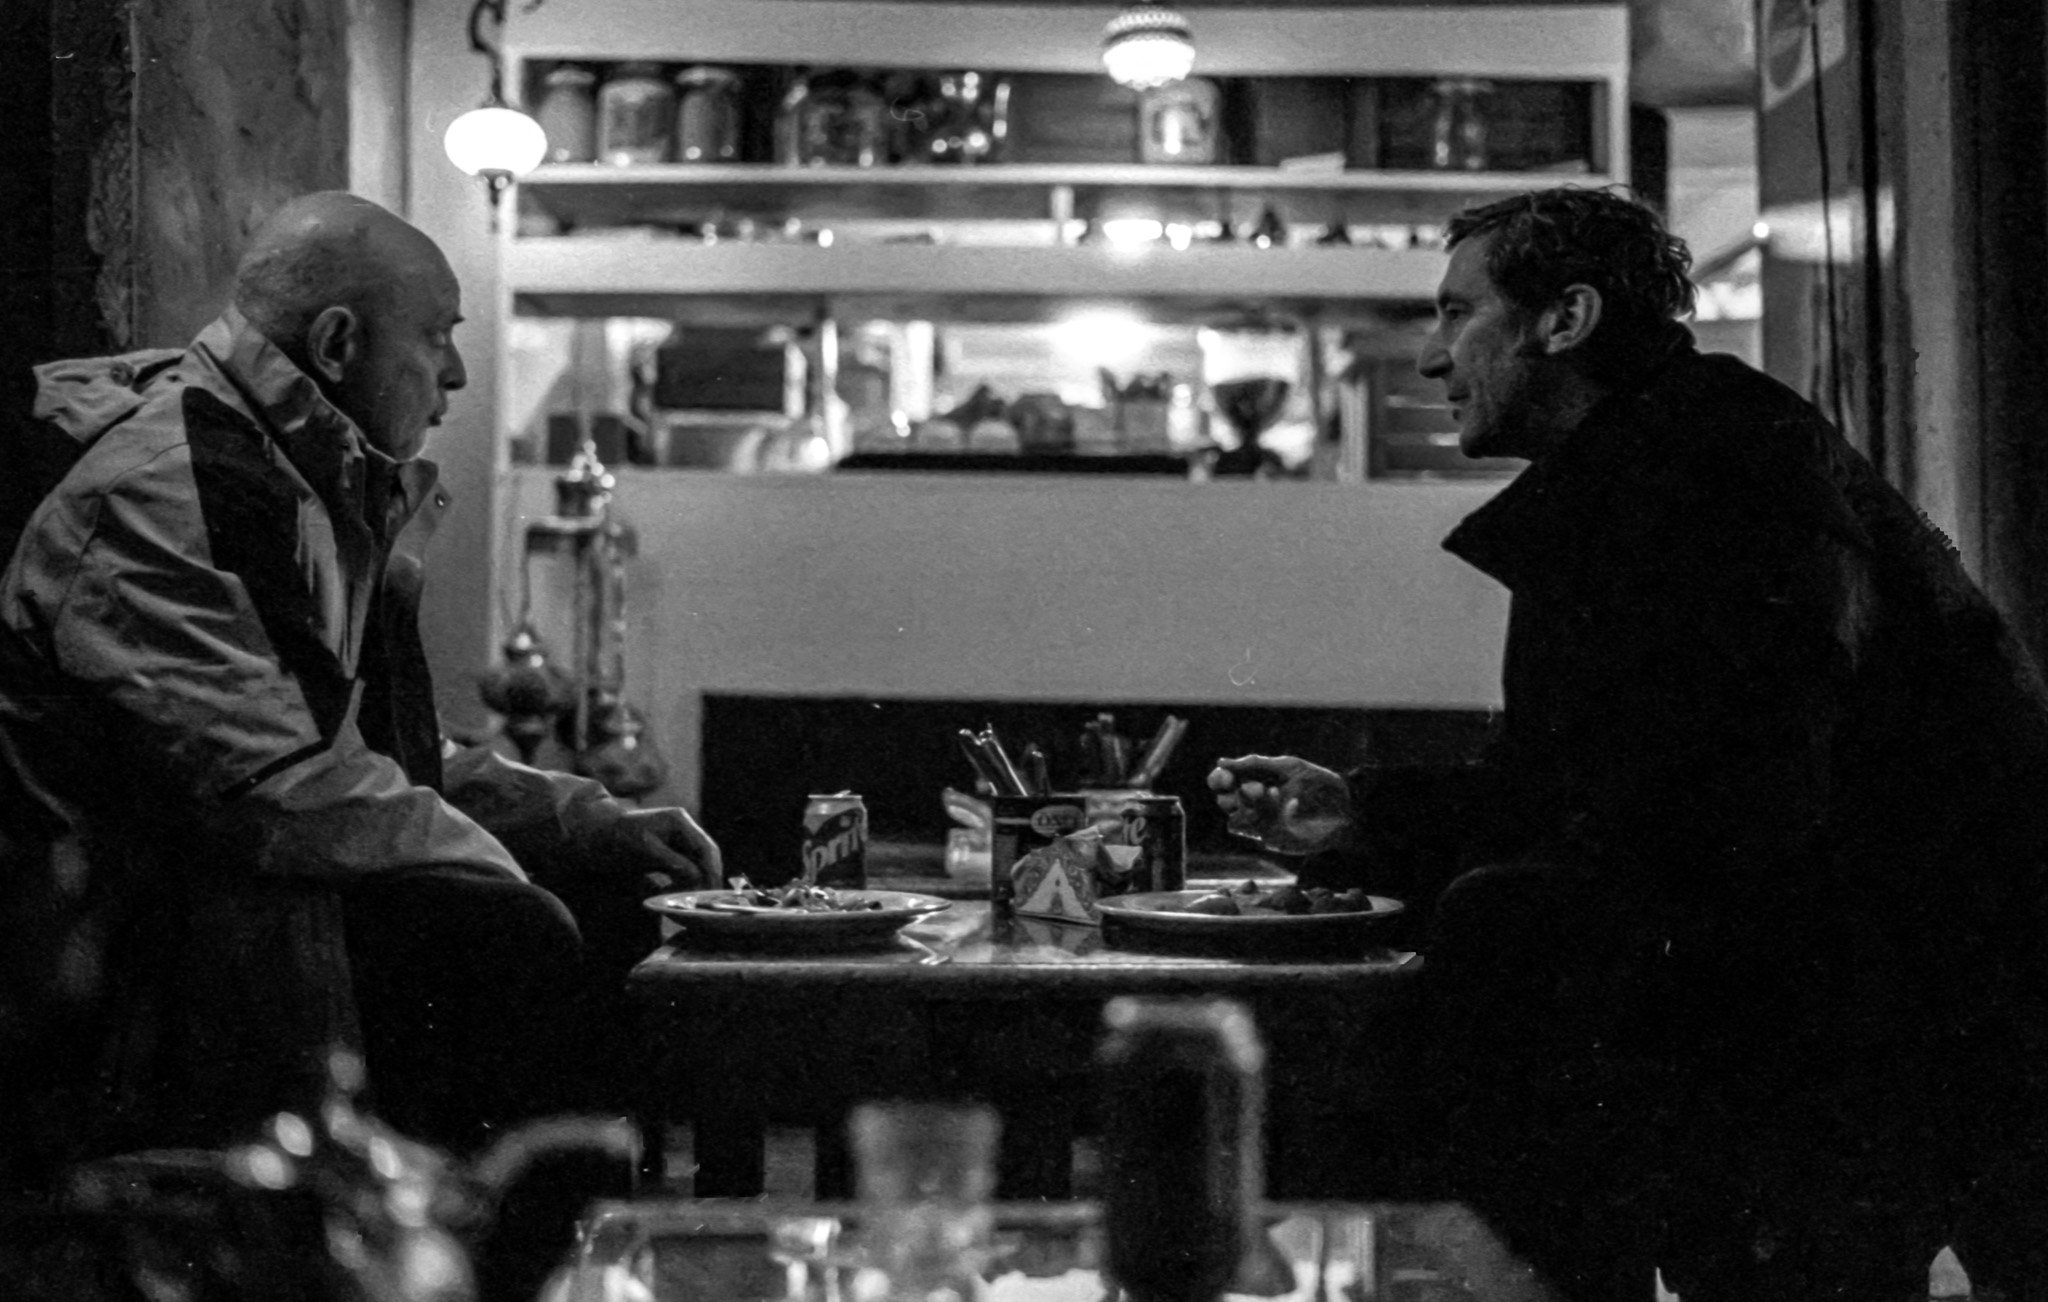
Kodak Tri-X 400 - Street portrait in the rain.

Kodak Tri-X 400 - Bell Lane graffiti

Kodak Tri-X 400 - Man Cave barbers

Kodak Tri-X 400 - Park Street

Kodak Tri-X 400 - St Nicks

Kodak Tri-X 400 - New Society Cafe #2

Kodak Tri-X 400 - Abandoned bike at St Nicks
February 2023
During February, I started to concentrate more on black and white films and had a few interesting rolls to put through their paces which I’d identified earlier, as good candidates for Street Photography.
Clevedon beach and pier - Ilford FP4+
A medium contrast, fine grained film that produces sharp images. A little post processing gave me the contrasty images I like. I had a few hours down at the beach in bright sunny conditions to take some shots and enjoy a little winter sun with a coffee and slice of cake on the pier.
London, Bristol and Curiosity Moto - Ilford HP5+
I’ve used this film many times and get some interesting but varied results. It’s a relatively inexpensive film, far cheaper than the Kodak Pro films and gives a pleasing render. Sometimes, I really like the results on HP5, and other times I’m not keen at all.
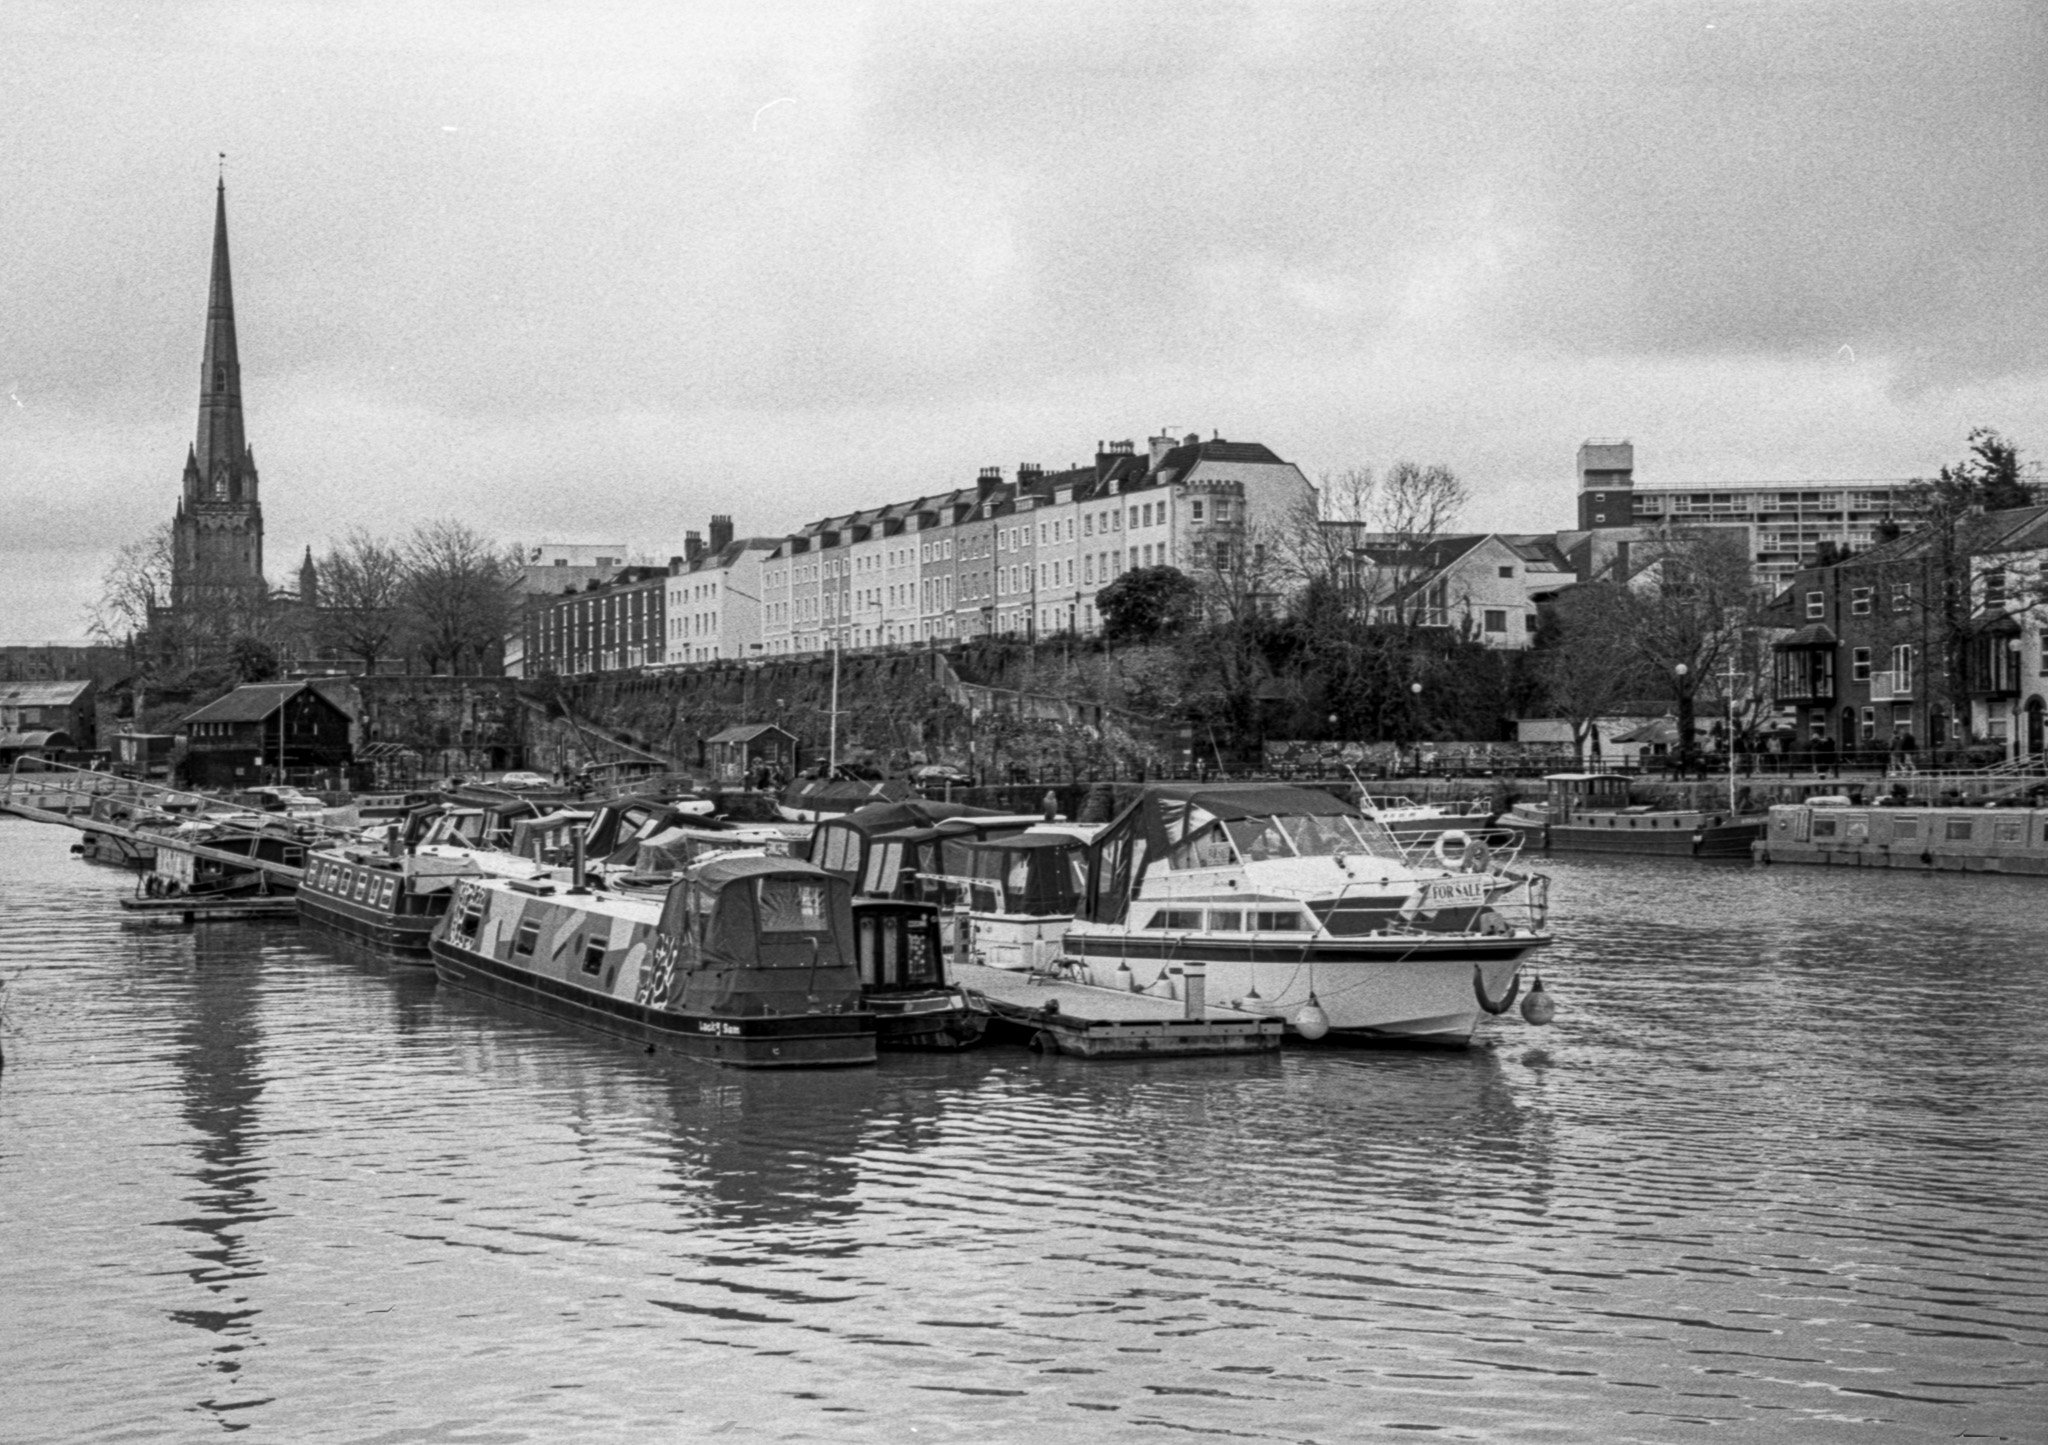
Bristol, and Sharpness Docks - Kodak TMAX 400
T-MAX is another one of my favourite films. I like 100 ISO but it’s often very hard to get hold of. The 400 ISO variant is a little easier to get hold of and provides a more useable speed for varied light conditions. It’s still sharp, fine grained and high in contrast. All the things I like the most about black and white film. I took a series of shots at Sharpness using both film and digital. The film pictures really seem to bring the place alive in a way that was missed on the digital medium. Maybe it’s gritty nature of film over the super clean look from digital. TMAX is pretty clean, but still has a classic filmic look about it which I really like.
More Sharpness Docks - Fujifilm’s Neopan Acros II - 100
I really like the results from this film and it’s hard to chose if I prefer this or Kodak TMAX. I managed to get a good stock of Acros II but since then, the price has gone up. I still haven’t had a chance to try Acros II at night with long exposures but it did a good job at Sharpness. It’s darker than TMAX and seems almost impossible to blow the highlights so I always got good details in the skies.
Ilford FP4+ Clevedon Beach

Ilford FP4+ Clevedon Pier

Ilford FP4+ Shadow of the pier looking back
Ilford FP4+ End of Clevedon Pier

Ilford FP4+ A couple of nice ladies who posed for a photo

Ilford HP5 plus - Apsley Marina

Ilford HP5 plus - Park Street

Ilford HP5 plus - Society Cafe

Ilford HP5 plus - Portrait of Mark

Kodak TMAX 400 - Clevedon Pier

Kodak TMAX 400 - Fabricating the exhaust on a 1965 race car

Kodak TMAX 400 - Park Street Bristol

Kodak TMAX 400 - Characters of Bristol
Kodak TMAX 400 - Arrow's Coffee shop

TMAX400 - Tree Silhouette

Kodak TMAX 400 - Sharpness

Kodak TMAX 400 -Reflections at Sharpness

Acros II - Panorama at Sharpness

Acros II - Train Restoration

Acros II - Tom in the tunnel

Acros II - Sheena Mackay

Acros II - The Canal at Sharpness

Acros II - Ships Graveyard

Acros II - Ships Graveyard

Acros II - Ships Graveyard

Acros II - Ships Graveyard

Acros II - Ships Graveyard

Acros II - Ships Graveyard

Acros II - Ships Graveyard

Acros II - Ships Graveyard
March 2023
March is the month where everything changes with my film photography. I’m still enjoying it very much but I’m pretty much done with testing different films all the time. I know what works for me and my style of photography so now, I can concentrate on taking photos again.
There are still going to be opportunities to try new films but first I need to reduce the running costs.
Shooting Film is expensive
I’m getting through a lot of film and the developing & scanning costs are becoming prohibitive. Film isn’t cheap to start with and predictably, I favour the ‘professional’ grade films for my work because frankly, they give the results I like the most. I refrain from using the word ‘Best’ because it’s all subjective.
Developing film is easy and fun they said… give it a try they said
I’m booked on a course in April, to learn how to develop black and white film which I’m very much looking forward to. It will enable me to save a lot of money. The problem is, the rate at which I’m shooting film means I’ll have spent another £100 on developing and scanning costs by then which is a good chunk towards everything I need to do this myself at home.
Everybody I speak to says it’s easy to develop film at home and there is so much information available on the internet, I decided to do some research. Several hours later, goggle-eyed from watching YouTube videos and having taken copious notes, I’ve got a plan. I’ve also had conversations with lots of friends who develop their own film including Duncan at my favourite film lab, SilverPan in Bristol.
I bought all the kit I needed for developing my own black and white film from Amazon and eBay for a little over £150. A paterson 2-reel tank, some jugs, some bottles, a thermometer, canister opener, scissors, dark bag, safety glasses and some nitrile gloves. Using up some reward points from my credit card I pretty much got everything without spending any actual money at all. After taking some advice and low stock of my first choice chemistry, I bought entirely Ilford products for a total of about £80. This will allow me to develop more than 160 films before needing anything else.
Armed with developing recipes from the ‘Massive Dev Chart’, a resource on the internet and several dry runs later with an old exposed film, getting it onto the reels inside the dark bag, I was ready to give it a go.
I’ve mixed up all my chemicals to the correct dilutions and it’s all sitting in my bathroom at 20˚C. I’ve also downloaded the fabulous free ‘Develop!’ app on my phone to time the various processes and record my ‘recipes’ as I go.
Films I used in March - Street Photography
I’ve got a decent stock of Kodak Tri-X 400 (or 400TX) as it’s known so I mostly used that during March. It produces nice results that work well with my street photography. I also used a single roll of TMAX400 which I like very much for its fine grain, high contrast and general sharpness. I was given a roll of expired Kentmere 400 which I also decided to shoot. Despite being owned by Ilford who make decent film, I didn’t get on with the kentmere at all. I found it’s resolving power very poor indeed which is a step too far beyond ‘character’ for me. I’ve included a couple of shots from from the Kentmere which are the only two from the roll I felt were passable and their not that sharp.
Everything in the gallery below was developed by me at home using Ilford’s Ilfotec-HC developer, stop bath, fixer and wetting agent.

400TX - Decisive moment, waiting for the bird to come into the frame.

400TX - Dutch style bicycle on Park St. You see a lot of these in Amsterdam

400TX - Reflection in Woodes Coffee Shop.

400TX - St Nicks food hall

400TX - Street portrait of this young guy and his dog

400TX - Lunch
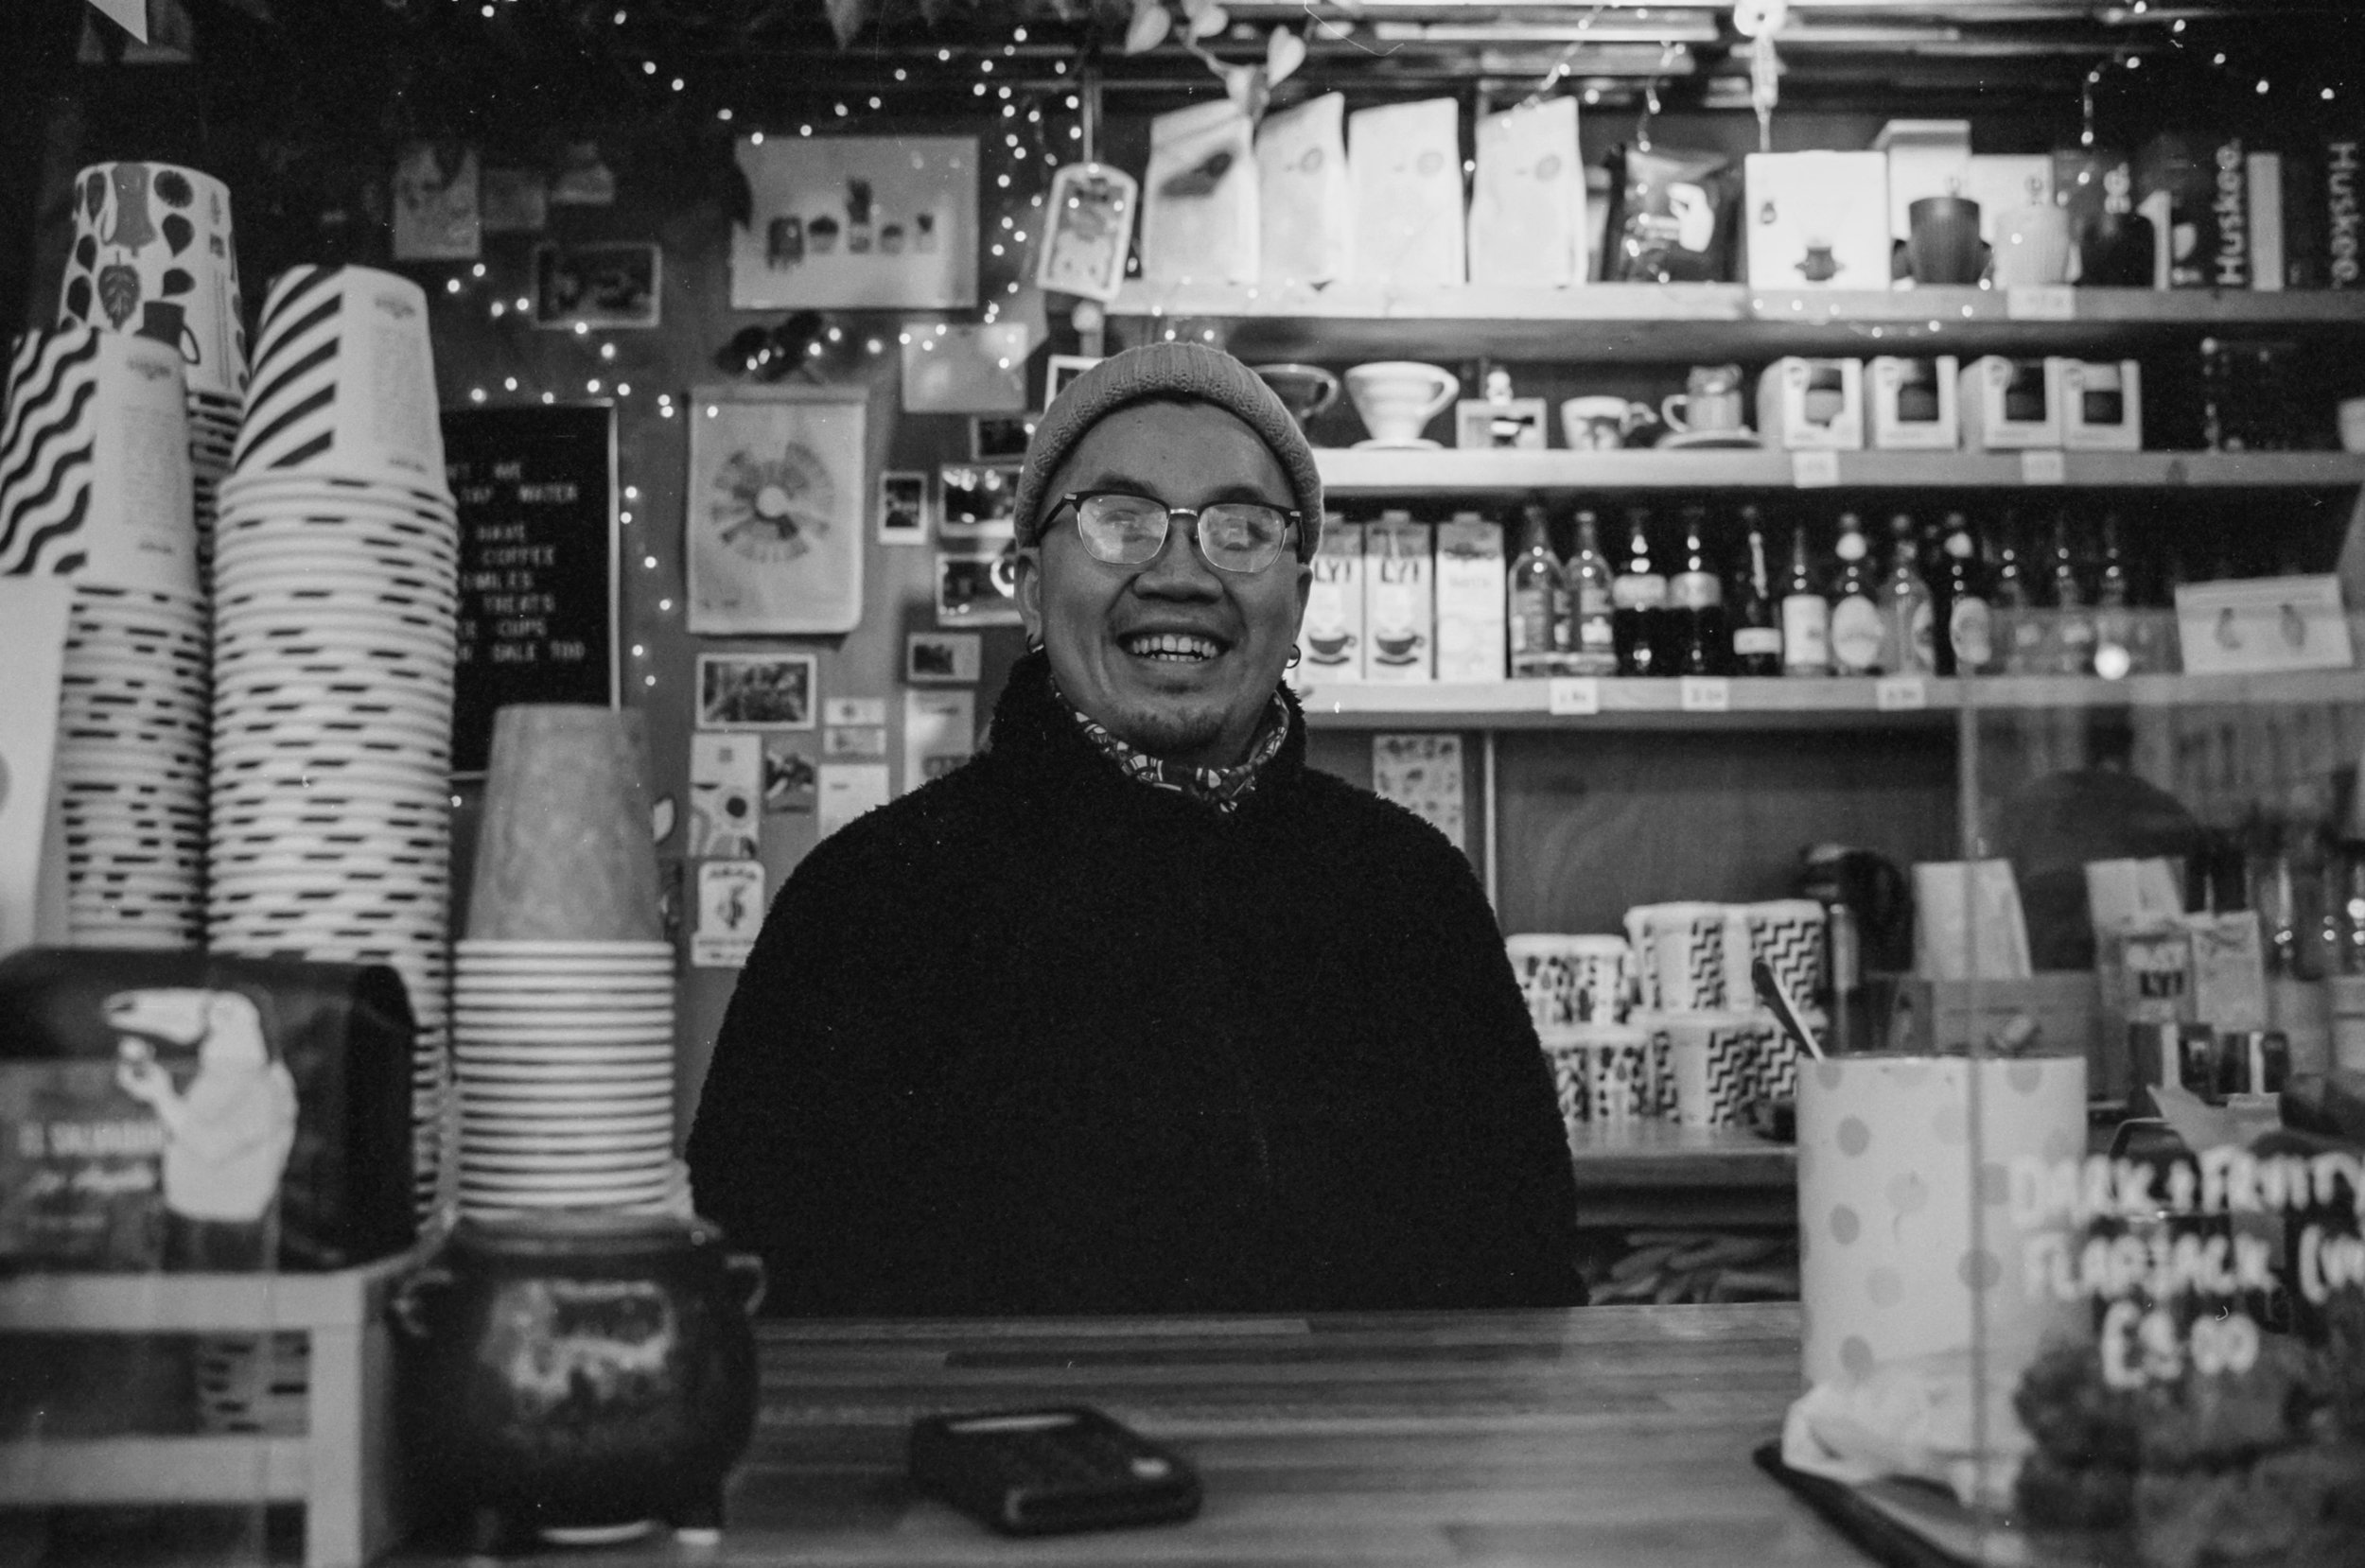
400TX - Born to Chill

400TX - Guy eating lunch next to his bike
Padding station shot on expired Kentmere 400
Two guys chatting over lunch in St Nicks also on Kentmere400

400TX - Pick me up

400TX - Feeding the birds

400TX - Other worlds are possible

TMax400 - You know you want to.

TMAX400 - Sk8tr Boi

TMAX400 - Elegant

TMAX400 - on track

TMAX400 - Girls talk
TMAX400 - Lovely voice

TMAX400 - Banksy on Park St
400TX - view

400TX - Jude and his Canonet a great 40mm fixed lens rangefinder.

400TX - Jude again

My film developing kit: Starting on the left with the ilford chemistry, Ilfotec-HC developer, ilfostop (stop bath), Ilford rapid fixer and ilfotol wetting agent. Paterson system 4 developing tank (2 reel version) and some working solution (1 litre) bottles and a thermometer. 3 x 1ltr measuring jugs which I use during the development process and a bunch of measuring cylinders which I use during the chemistry mixing process.
A box of nitrile gloves from Amazon and some safety glasses complete the safety kit. For the film preparation, I use a paterson darkroom changing bag, some scissors and I have a canister opener and film leader retriever (which I’ve never got on with). For the final drying process, I use a paterson squeegee and some weighted hanging clips.

Chemicals laid out and all at 20˚C. Left to right, Ilfotec-HC Developer. Ilfostop - Stop bath, Ilford Rapid Fixer and far right, Ilfotol wetting agent, a couple ml used in the final wash.
Note: the developer is somewhat stained brown from developing some rolls of Rollie Retro 400S. It doesn’t affect it’s usual operation though.
April 2023
With film developing pretty much locked down, I’m now looking to other areas to save money on my film photography. Getting through an absolute ton of film, bulk loading seems like a good way forward. My film developing workshop in April not only consolidated my knowledge about film development but also gave a useful chance to network with other film fanatics. Through this I learned about bulk loading. The process of ‘rolling your own’ film canisters from bulk rolls of film which are cheaper to purchase than retail rolls.
On the way home from the workshop, I bought a bulk loader on eBay and a half price, 100ft roll of Kodak Tri-X 400 that was about to expire.
By the end of April, I’ve got a second bulk loader, loaded with a 50ft roll of Rollie Retro 80S.
Able to roll films with as many exposures as I’m likely to use, film efficiency goes up, costs come down and I’m able to save a ton of money. Instead of forking out £12 per roll of Tri-X, I’m rolling 20 exposure rolls for £3.30 and developing for £0.43p A huge improvement from where I started.

Rolling my own has become a real thing… It started with a 100ft roll of Tri-X

Portrait in London - HP5 plus
Jason Avery - HP5plus

Reflection - London - HP5plus

Leica Gallery - HP5plus

Bike Meet - 400TX

Hot Rods - 400TX

Hot Rods at Promo Shoot - 400TX

Promo Shoot for MPH - 400TX

Anila - Rollie 80S
Apsley - Rollie 80S

Apsley Canal - Rollie 80S

Grand union - Rollie 80S
May
May saw the acquisition of another film camera. A mint, used Leica MP came into my local store. Essentially it’s the same as the M-A I’m currently using with the addition of a light meter. A bit of gear swapping later and it’s in the bag alongside my trusty M-A. This in itself speaks volumes about how much I’m enjoying film photography.
I appreciate the no batteries, no light meter and no worries of my trusty M-A, the key things that drew me to it but I also like to shoot fast lenses and wide open. On a film camera, this invariably means I end up using an ND filter.
I purchased some variable ND filters to fit my fastest lenses which are great for the job. The problem is, working out the exposure with variable amounts of ND filter is extremely difficult without an on-board light meter. I can and have done it, but the amount it slows me down means I often miss the shot, particularly when shooting street photography.
A second camera allows me to shoot narrow depth of field with fast glass and not have to guess the exposure compensation. It also allows me to have a second film running with a different speed, or type.
I got the MP for a good price, one that will hold for sure so I’ll not lose out it it turns out this isn’t for me. It’s also a very popular camera with film photographers.
In May, I rediscovered Ilford’s fine-grained FP4plus film.
After reviewing some images taken earlier in the year with FP4plus, I decided to buy a 100ft bulk roll from Analogue Wonderland and Bulk loader number 3.
With a little tweaking in post processing, I like the look of FP4plus. It’s a lovely fine grained film which is nice to work with captures lots of detail in the shadows. I boost the contrast a bit to give the look I prefer.
I also shot some Rollie Retro 80S which has a nice look and feel. It can be a little hard though to control the highlights on bright days though, so you need to shoot for the shadows. I like this film, but not as much as the FP4.
Rollie Retro film - M-Shed Bristol

400TX on the Leica iiic in London

Millennium Bridge using 400TX

Shoreditch street art - 400TX

M-Shed with Rollie Retro 80S
Street Scene using Rollie Retro

Bristol Harbour - Rollie Retro

Street portrait - Rollie Retro 80S

Street Portrait - Ilford FP4plus

Coffee Shop Portrait - FP4+

Shooting with friends - FP4+

Sk8tr action - FP4+

The lovely Silvia - FP4+

Photogenic Jude - FP4+
Street Scene - FP4+
I had a lot of fun with these Medium format cameras but what did I learn ?
The size and weight of these things is quite something. Initially, I loved the look of the Mamiya but when it came to shooting and carrying it around all day, the Hasselblad for me was a clear winner. Smaller and lighter than the Mamiya, it felt better in the hand. I also loved the viewfinder on this camera and really got into shooting the square format. It took a while for me to get used to seeing everything back to front thought.
There is no question, the extra resolution in medium format, makes for some beautiful images but as I mainly shoot street scenes they are absolutely not subtle cameras to use for this kind of work.
Medium format is much better suited to portraits, even street portraits. There’s a surprising number of people shooting old Rollieflex, Hasselblad and Mamiya medium format cameras on the streets of Bristol. They are quite a conversation starter and I made many new friends just from using these cameras.
I don’t own a medium format camera, but if I ever do, it will likely be a Hasselblad for its simplicity and ease of use. I’ve not tried a TLR type camera yet like the Rolliflex but that also could be a contender, being even smaller and lighter than the Hasselblad.
Something a little different - Medium Format
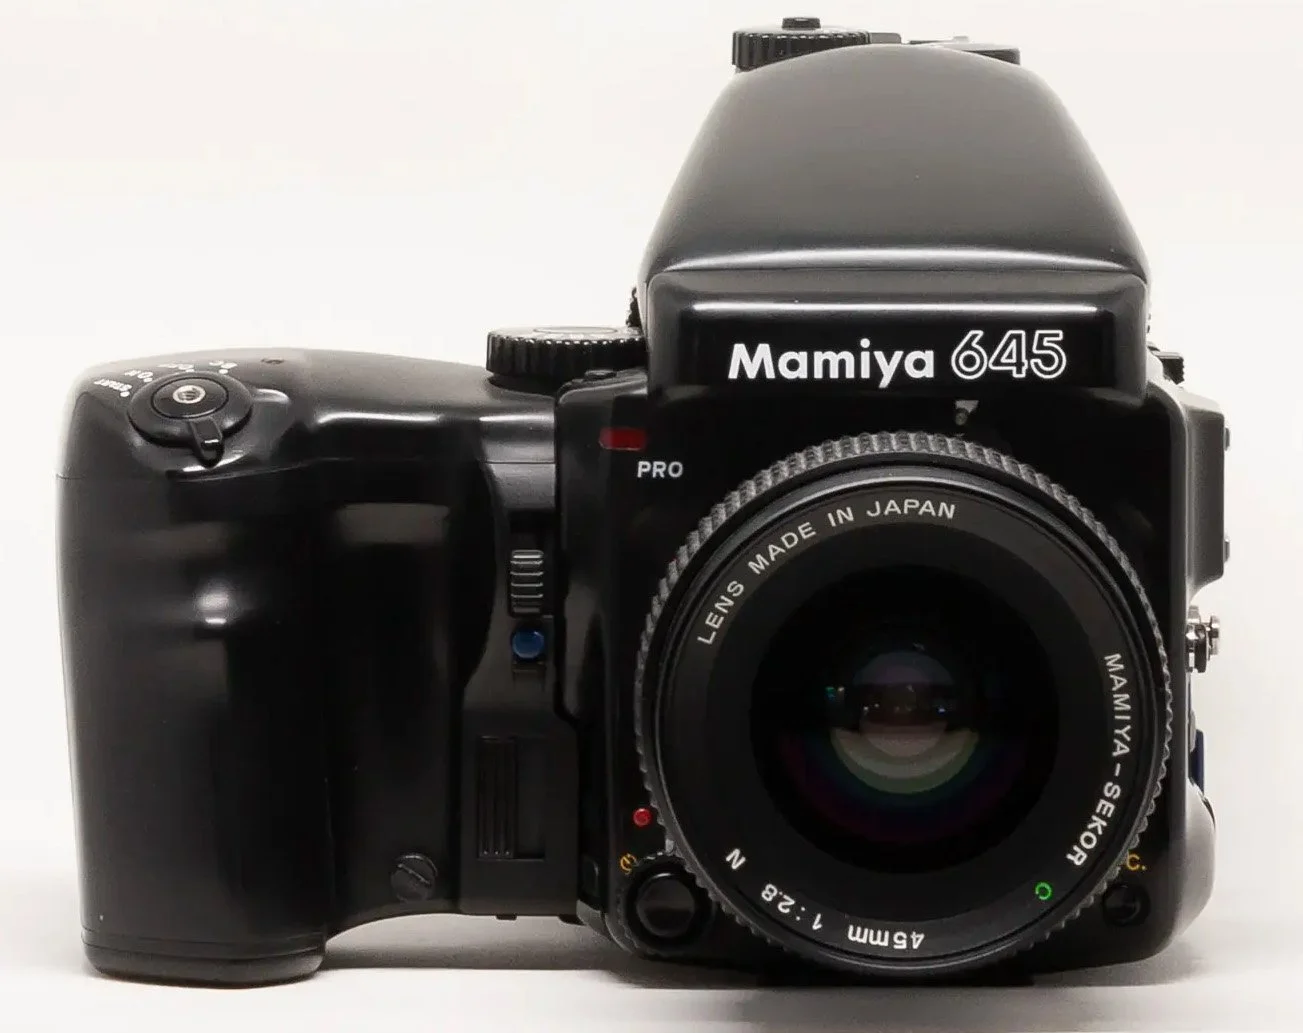
My good friend Jude, kindly lent me a couple of beautiful medium format cameras. A Hasselblad 500cm and a Mamiya 645 Pro. Initially, based on looks alone, I found myself drawn to the Mamiya, but it’s an absolute beast. Maybe without the auto-winder attachment fitted, it would be a little smaller and lighter but I ended up preferring the Hasselblad.
The Mamiya shoots in 6 x 4.5 format and the Hassleblad in the square 6 x 6 format, which I also like very much.
Jude also gifted me a couple of rolls of Kodak TMax 100 for each camera knowing it’s one of my favourite films.


Hasselblad - Bristol MSHED

Hasselblad - Amazing depth of field

Hasselblad - Jude with his Rollieflex

Hasselblad - MShed Steam train

Hasselblad - A shot I now call - Pick me up

Hasselblad - Peros bridge

Mamiya - Pick me up

Mamiya - Street Scene Bristol

Mamiya, the art of unsubtle street photography

Mamiya - Jude and Kieran - Medium format shooters
June
June saw me shooting mainly Ilford FP4plus and Neopan Acros II
A trip out on the Paddlesteamer Waverley up the river severn and under the bridges plus some of the usual street stuff around Bristol and London.

Acros II - Portrait of this girl reading in the sunshine

Acros II - Street Scene Bristol

Acros II - Kieran and Jude
Acros II - Jude with his Hasselblad and M4

Acros II - Street Scene Bristol

Acros II - This dapper chap was screaming out for a portrait and very happy to oblige.

Acros II - Summer in the city of Bristol
Acros II - Harbour view from the MShed

Acros II - Could be a wedding shot. Finzels reach - Bristol

Acros II - Love the tones here.

Acros II - Portrait of Jude

FP4+ Friday night fish and chips and Clevedon
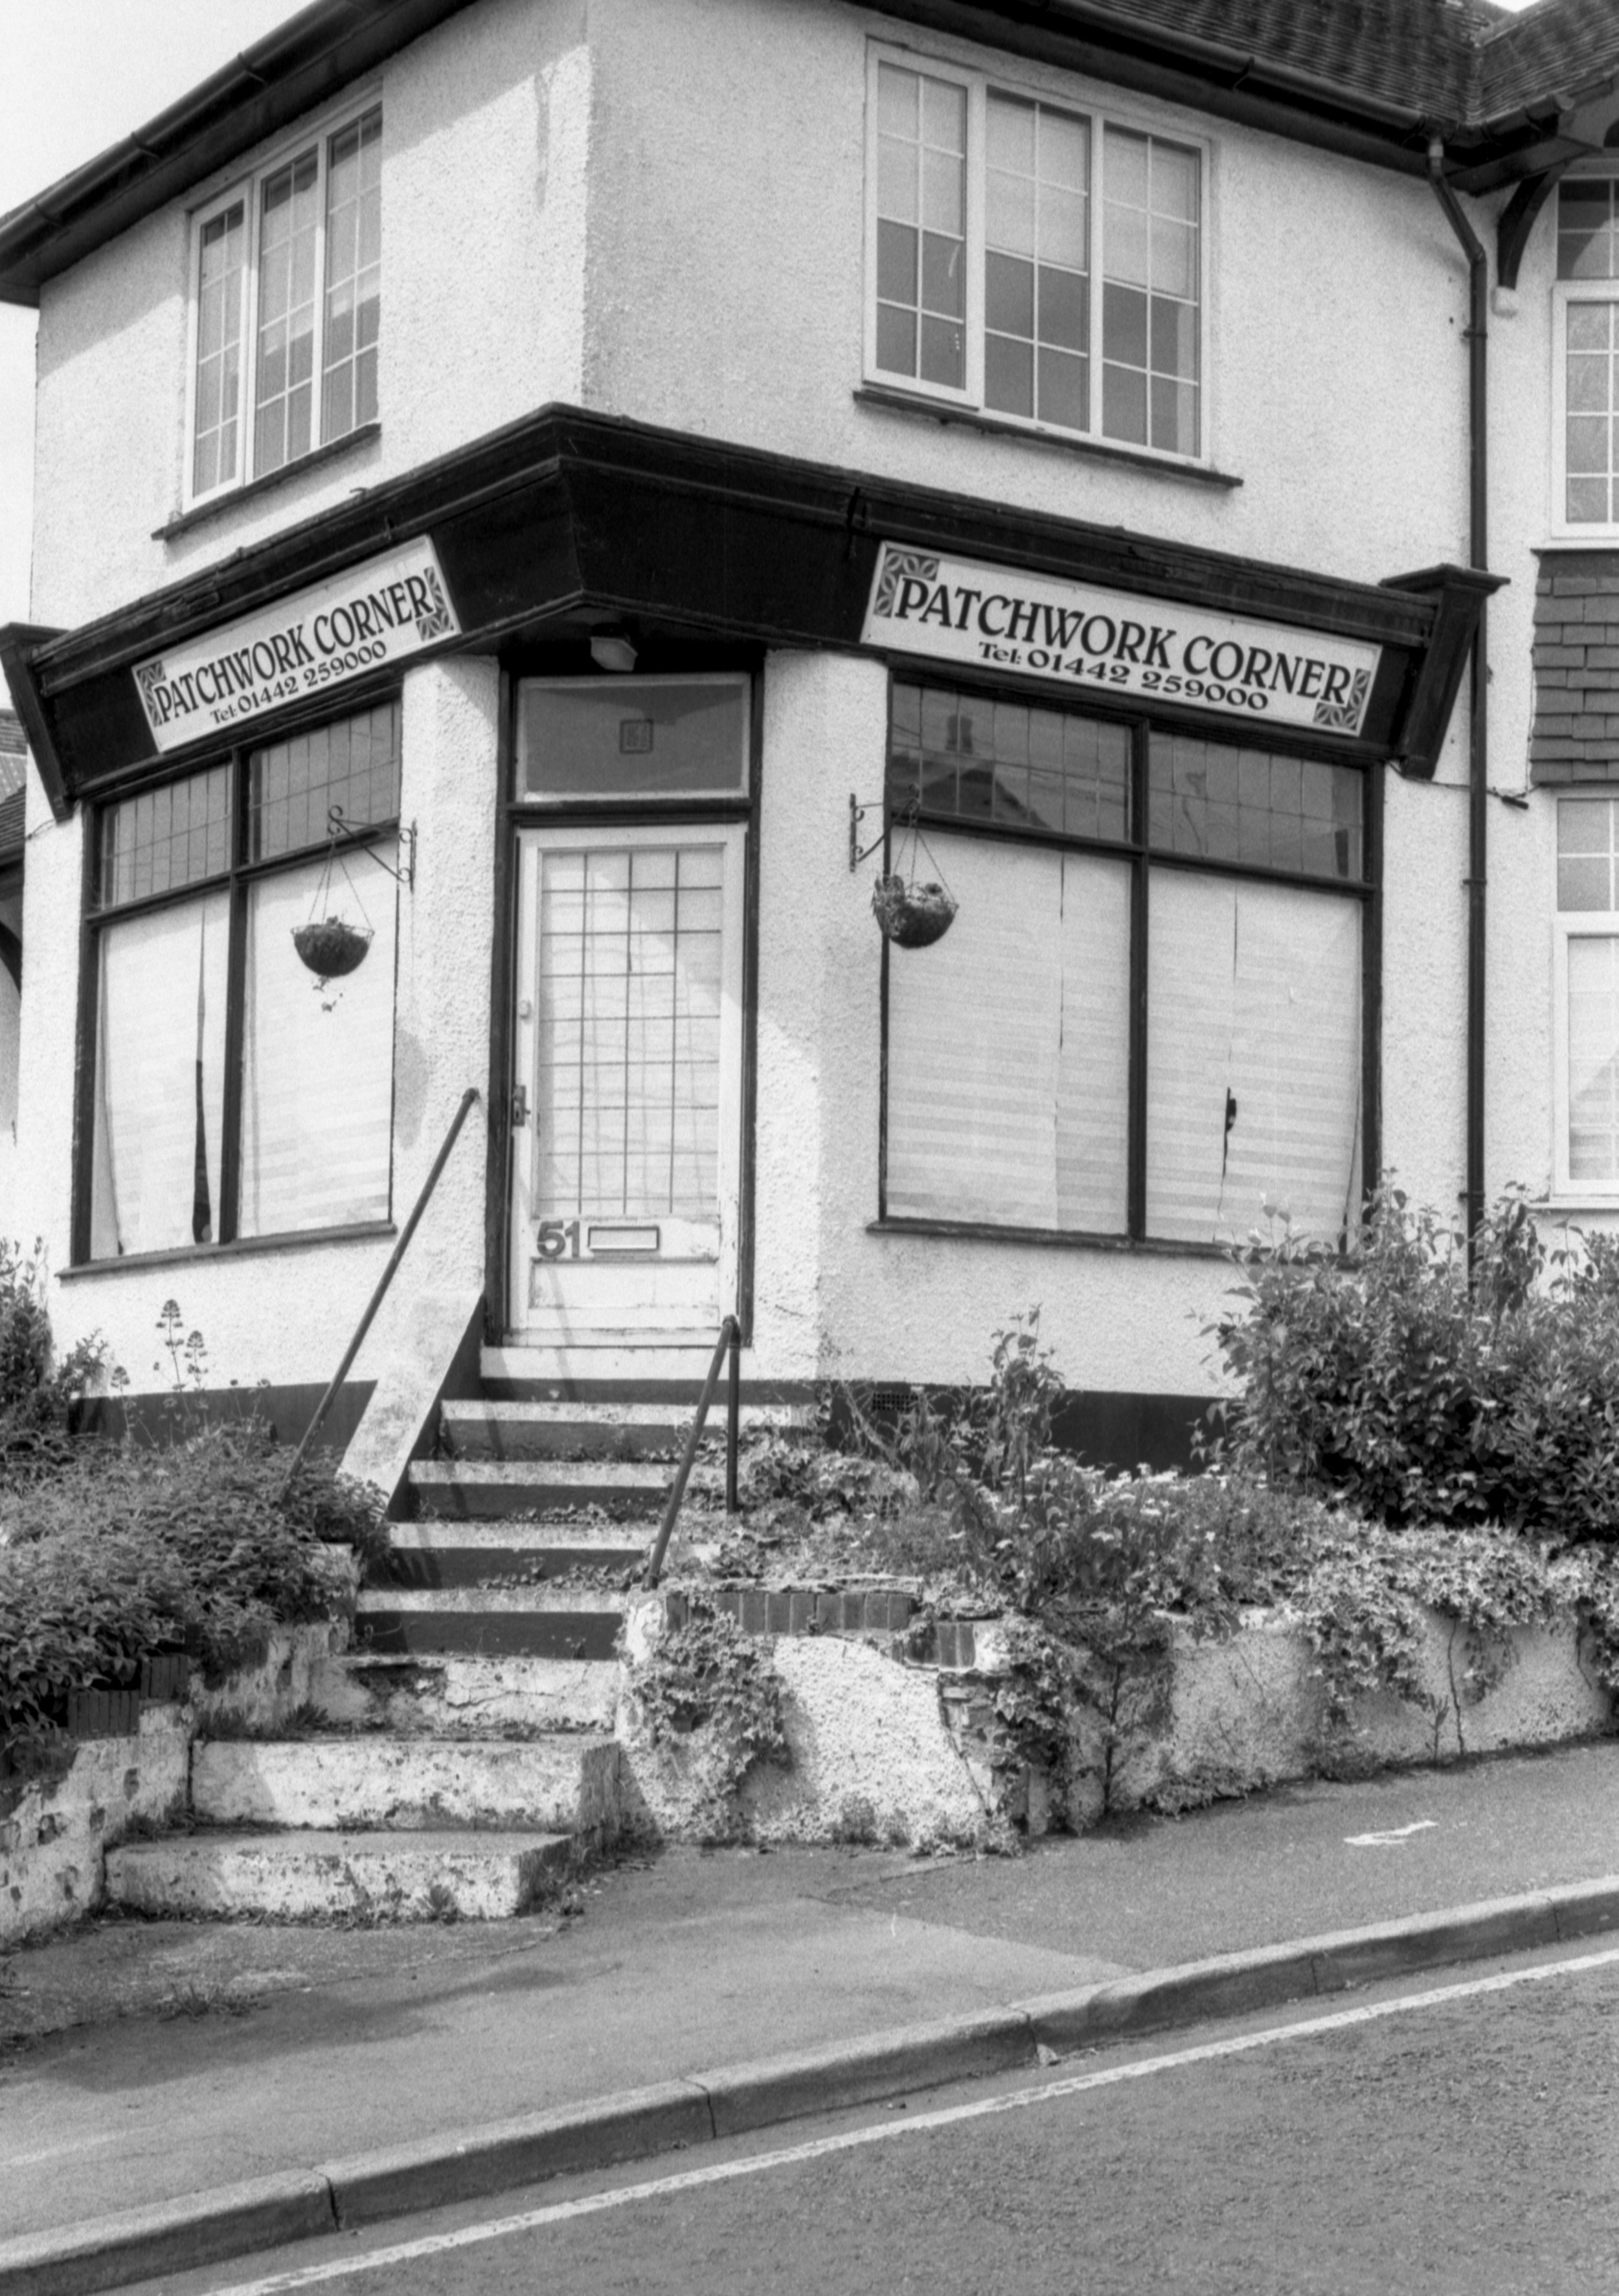
FP4+ - Patchwork Corner in Apsley

FP4+ Severn Bridge from the water
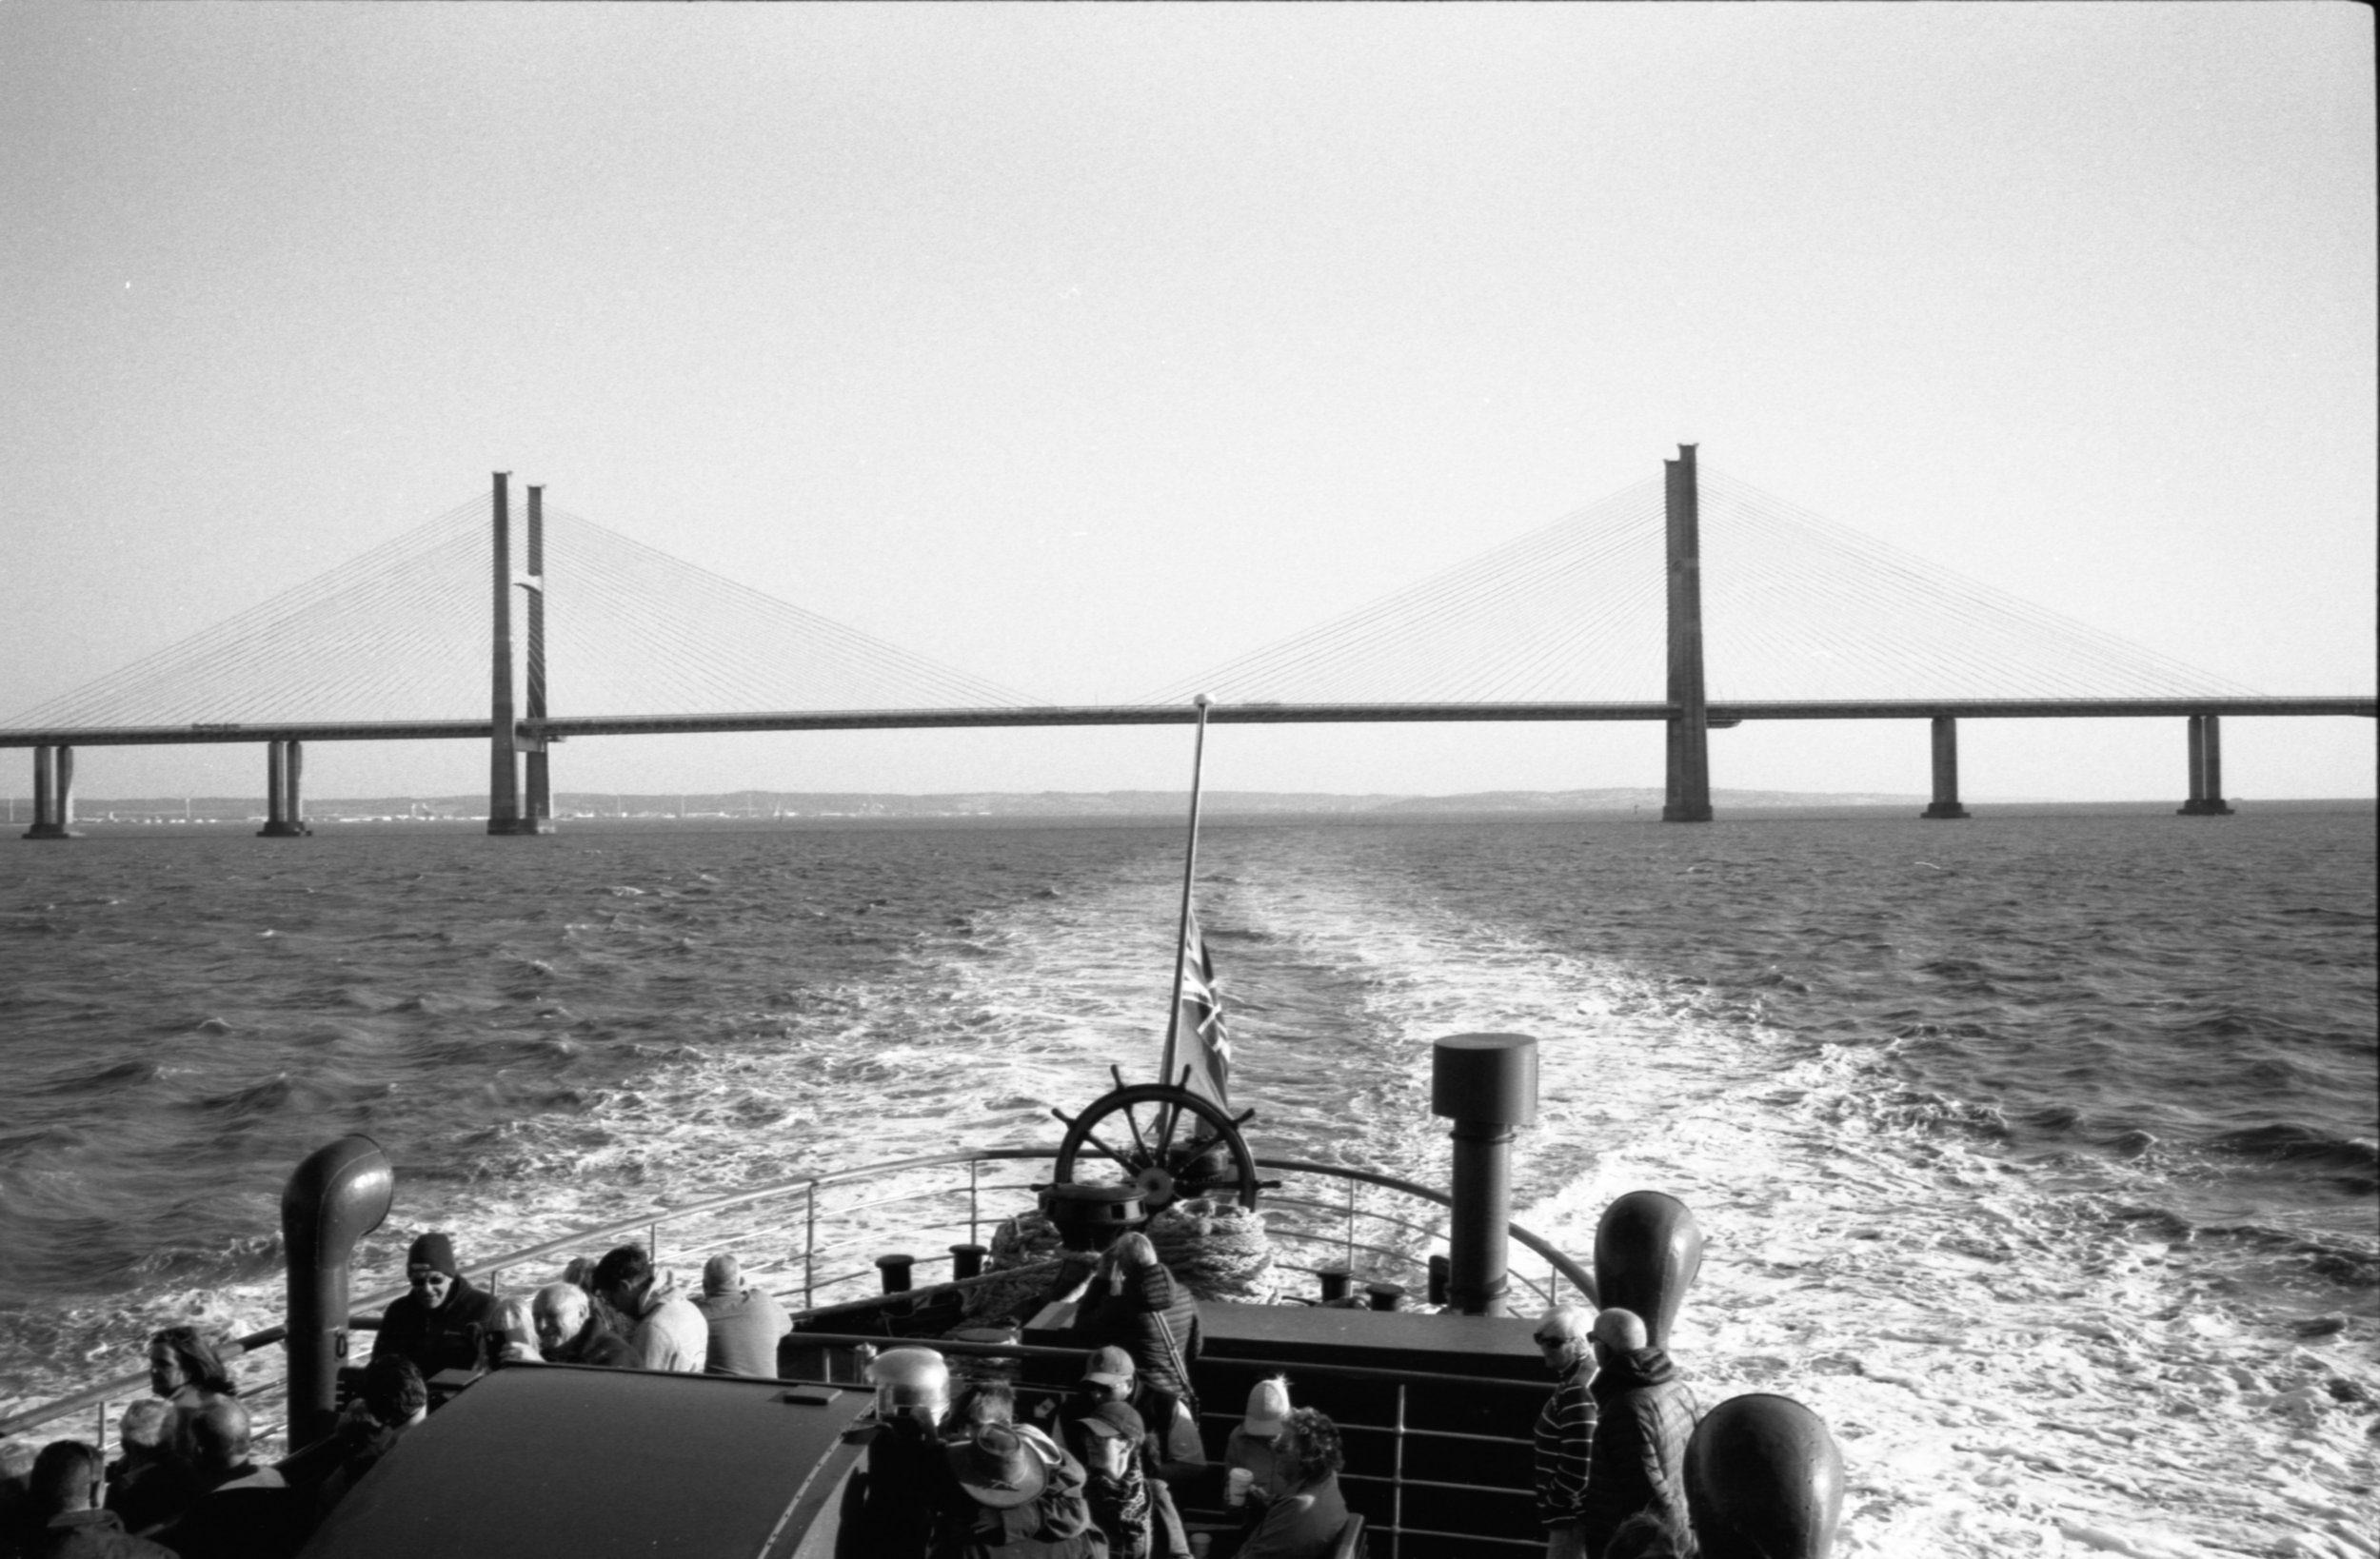
About the Waverley - FP4+

Wide open portrait of Anila - FP4+
JULY
Commissioned to shoot Black and White
-
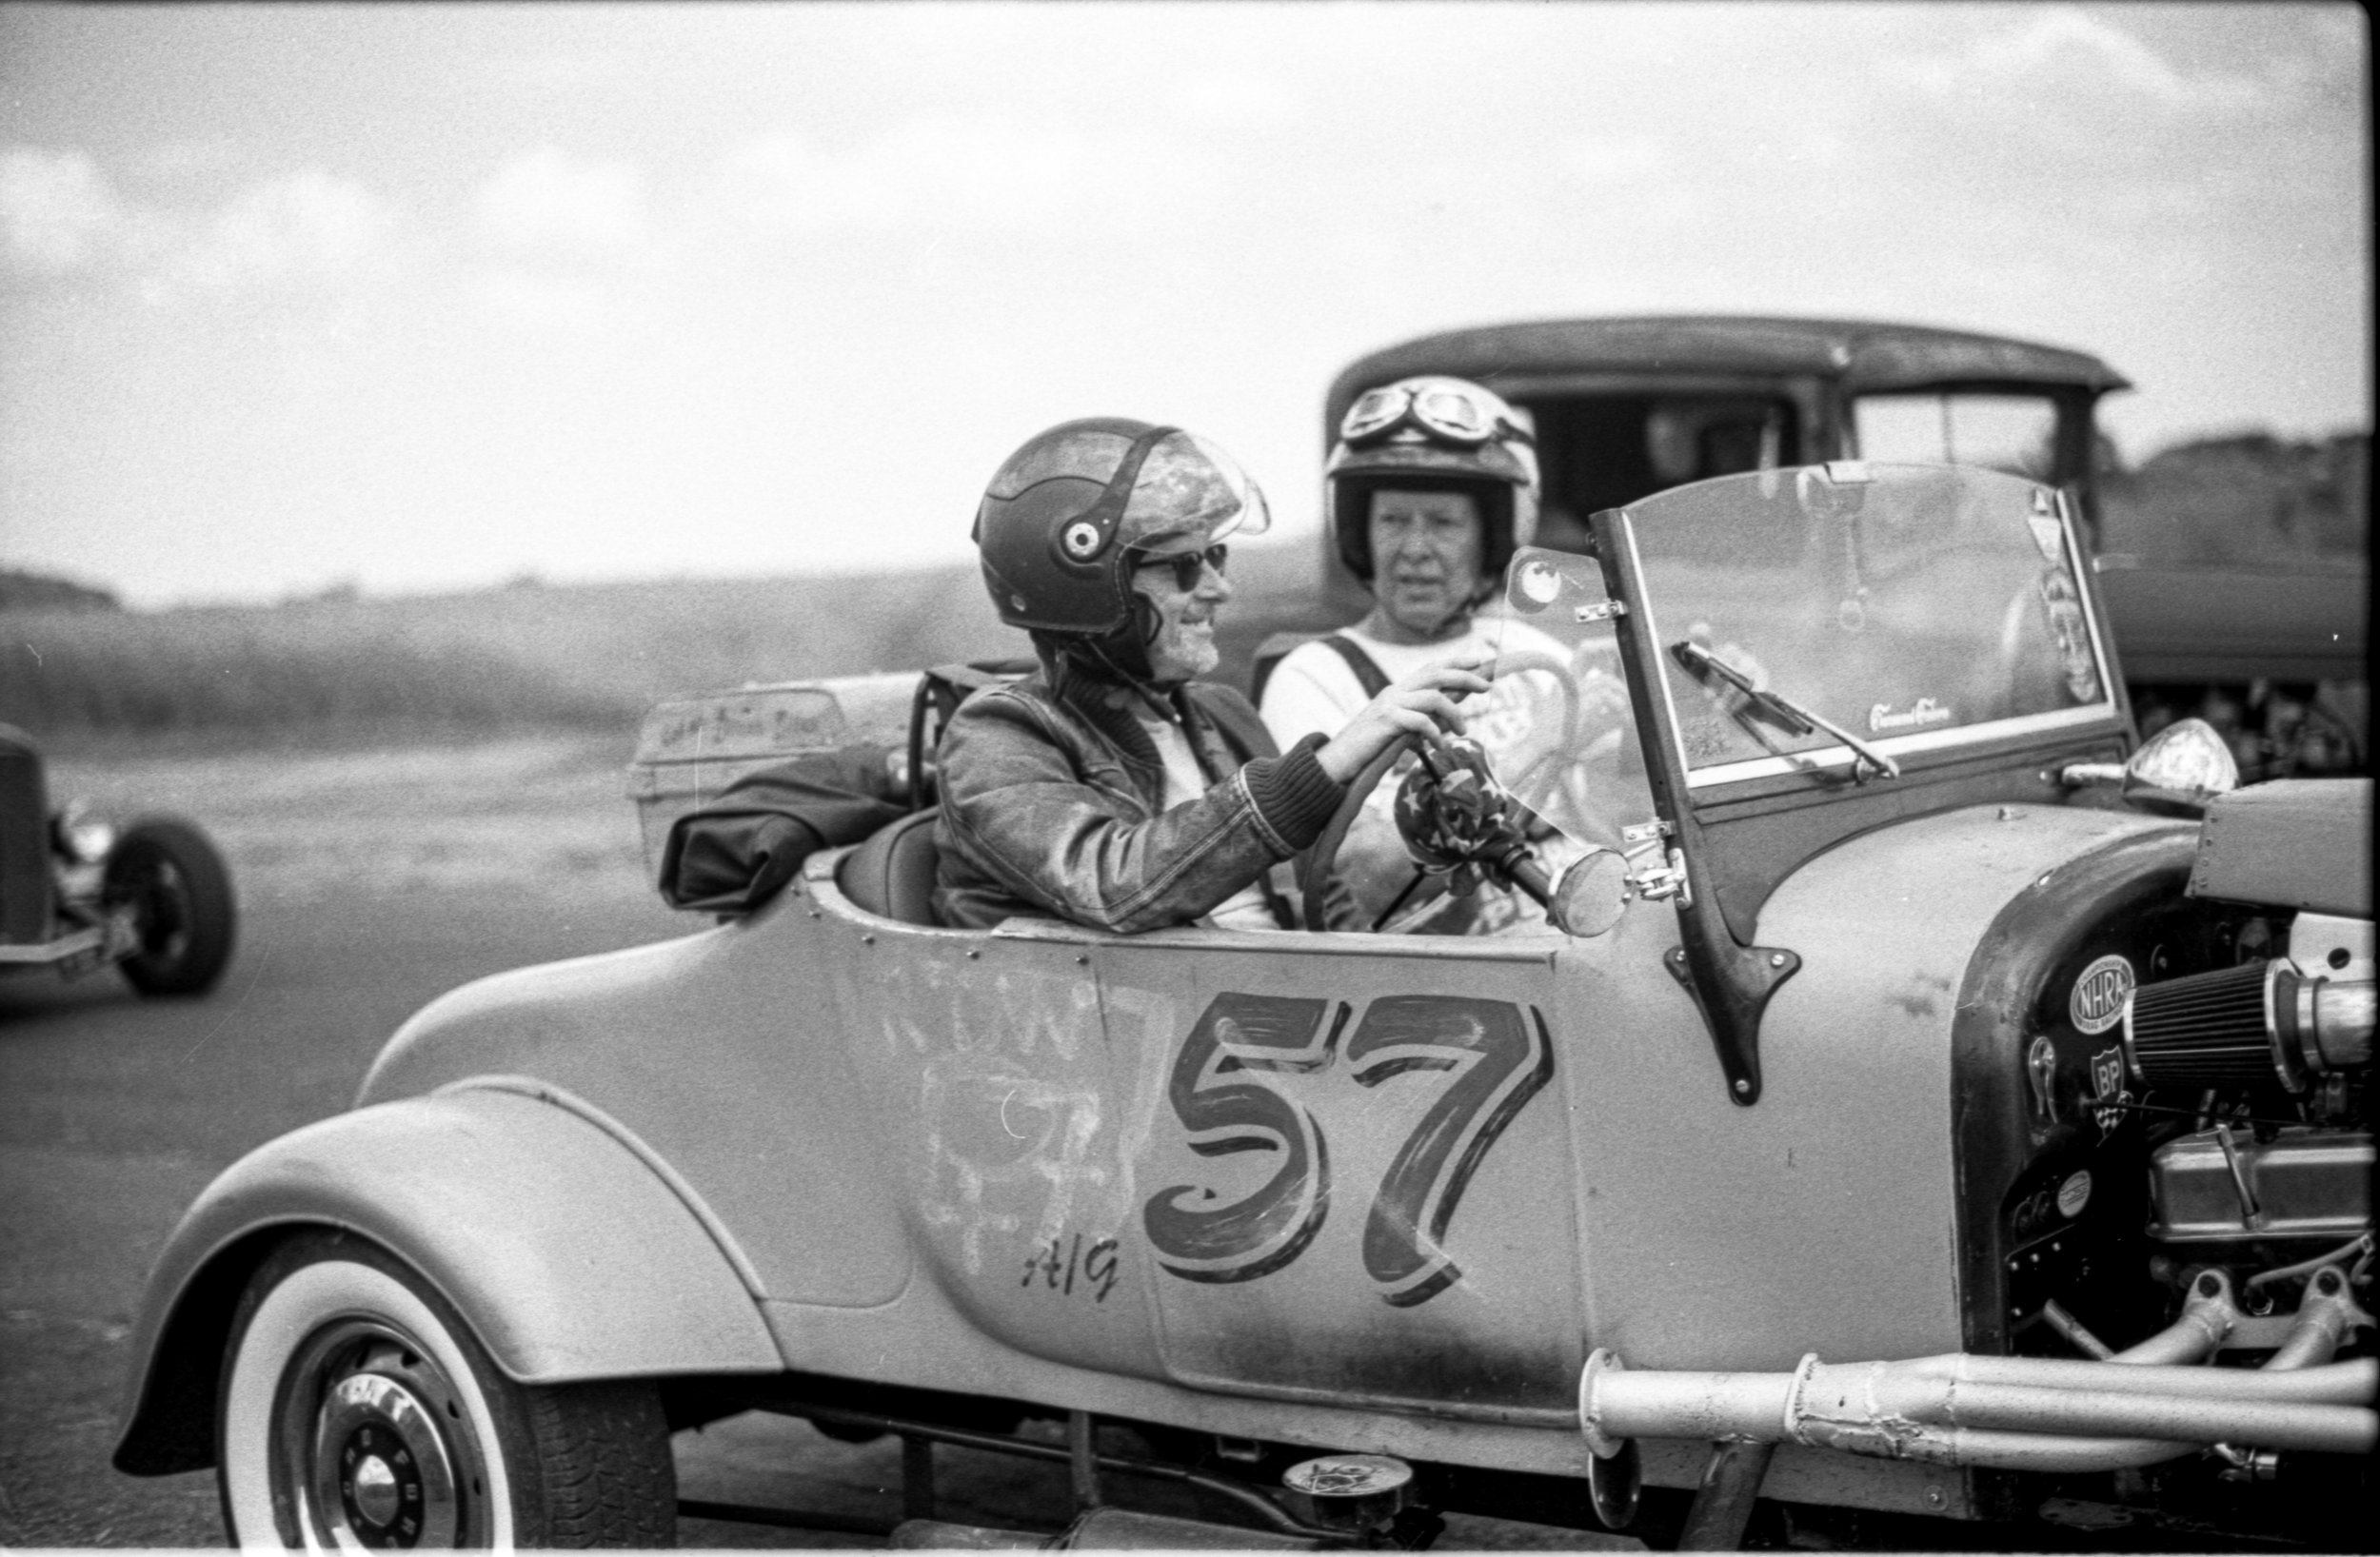
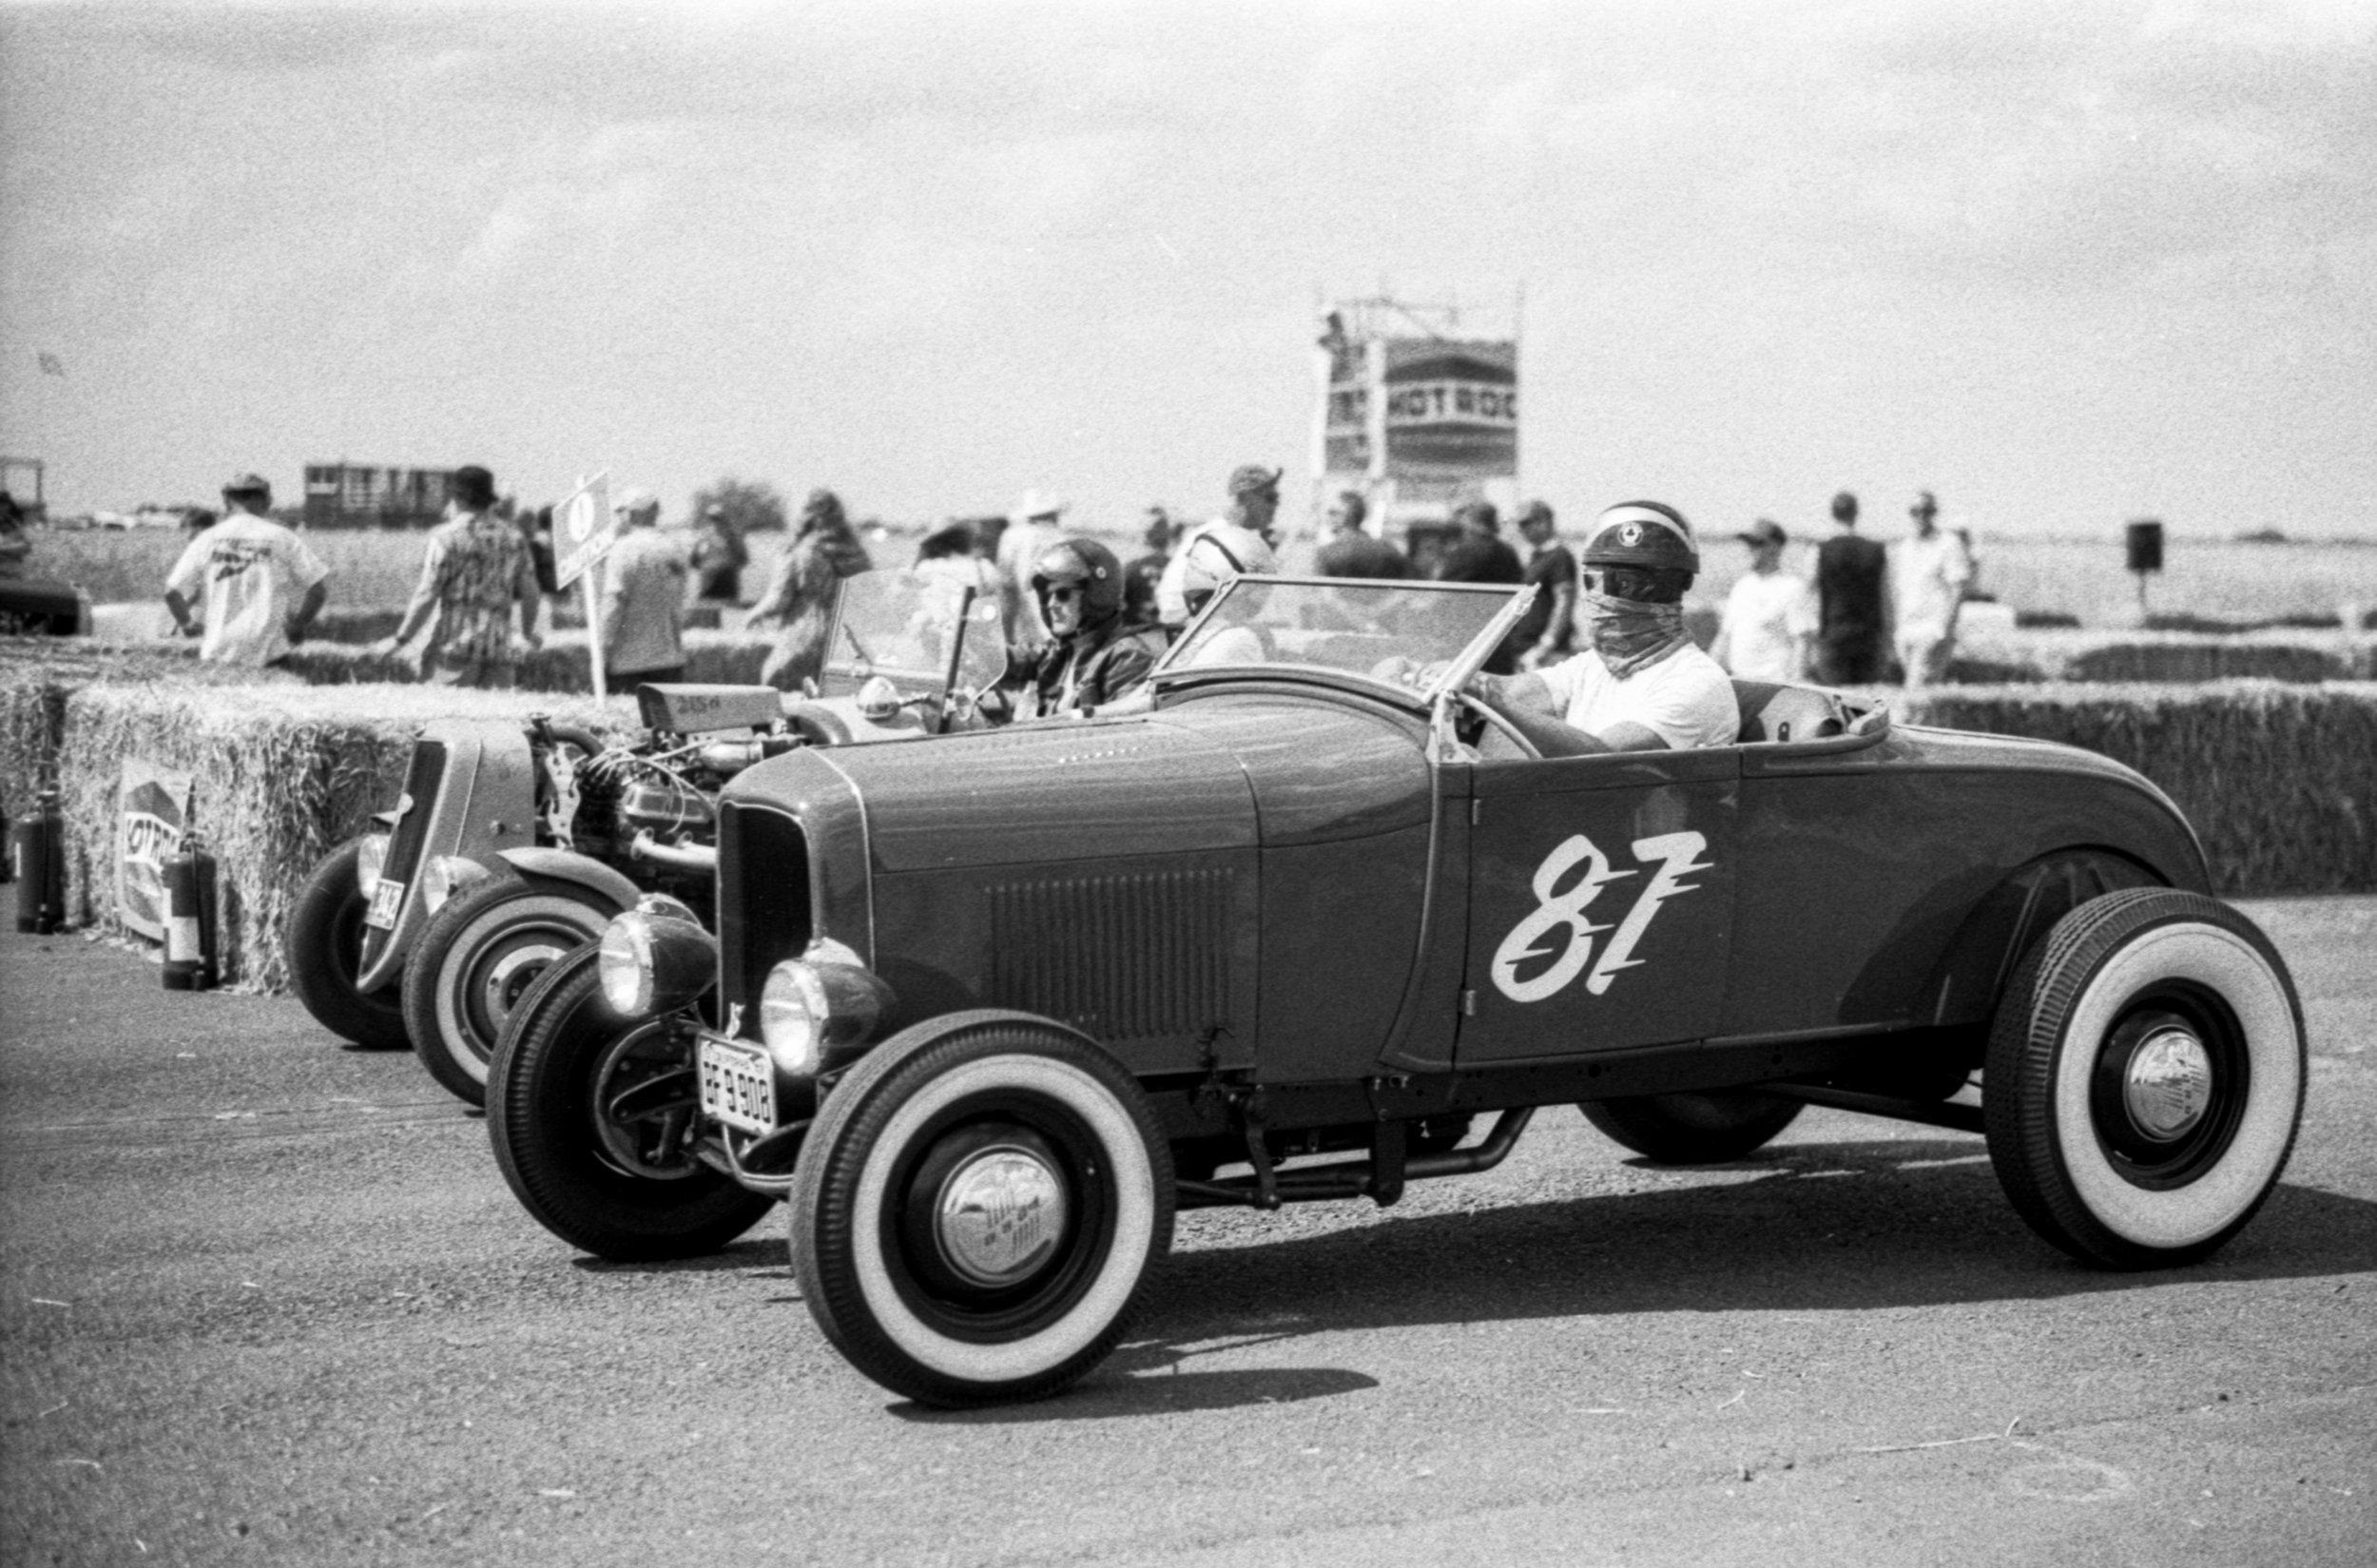
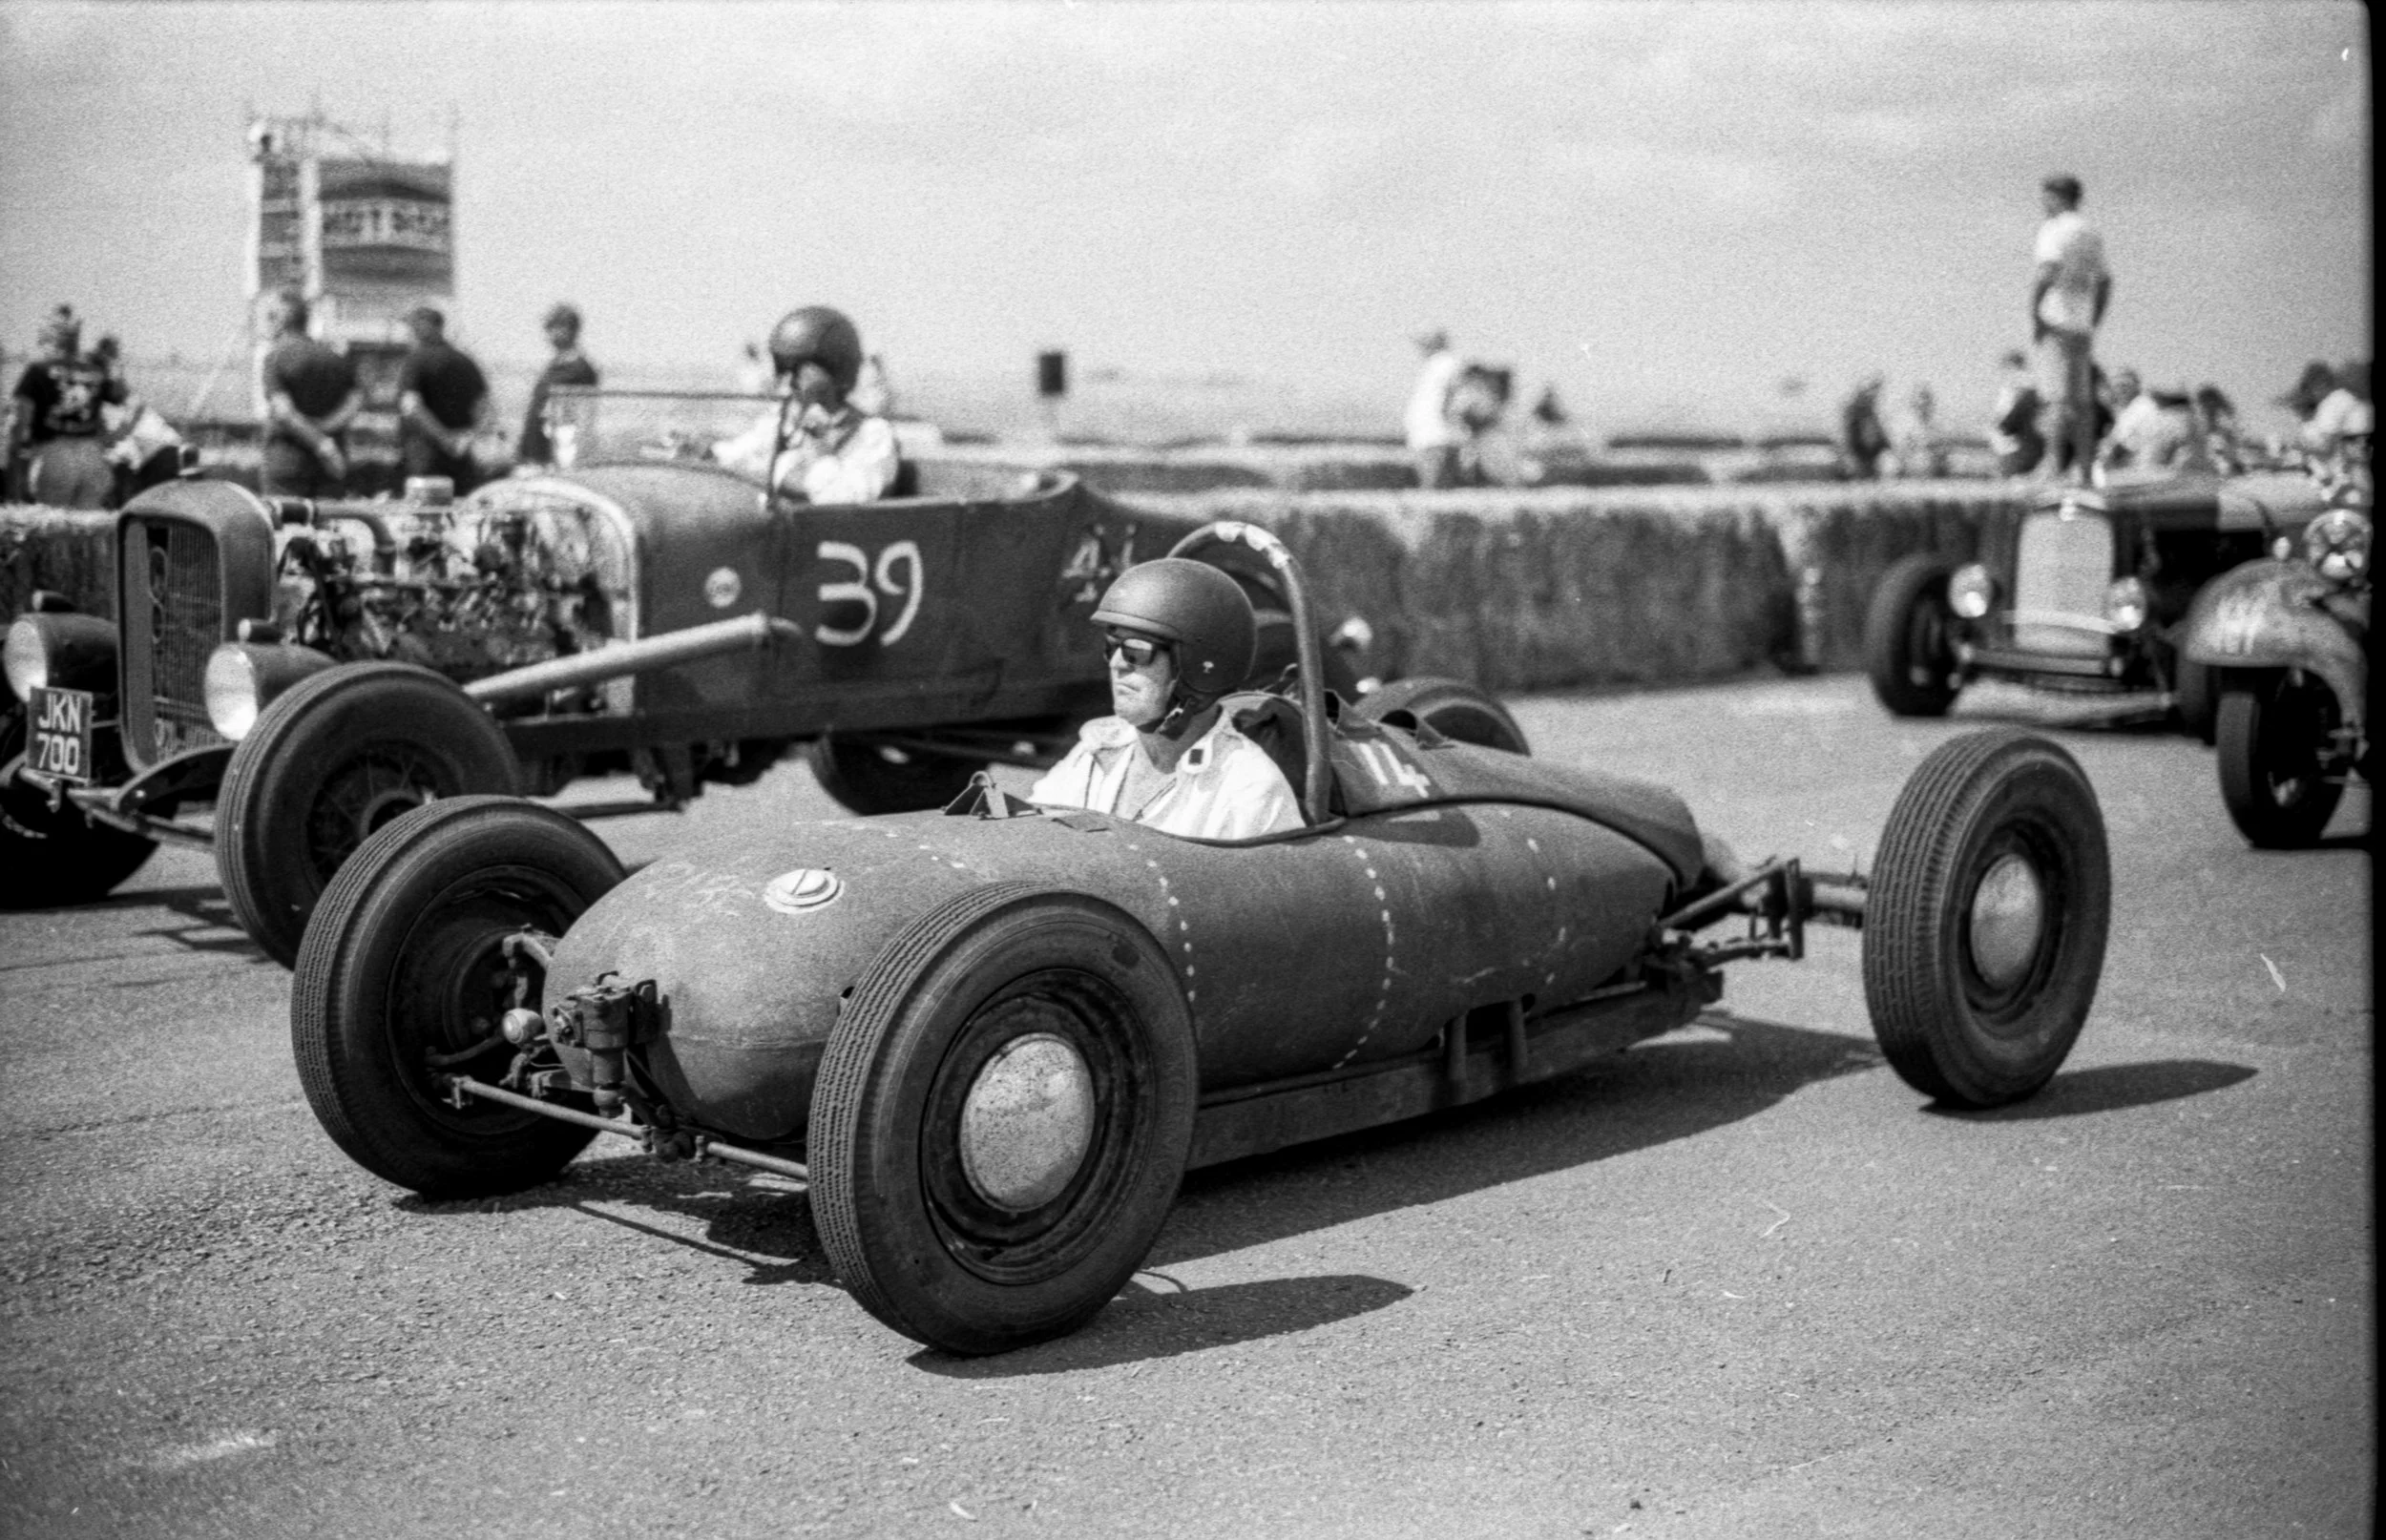
In April this year, I shot a promo at Deenthorpe Airfield for MPH and their Vintage 1/8th mile sprint event. All the cars were vintage hotrods up to and including 1939. The main event was in July. I shot mostly digital but took the opportunity to shoot some FP4+ and Tri-X too.
-
Later in the month, I had the pleasure of meeting and working with Alice Handoll. Alice is an actress and good friend of Jude who I regularly shoot film with around Bristol.
The three of us hung out for a day and had fun shooting film. Jude used a combo of medium format and 35mm. His Minolta Autocord and Canonet featured in many of the shots too.
-
TMAX 100 has long since been one of my favourite films but it’s often hard to get hold of. Analogue wonderland had some short-dated bulk rolls so now I’ve got 200ft of the stuff bought half-price which is always a nice bonus.
-
All this time I’ve been scanning my own negatives, it’s been the bit I dislike the most.
Firstly, it takes too long and secondly the flat-bed scan quality is not as good as it could be.
A new product by VALOI in Finland has solved two of my biggest problems. The Easy-35 allows you to scan negatives using a high-res digital camera and macro lens quickly and accurately with as much detail as you like.
With 18, 24, 36, 60 and 96 mega pixels available for my scanning, the image quality has jumped to the next level.
The Alice shots were scanned using Easy-35, as will be all future 35mm work.
A whole roll of 35mm now takes minutes instead of hours to scan.


August
One of the things I’ve enjoyed the most about shooting film, is the light-weight and simplicity of the cameras especially my 1946 Leica iiic which has a collapsible 50mm lens making it truly pocketable.
When I’m out and about, I’ll usually have a camera with me and since starting this project, it has become a film camera more often than not.
Earlier this year, I was given a 40mm Voigtländer f2.8 to test, which I really liked. It’s available both in ‘M’ mount and Leica Thread Mount (LTM). It’s incredibly sharp and has beautiful bokeh when shot wide open. It’s possibly a little too clinical for digital but perfect for film which has a natural softness.
It’s one of the smallest M lenses I’ve ever used and costs about 20% of an equivalent Leica lens making it perfect for an every-day carry. Styled like the old Summaron lenses, it’s looks very retro and is available in silver or black.
I bought a used version of this lens and this month have used it extensively for film.
I love Leica lenses but the latest generation of Voigtländer lenses are of exceptional quality and at a price which makes them hard to ignore.


A sign of the times for sure - Whiteladies Road Bristol - 40mm TMAX 100

More on Whiteladies Rd Bristol - 40mm TMAX 1

Society Café - 40mm TMAX100
Pero's Bridge - 40mm TMAX10

Bristol Harbour - 40mm TMAX100

Boys Fishing in the harbour - 40mm TMAX100

Pushing a large tyre around Bristol - 40mm TMAX100

My good friend Tom - 40mm FP4plus

Camera geeks - 40mm FP4plus

A nice prospect in Chelsea - 40mm FP4plus

Hotrod in London Colney - 50mm FP4plus

The drink Hotrod meet - 50mm FP4plus

Baker Street Station - 40mm FP4plus

Redhll Cruise - Ilford Delta 400

Anila - Ilford Delta 400

Redhill Cruise - Ilford Delta 400

Tanks in Redhill - Ilford Delta 400

Redhill Cruise - Ilford Delta 400

Rusty Dub - Ilford Delta 400

Redhill Cruise - Ilford Delta 400

Citizen M - Shoreditch 400TX
Room with a view Shoreditch 400TX

Hammersmith & City Line - London 400TX
September
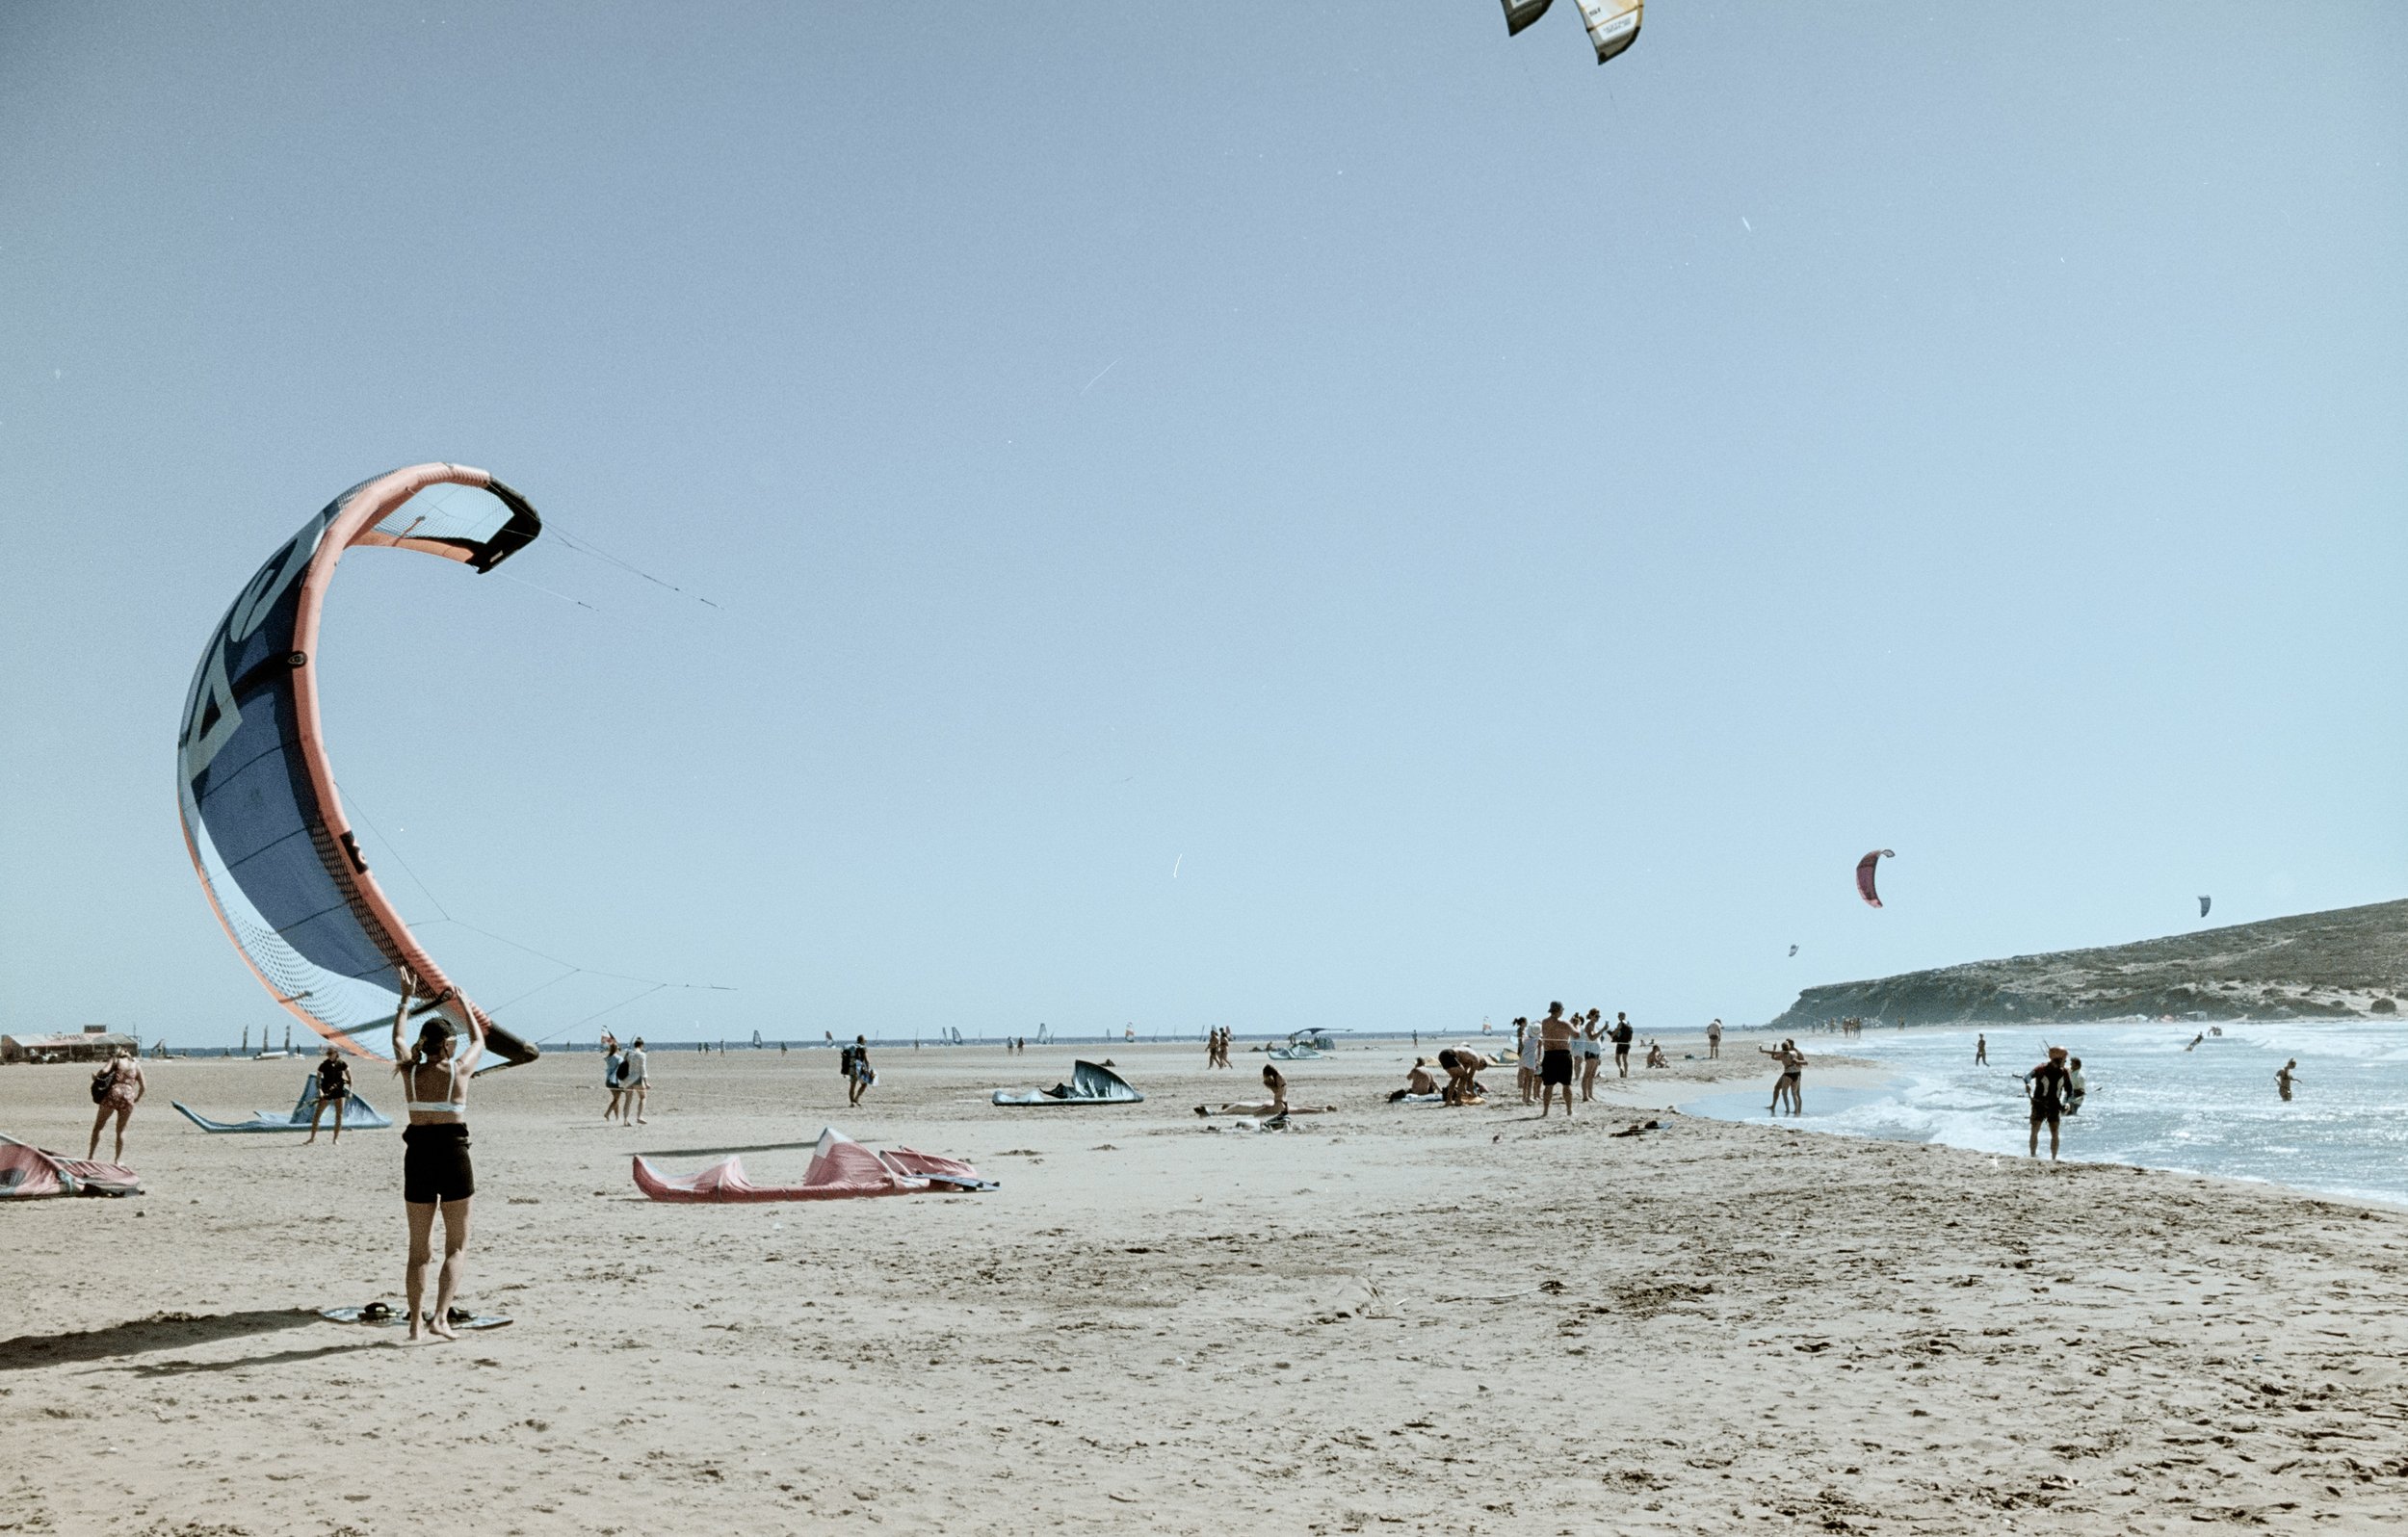
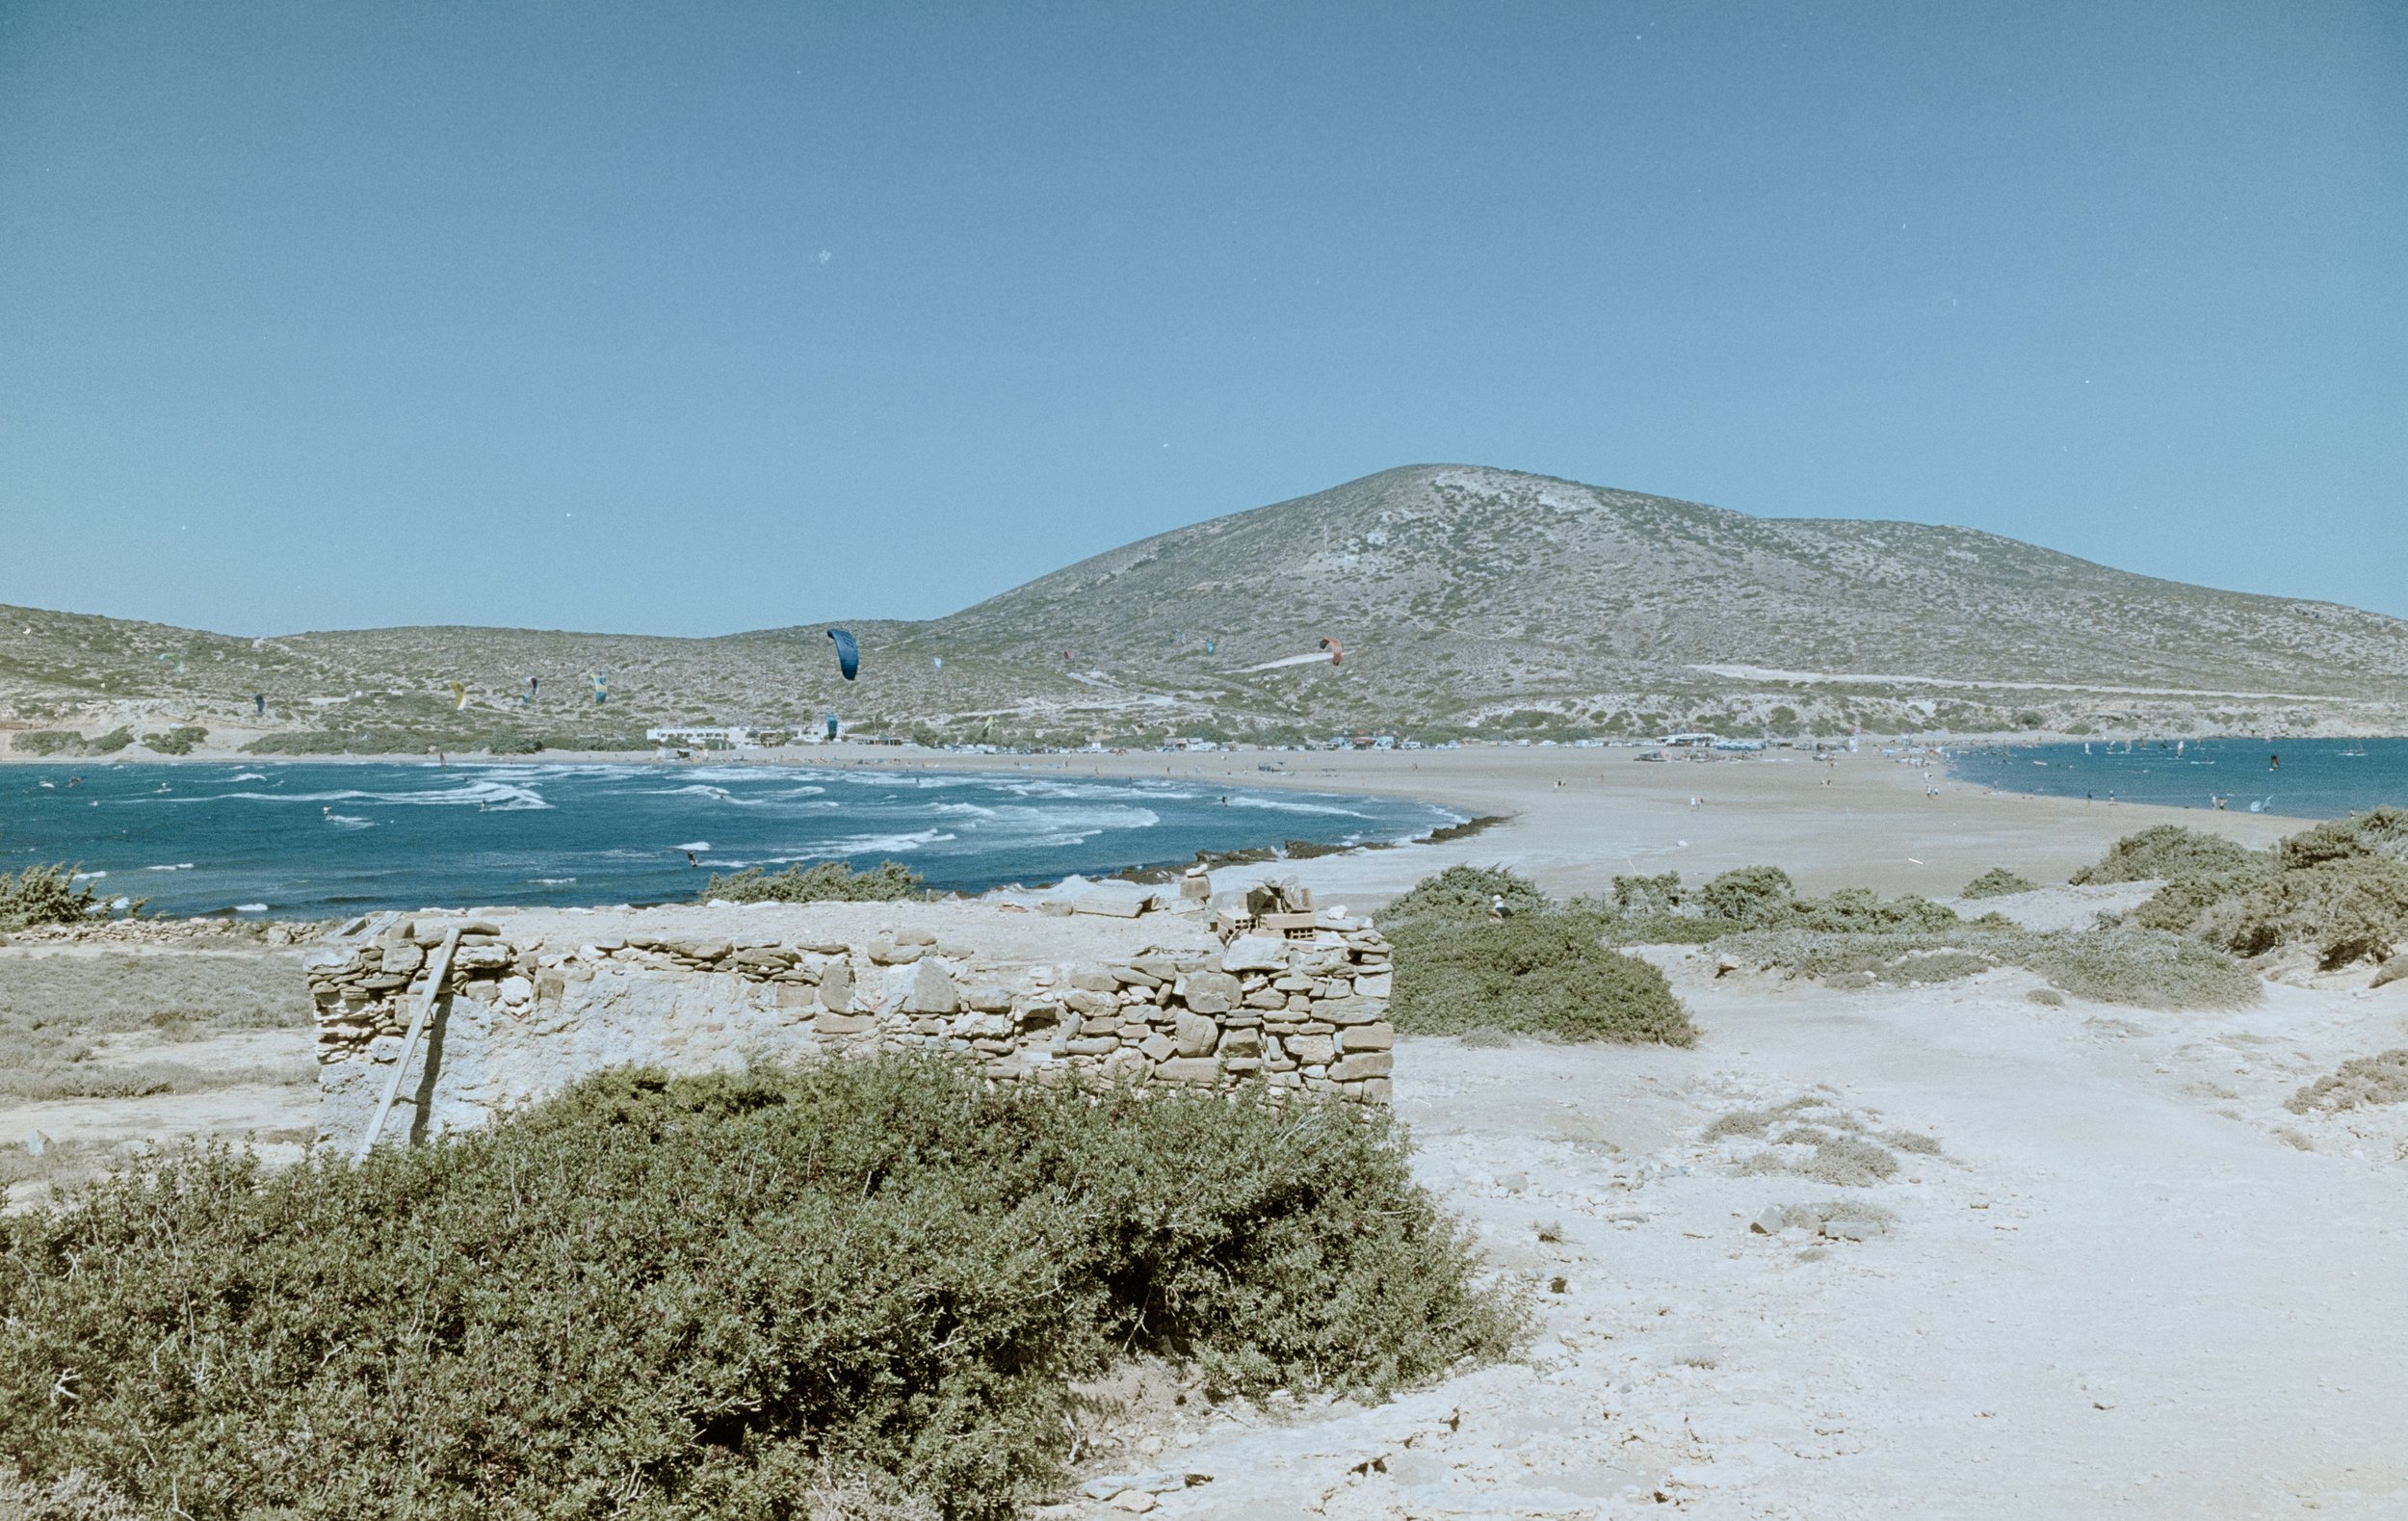
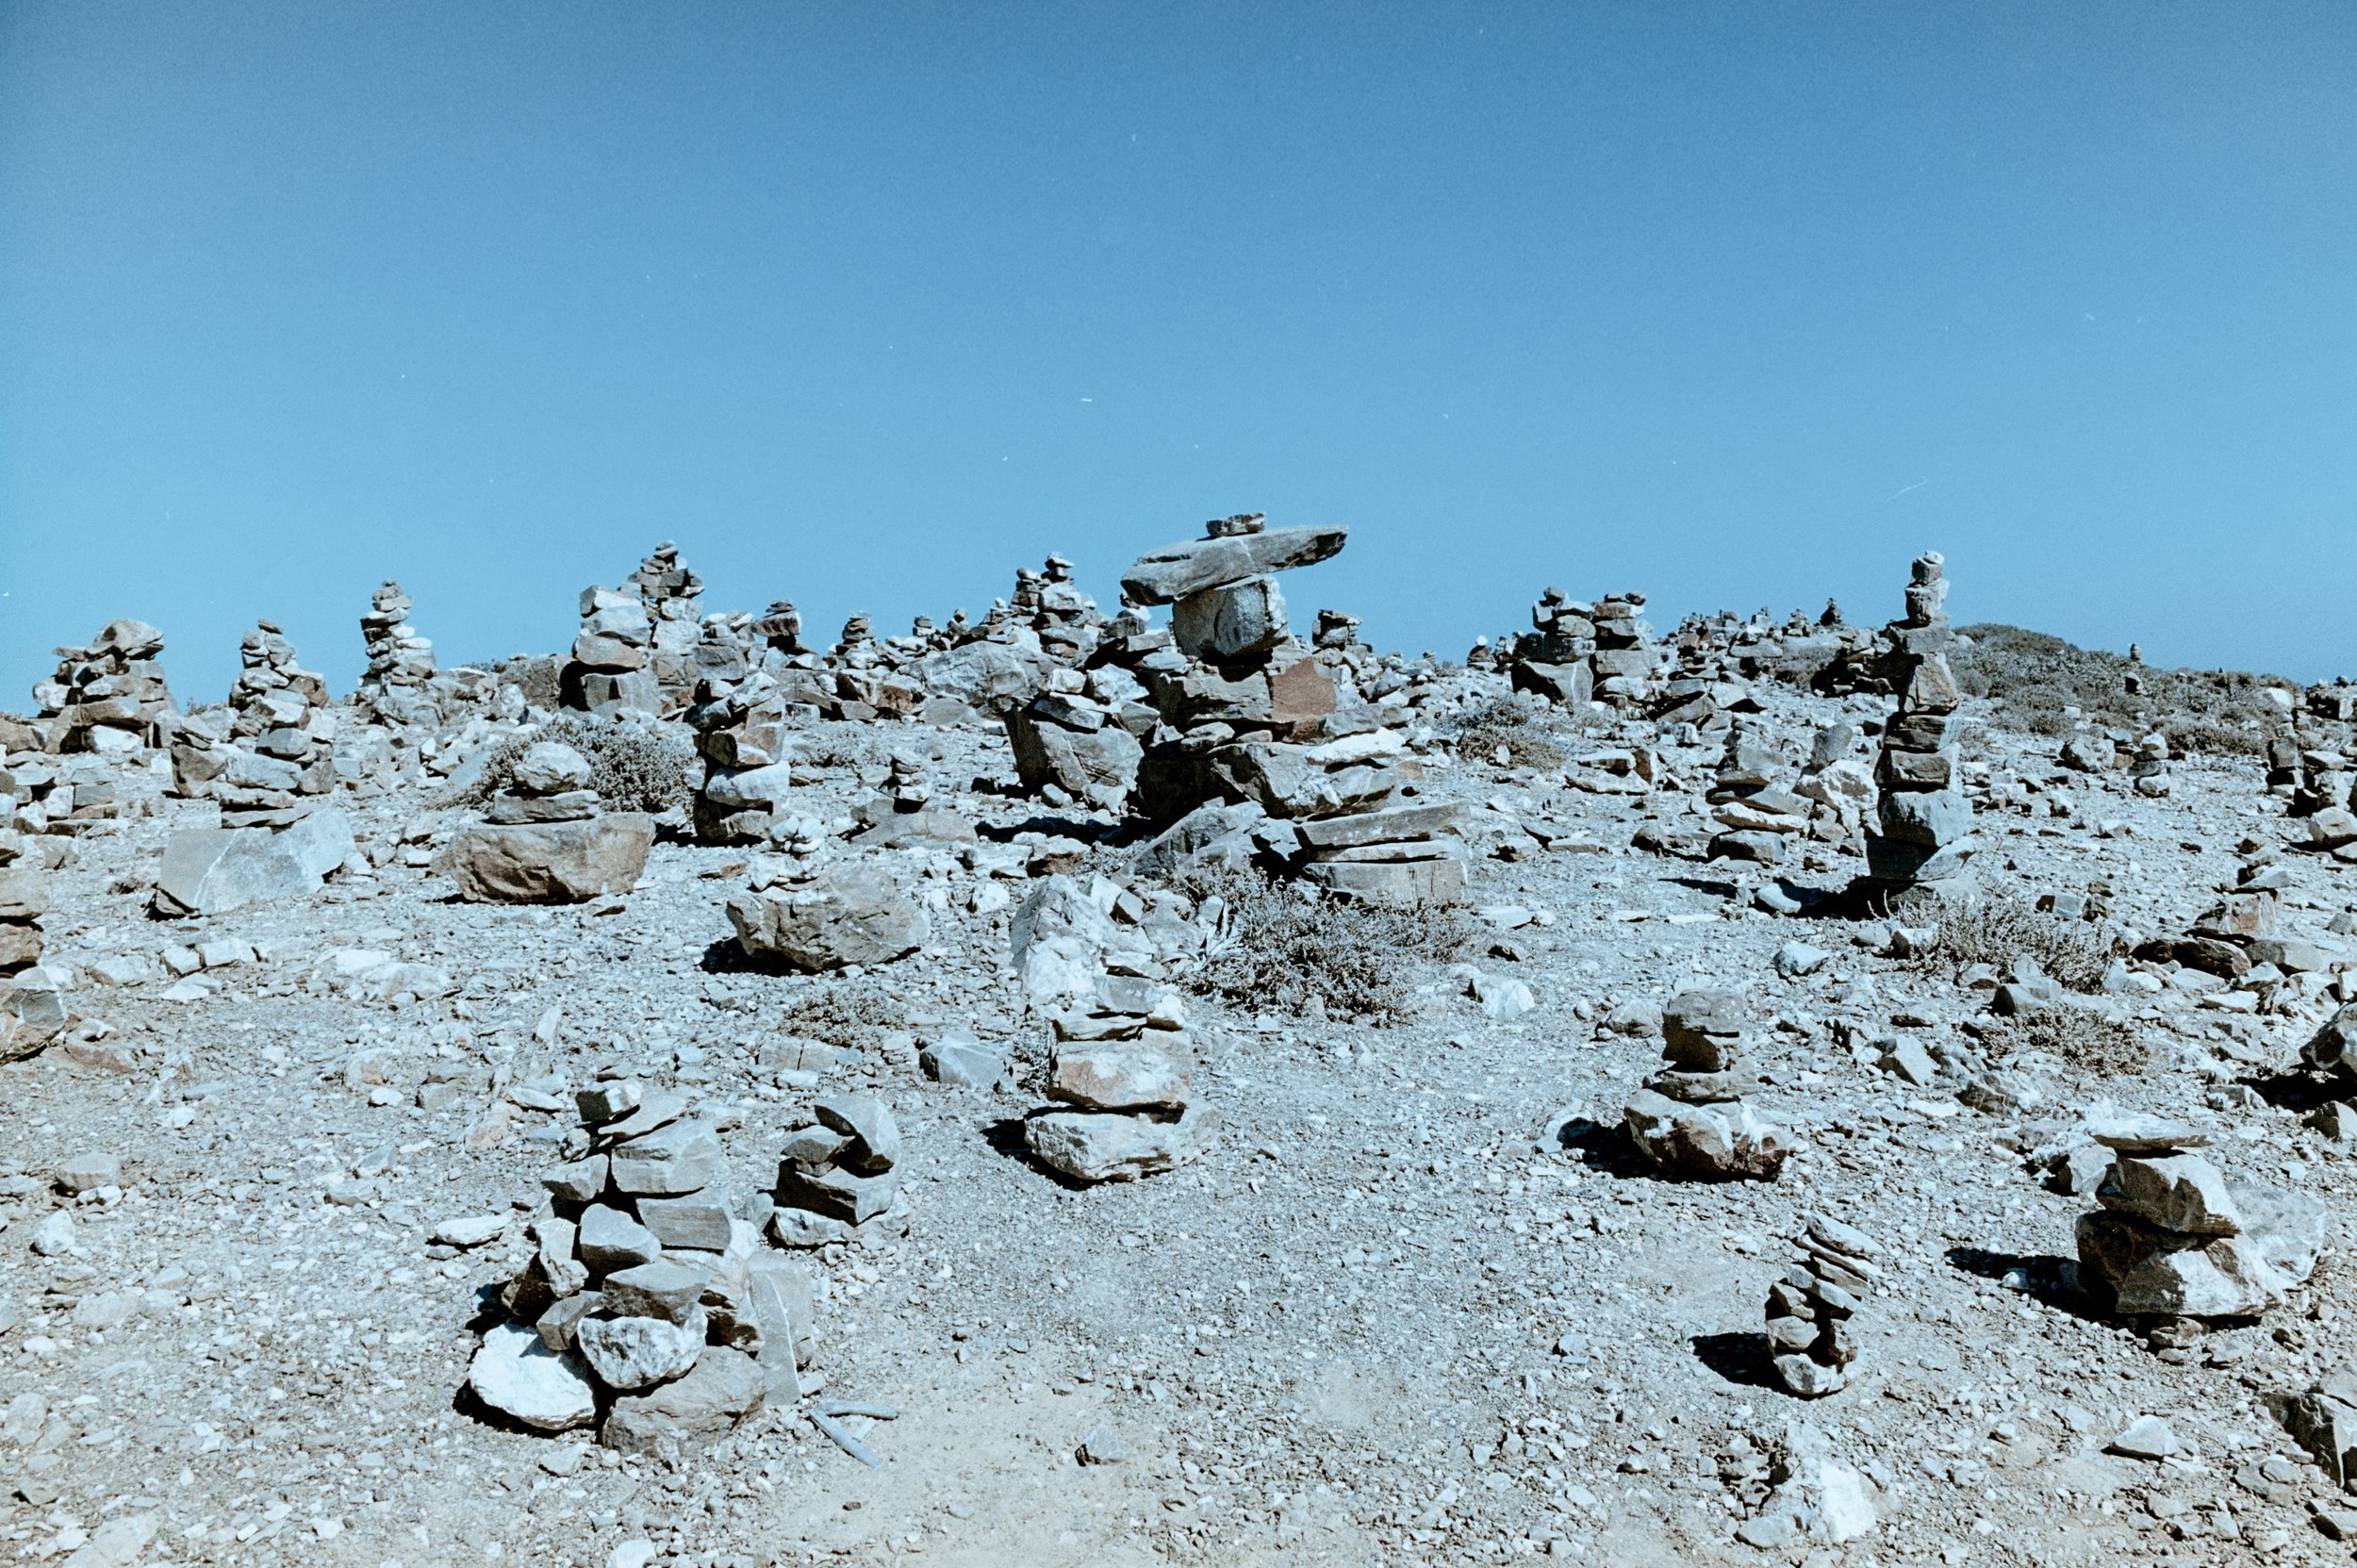
I’m going to do something different this month and shoot all colour film for a change.
Taking just my Leica MP, a 35mm lens and 6 rolls of colour film I set off on my summer holiday to Rhodes. What’s the worse that can happen?
My film stocks are as follows:
2 rolls of Kodak Portra 400
2 rolls of Kodak Ektar 100
2 rolls of Portra 160
I don’t develop colour film at home, so I’ll give all the film to Duncan at SilverPan in Bristol to do the developing for me. To spice things up a bit, I’m also going to order prints for all images. The plan is then to scan my negatives and digitally convert them for web and social media use.
Initially, it was quite daunting taking just a film camera on holiday with 6 rolls of film but after passing through the airport with no issues I was much more relaxed.
Worried about running out of film, it turned out just right. I shot the last few images on the last film on the last day of my holiday. I didn’t want any film loaded in my camera at either end of the journey.
I’m very comfortable shooting film, so once I got into taking pictures it was perfect. I chose the 35mm lens which seemed right for all occasions. Next time however, I might use just one type of film which will make the post-processing easier.

So the first thing I noticed when the prints arrived through my letterbox with somewhat of a ‘thud’ was how much space they took up. Crikey! 228 prints come in at about 3 inches thick.
The second thing I noticed was the sheer vibrance and outstanding quality to the prints. I immediately remembered the term ‘Photographic Quality’. I used to use this term to describe images on a computer screen comparing it to the ‘reference’ point of a colour photo. The photo was the ultimate and screens struggled to keep up.
This seems light-years away now. We have ‘retina’ screens with enough megapixels to out resolve film and colours that run into billions.
That said, there is a real charm to looking through photos. The acid test was giving them to my wife… ‘Here’s our holiday photos’… what do you think?
Her face lit up and the pair of us thumbed through 228 photos together for about an hour. Enjoying the smell, the texture and the feeling of being transported back to the places we visited, this tangible ‘thing’ in our hands transported us straight back to Greece.

SCANNING & PROCESSING COLOUR NEGATIVES
Now, the fun starts and a salutary lesson to self, which almost damaged my relationship with film photography.
Having evolved my scanning game over the last 9 months with black and white films, I’ve got used to producing really good results. But, I’ve never scanned and processed colour negatives before… In truth, I may not ever do it again ! Definitely not 6 rolls work and three film stocks.
It took me nearly 3 weeks and lots of pulling out of hair, to work out how to get anywhere close to the vibrance and quality of the SilverPan prints. In truth some are OK, but some are still nowhere close. By 24th October, I’ve drawn a line under my colour picture editing. These will have to do now. Some I just can’t get right, but most are passable by now.
Each image has to be inverted (easy). This can be done in photoshop most quickly by either inverting the curve, or selecting ‘Invert’ from the menu. Next and in order to preserve your own sanity, select a rough grey part of the photo and set the white balance. Doing this now will save a lot of pain later. Finally save the file in TIFF 16-bit format as a new file. This last step will really preserve your sanity.
Negatives are pretty orange from the outset which turn blue after inversion. There is not enough adjustment in the colour balance slider to fix this later unless you ‘zero’ it now to something sensible.
Inverting a file from negative to positive also inverts ALL the the main sliders. Highlights become shadow and vice versa, colours become opposites and curves work backwards, so it’s essential to save with a different file name so you’ve got half a chance to edit later in a semi intuitive format.
Different films and indeed different scenes need different editing, so it’s very hard to create scripts or actions to do this. You can short cut things a bit by using software like Negative Lab Pro for Lightroom. I didn’t really want to spend another $100 on my holiday photos, so took the more difficult path of doing it all myself. I like to learn new things, and this box was well and truly ticked.
I’m not trying to create a lesson here for how to edit colour scans, so feel free to PM me if you want to chat about it so without any further ado, lets look at the pictures.
Below is a small selection of my holiday photo edits. I’m generally pleased with the results, though they are not perfect. I am however, done with editing them.

Rhodes Town - Ektar 100
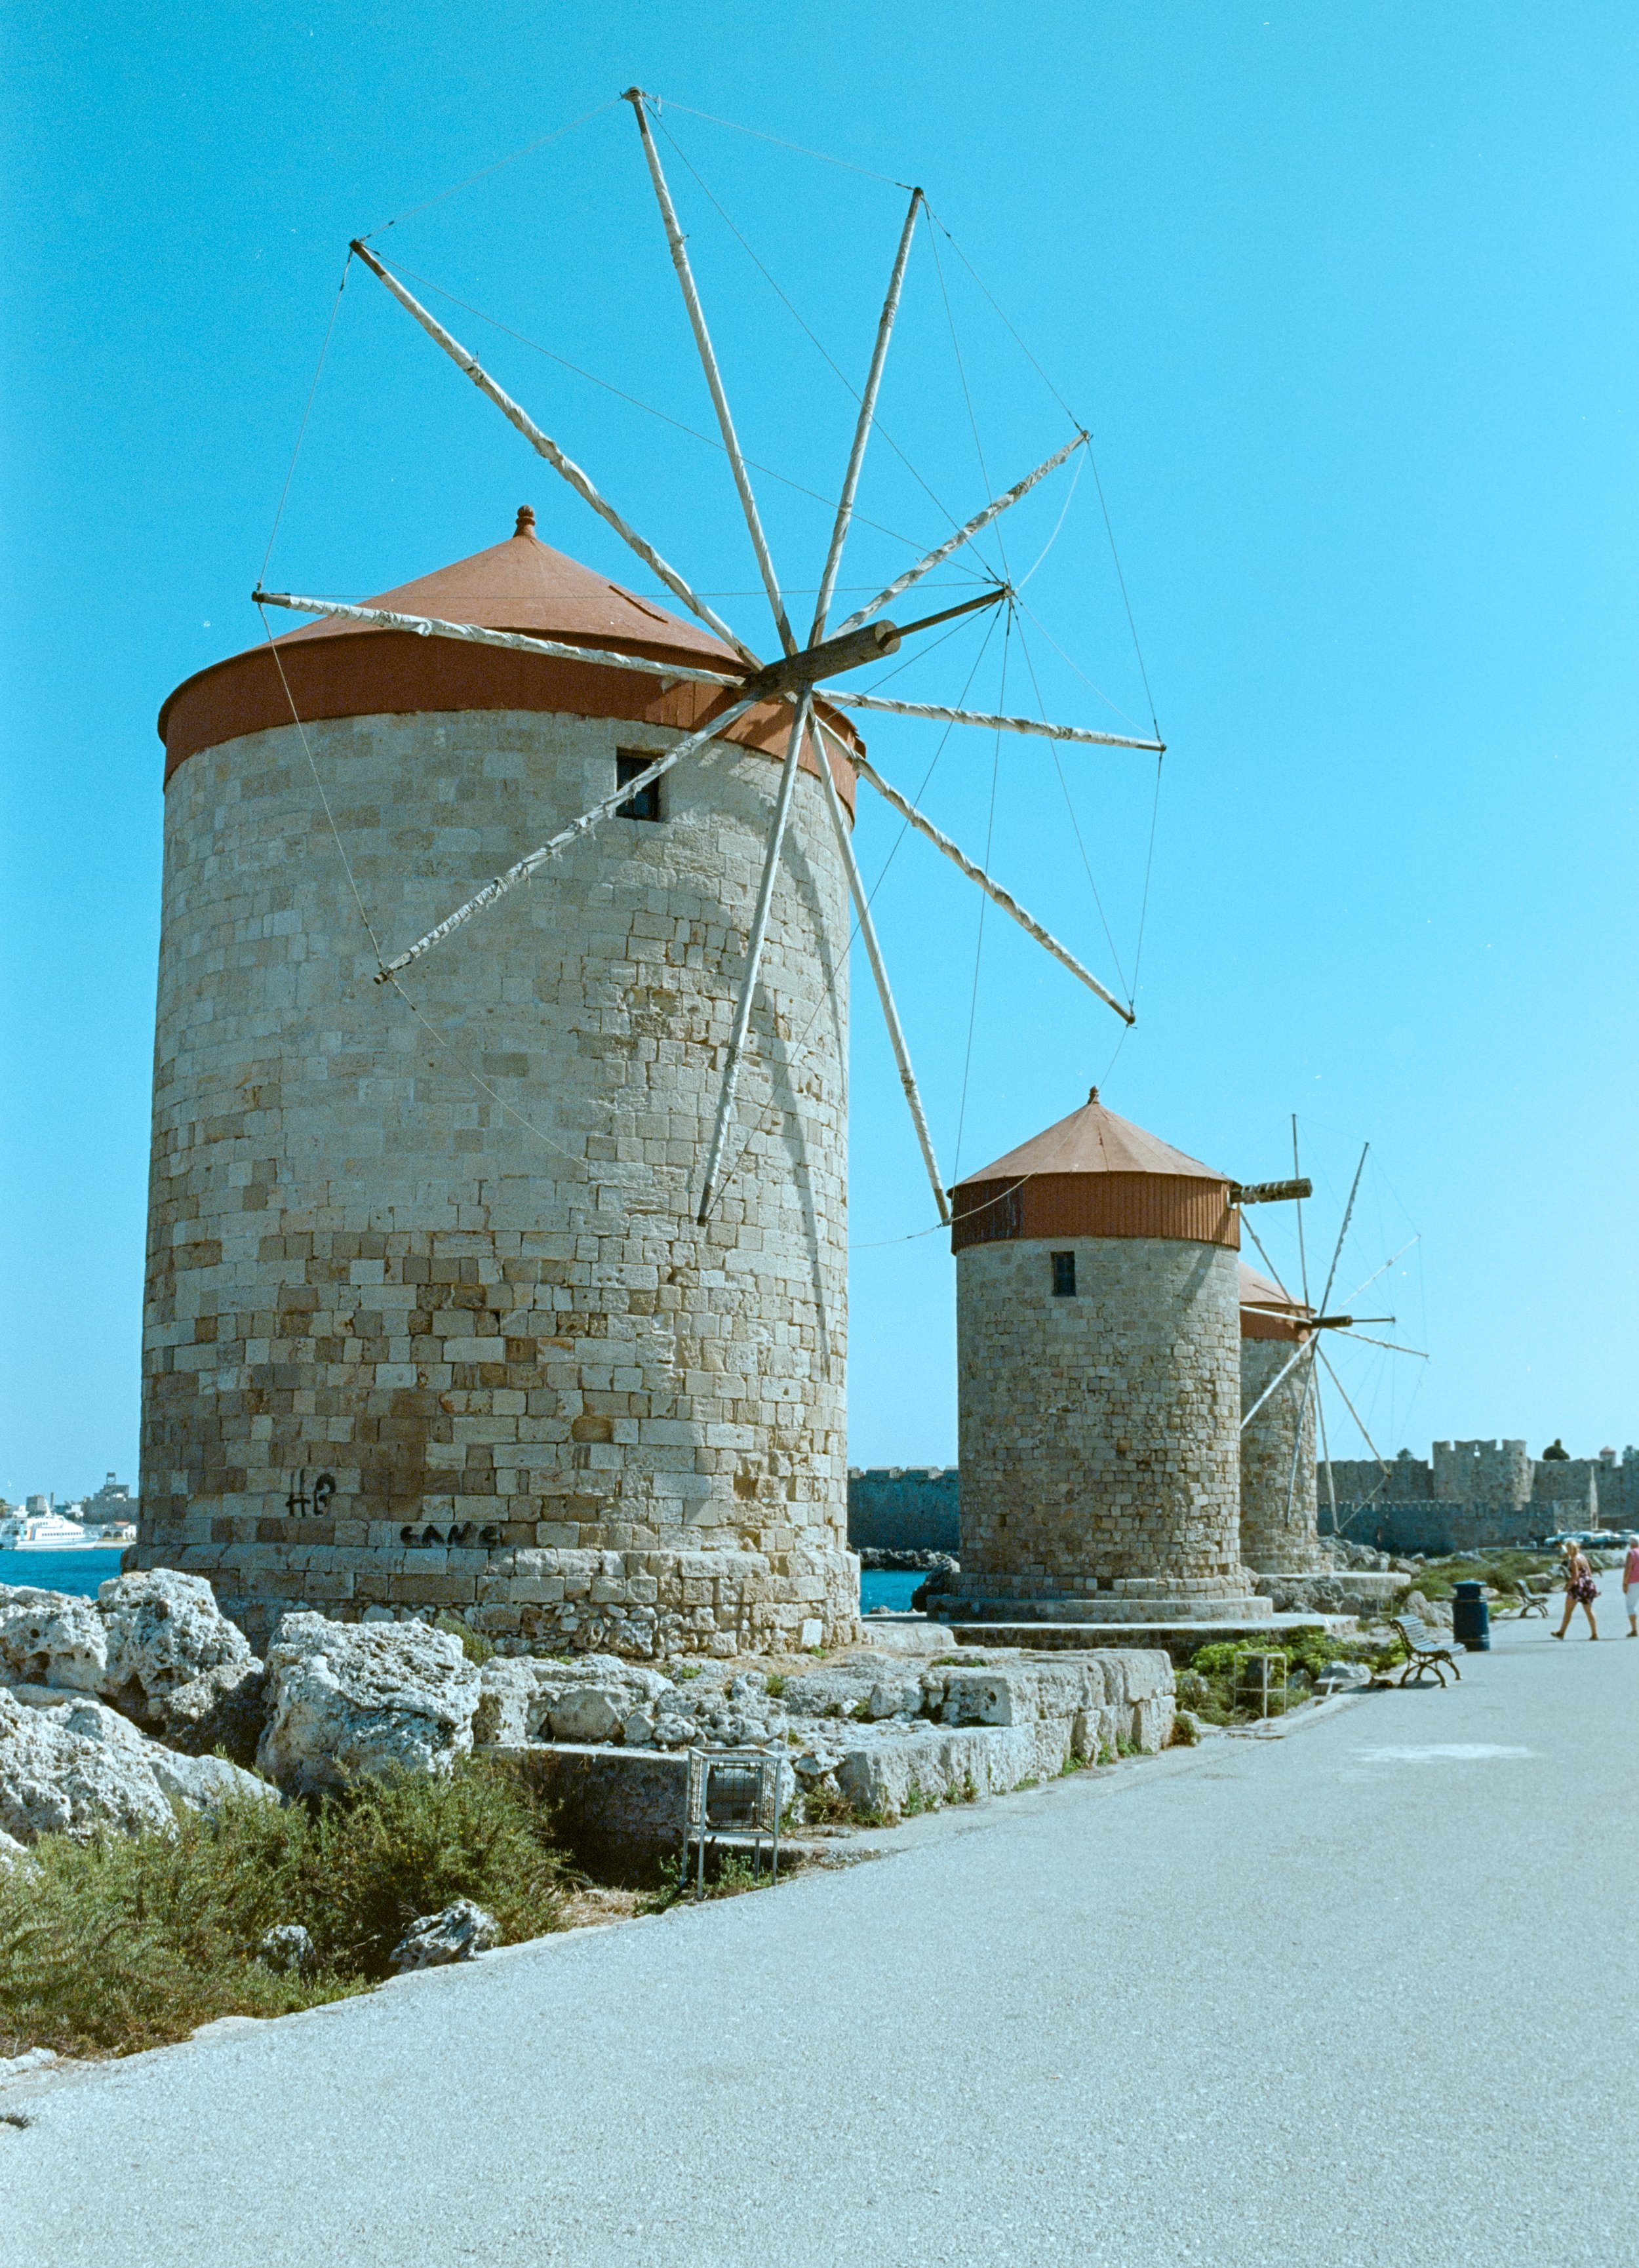
Rhodes Town Windmills - Ektar 100

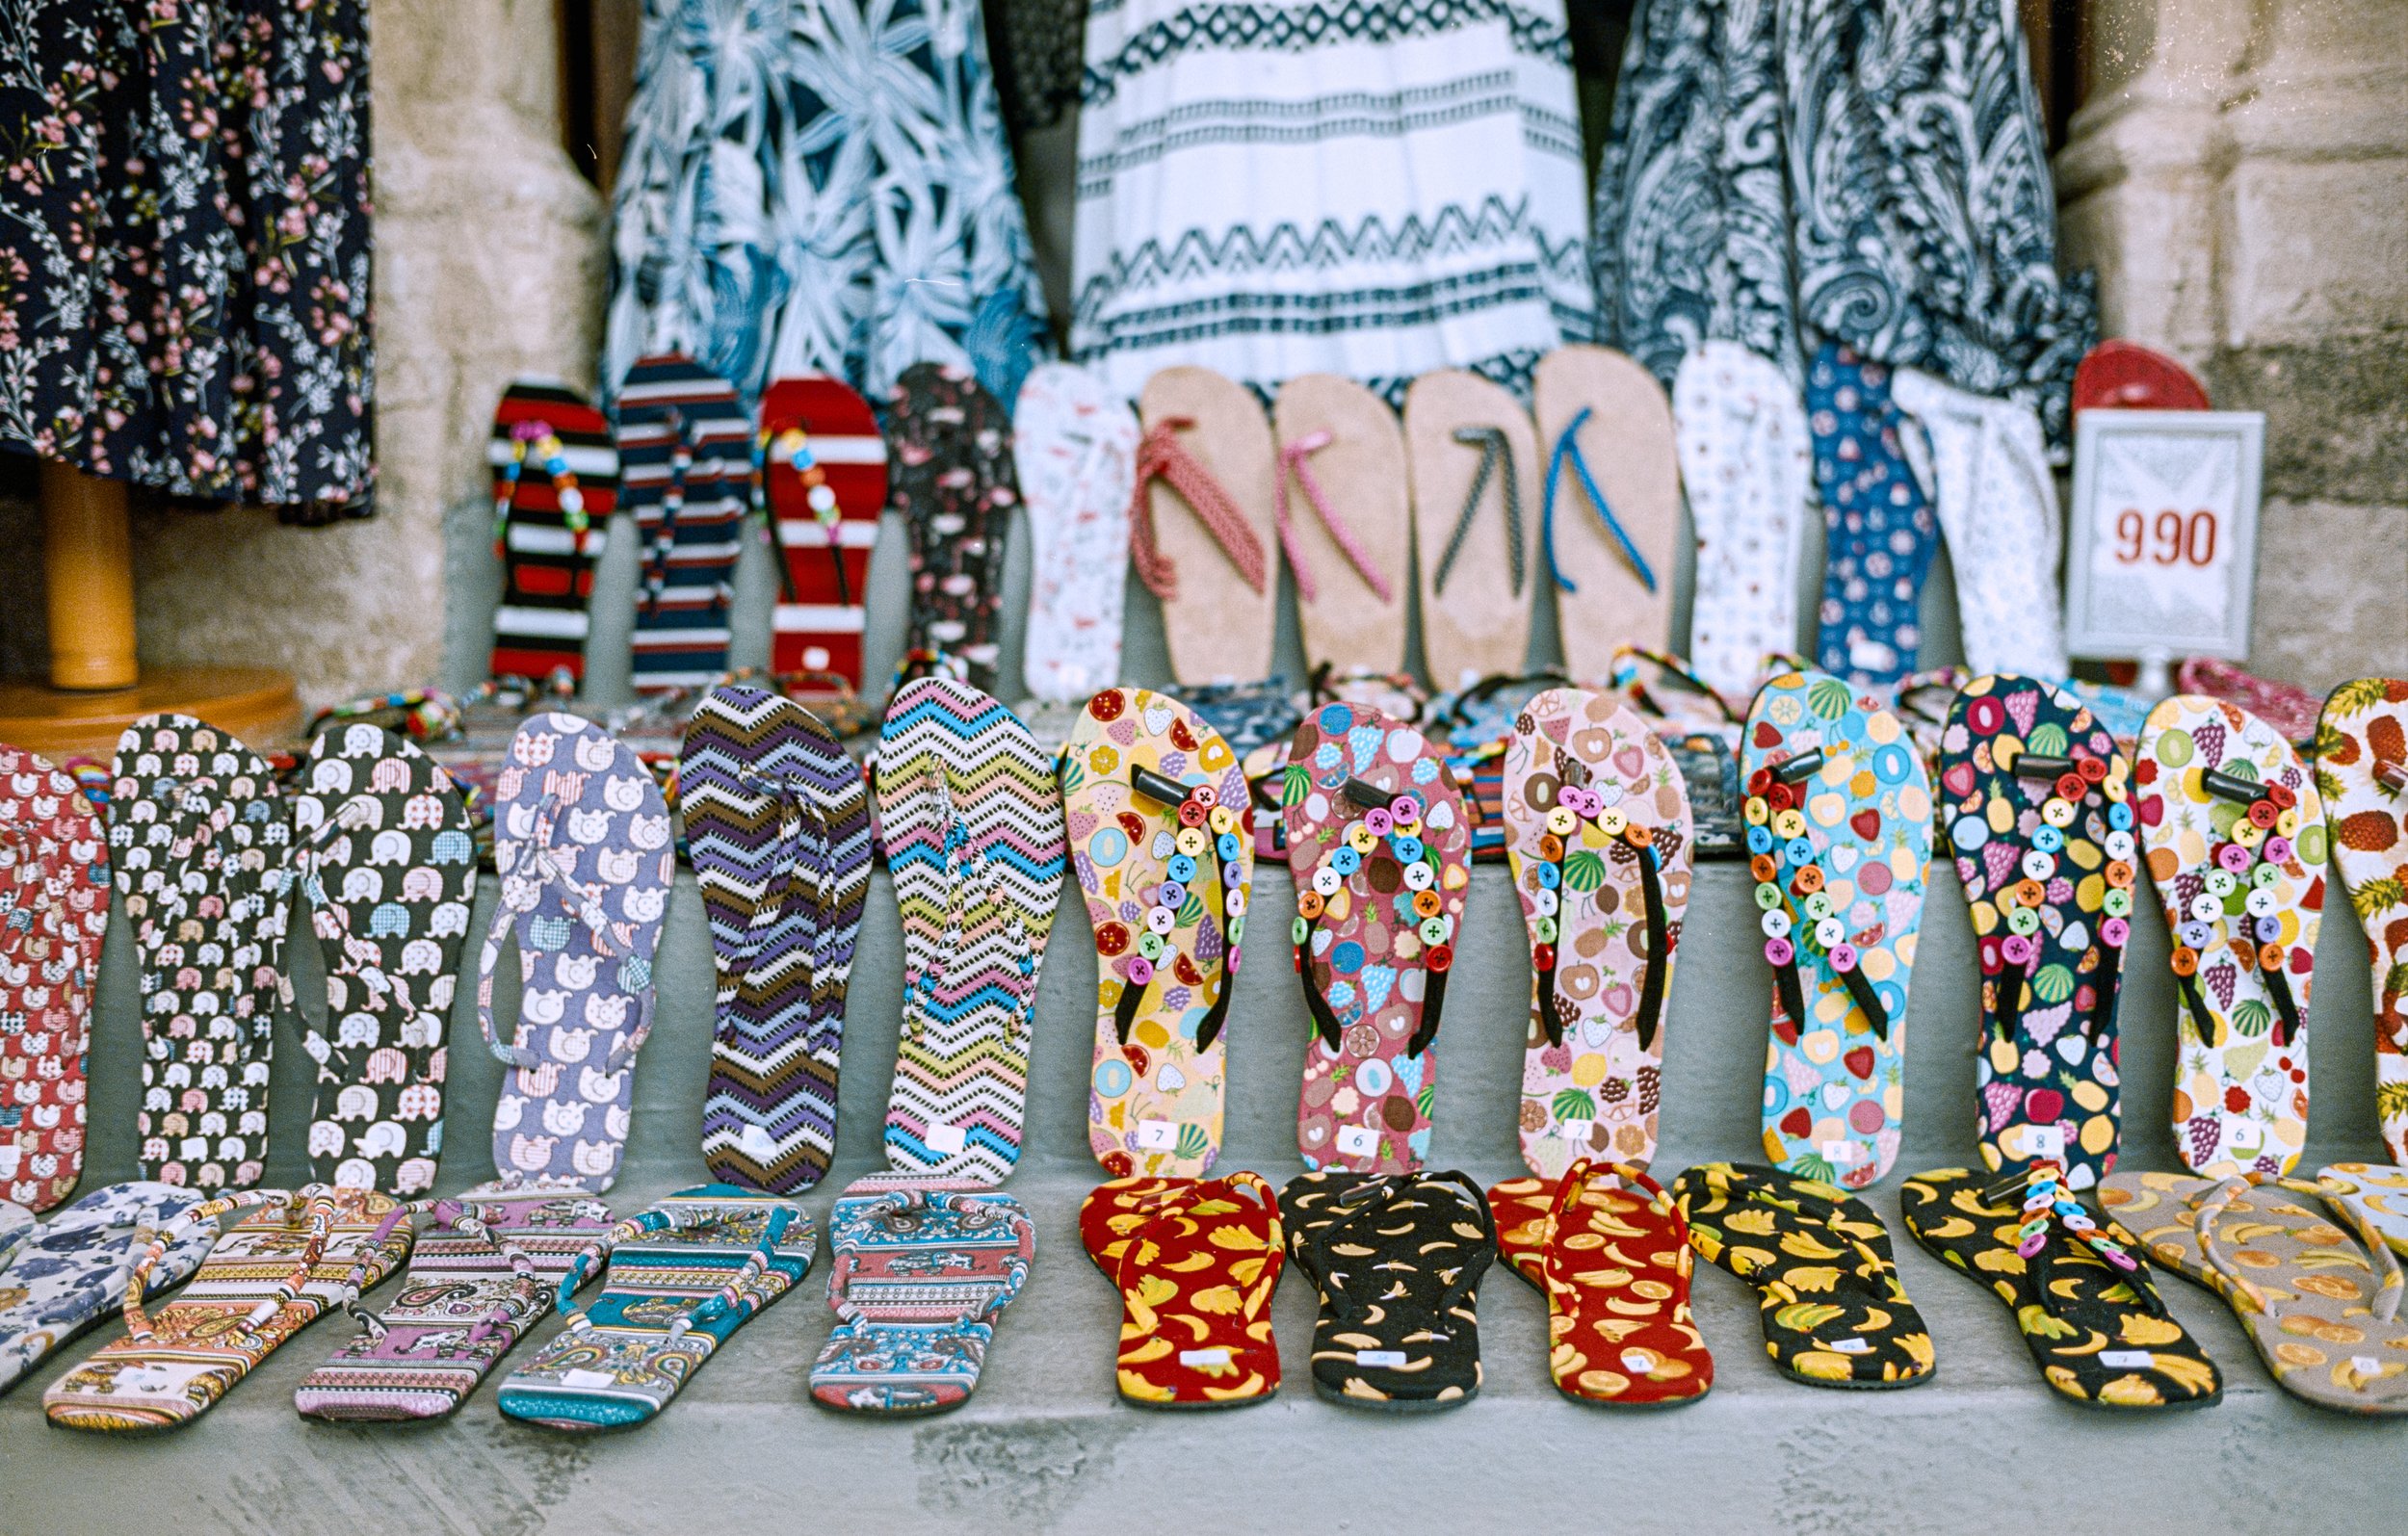
Shop front - Rhodes Town - Ektar 100

Hiding - Ektar 100

La Ciel - Ektar 100

I work for cash - Ektar 100

Lindos shop keeper - Ektar 100
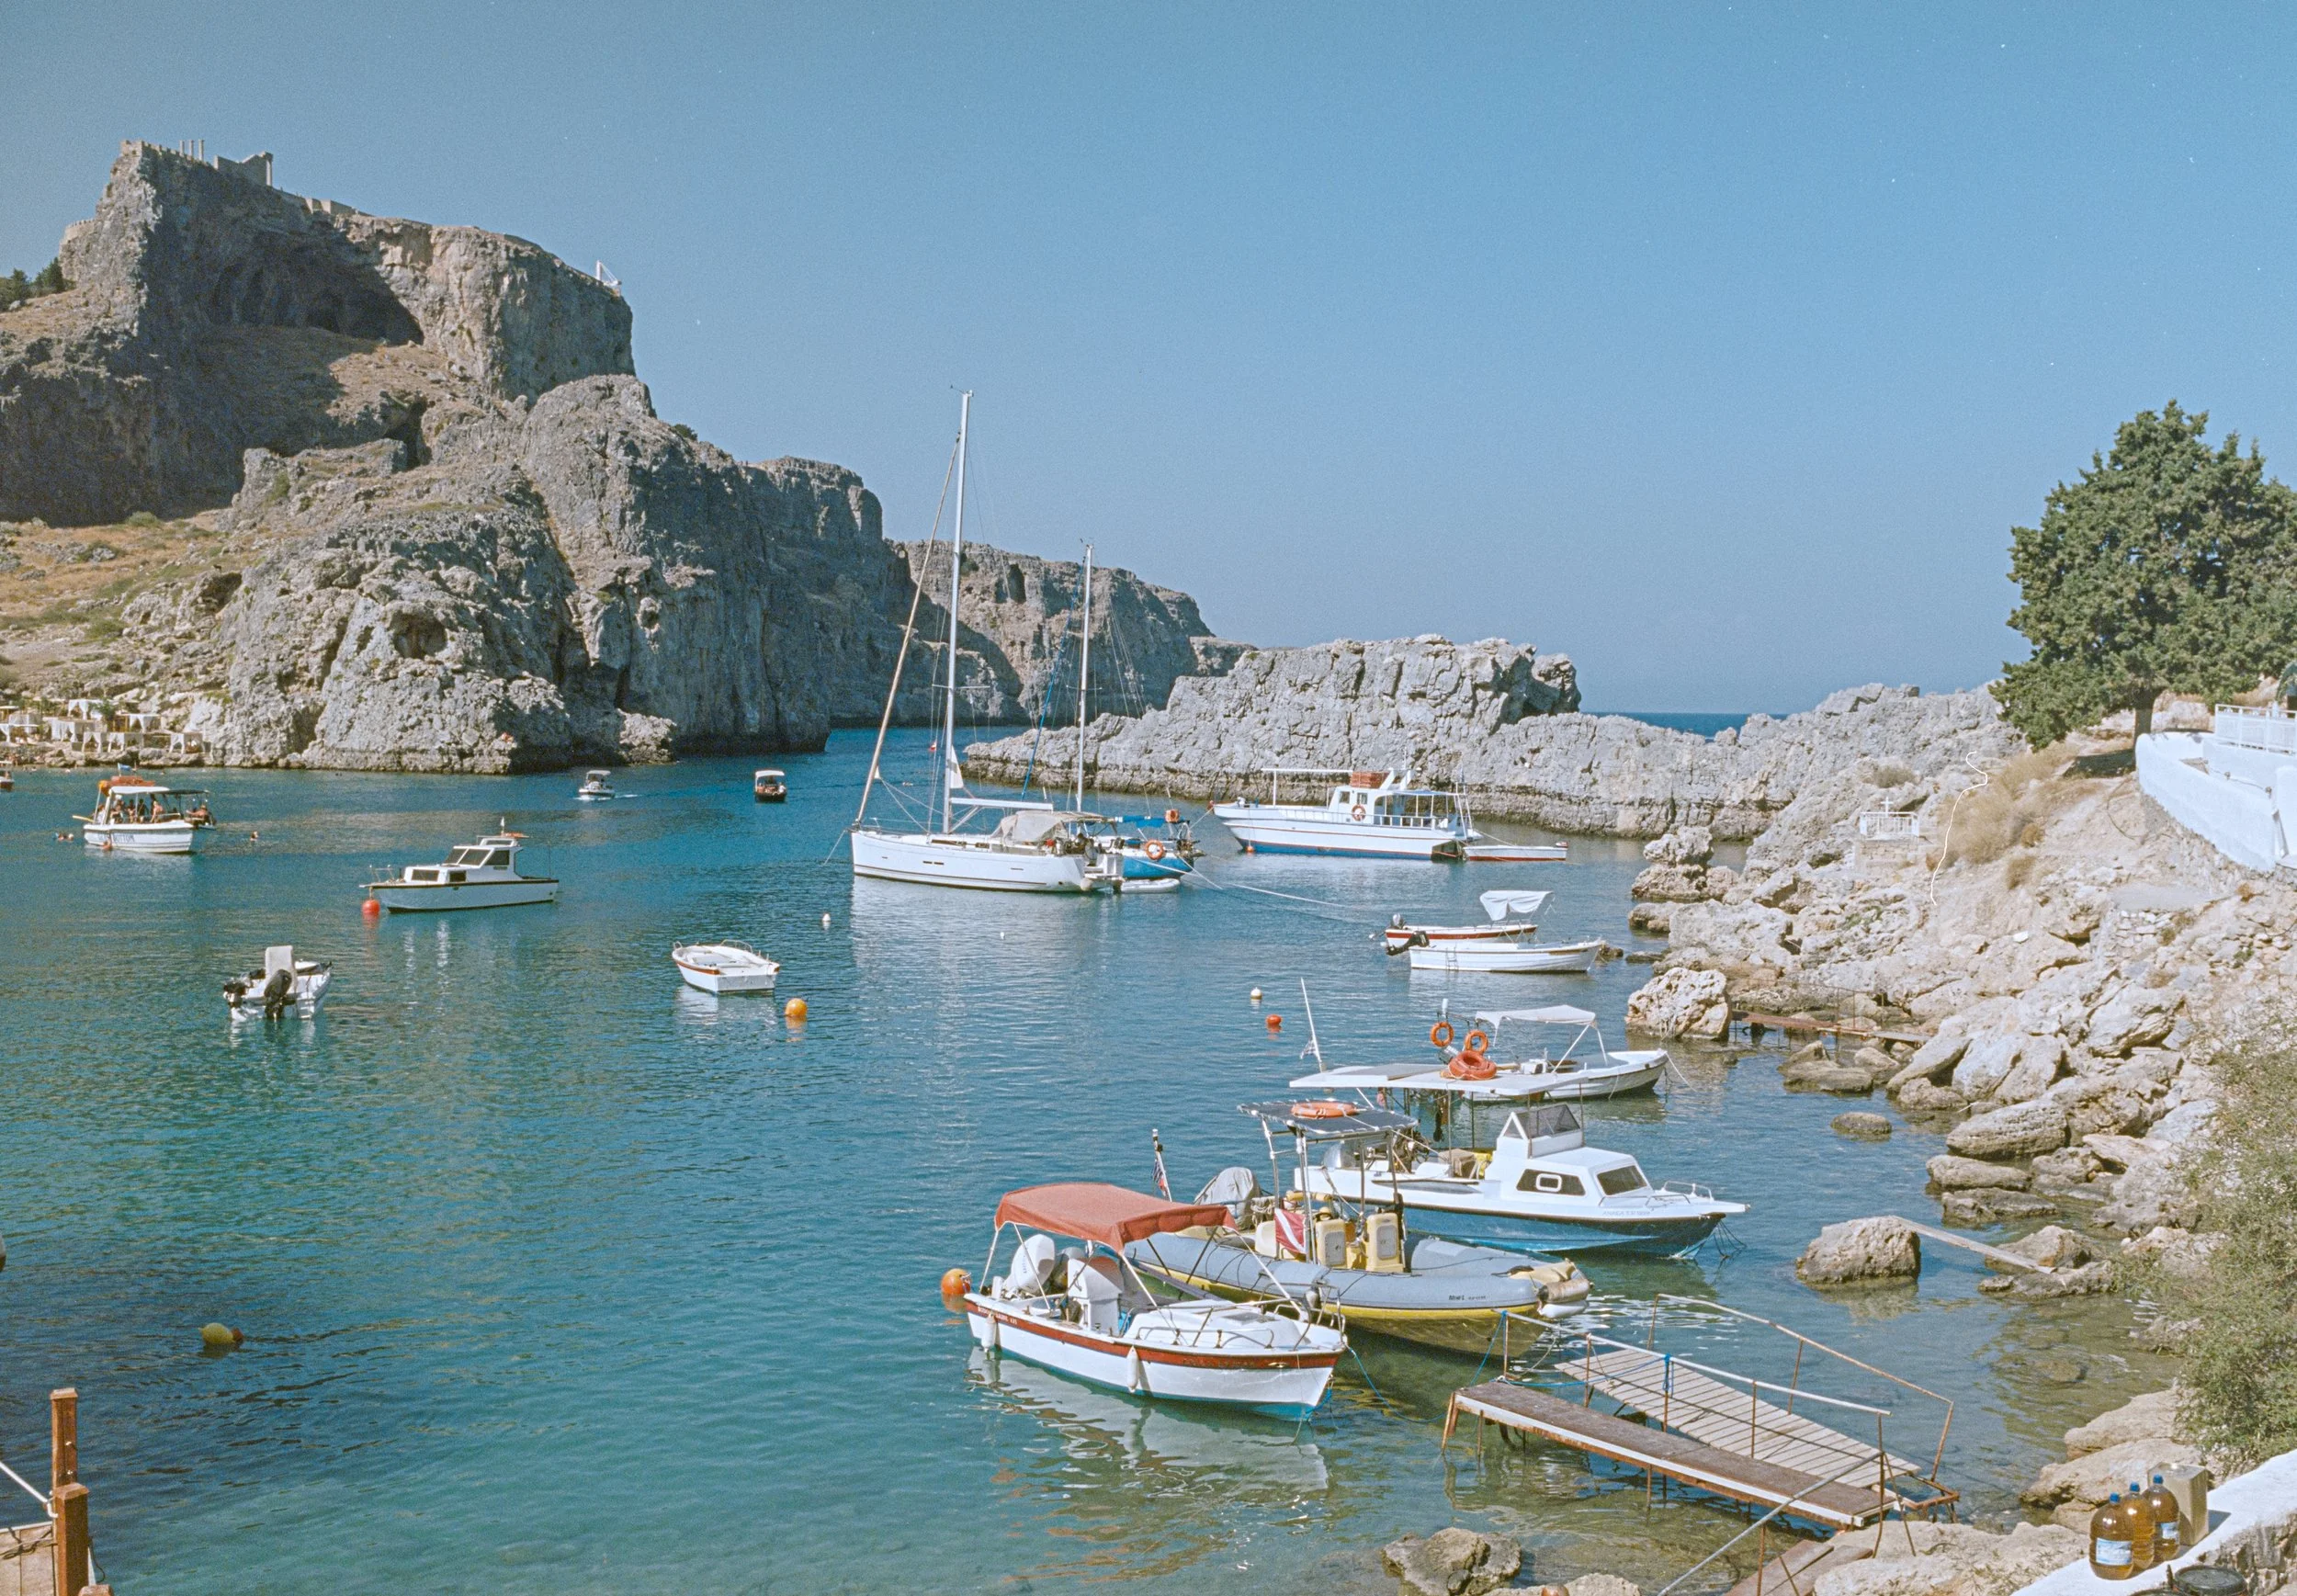
Lindos bay - Ektar 100
Chupples - Ektar 100
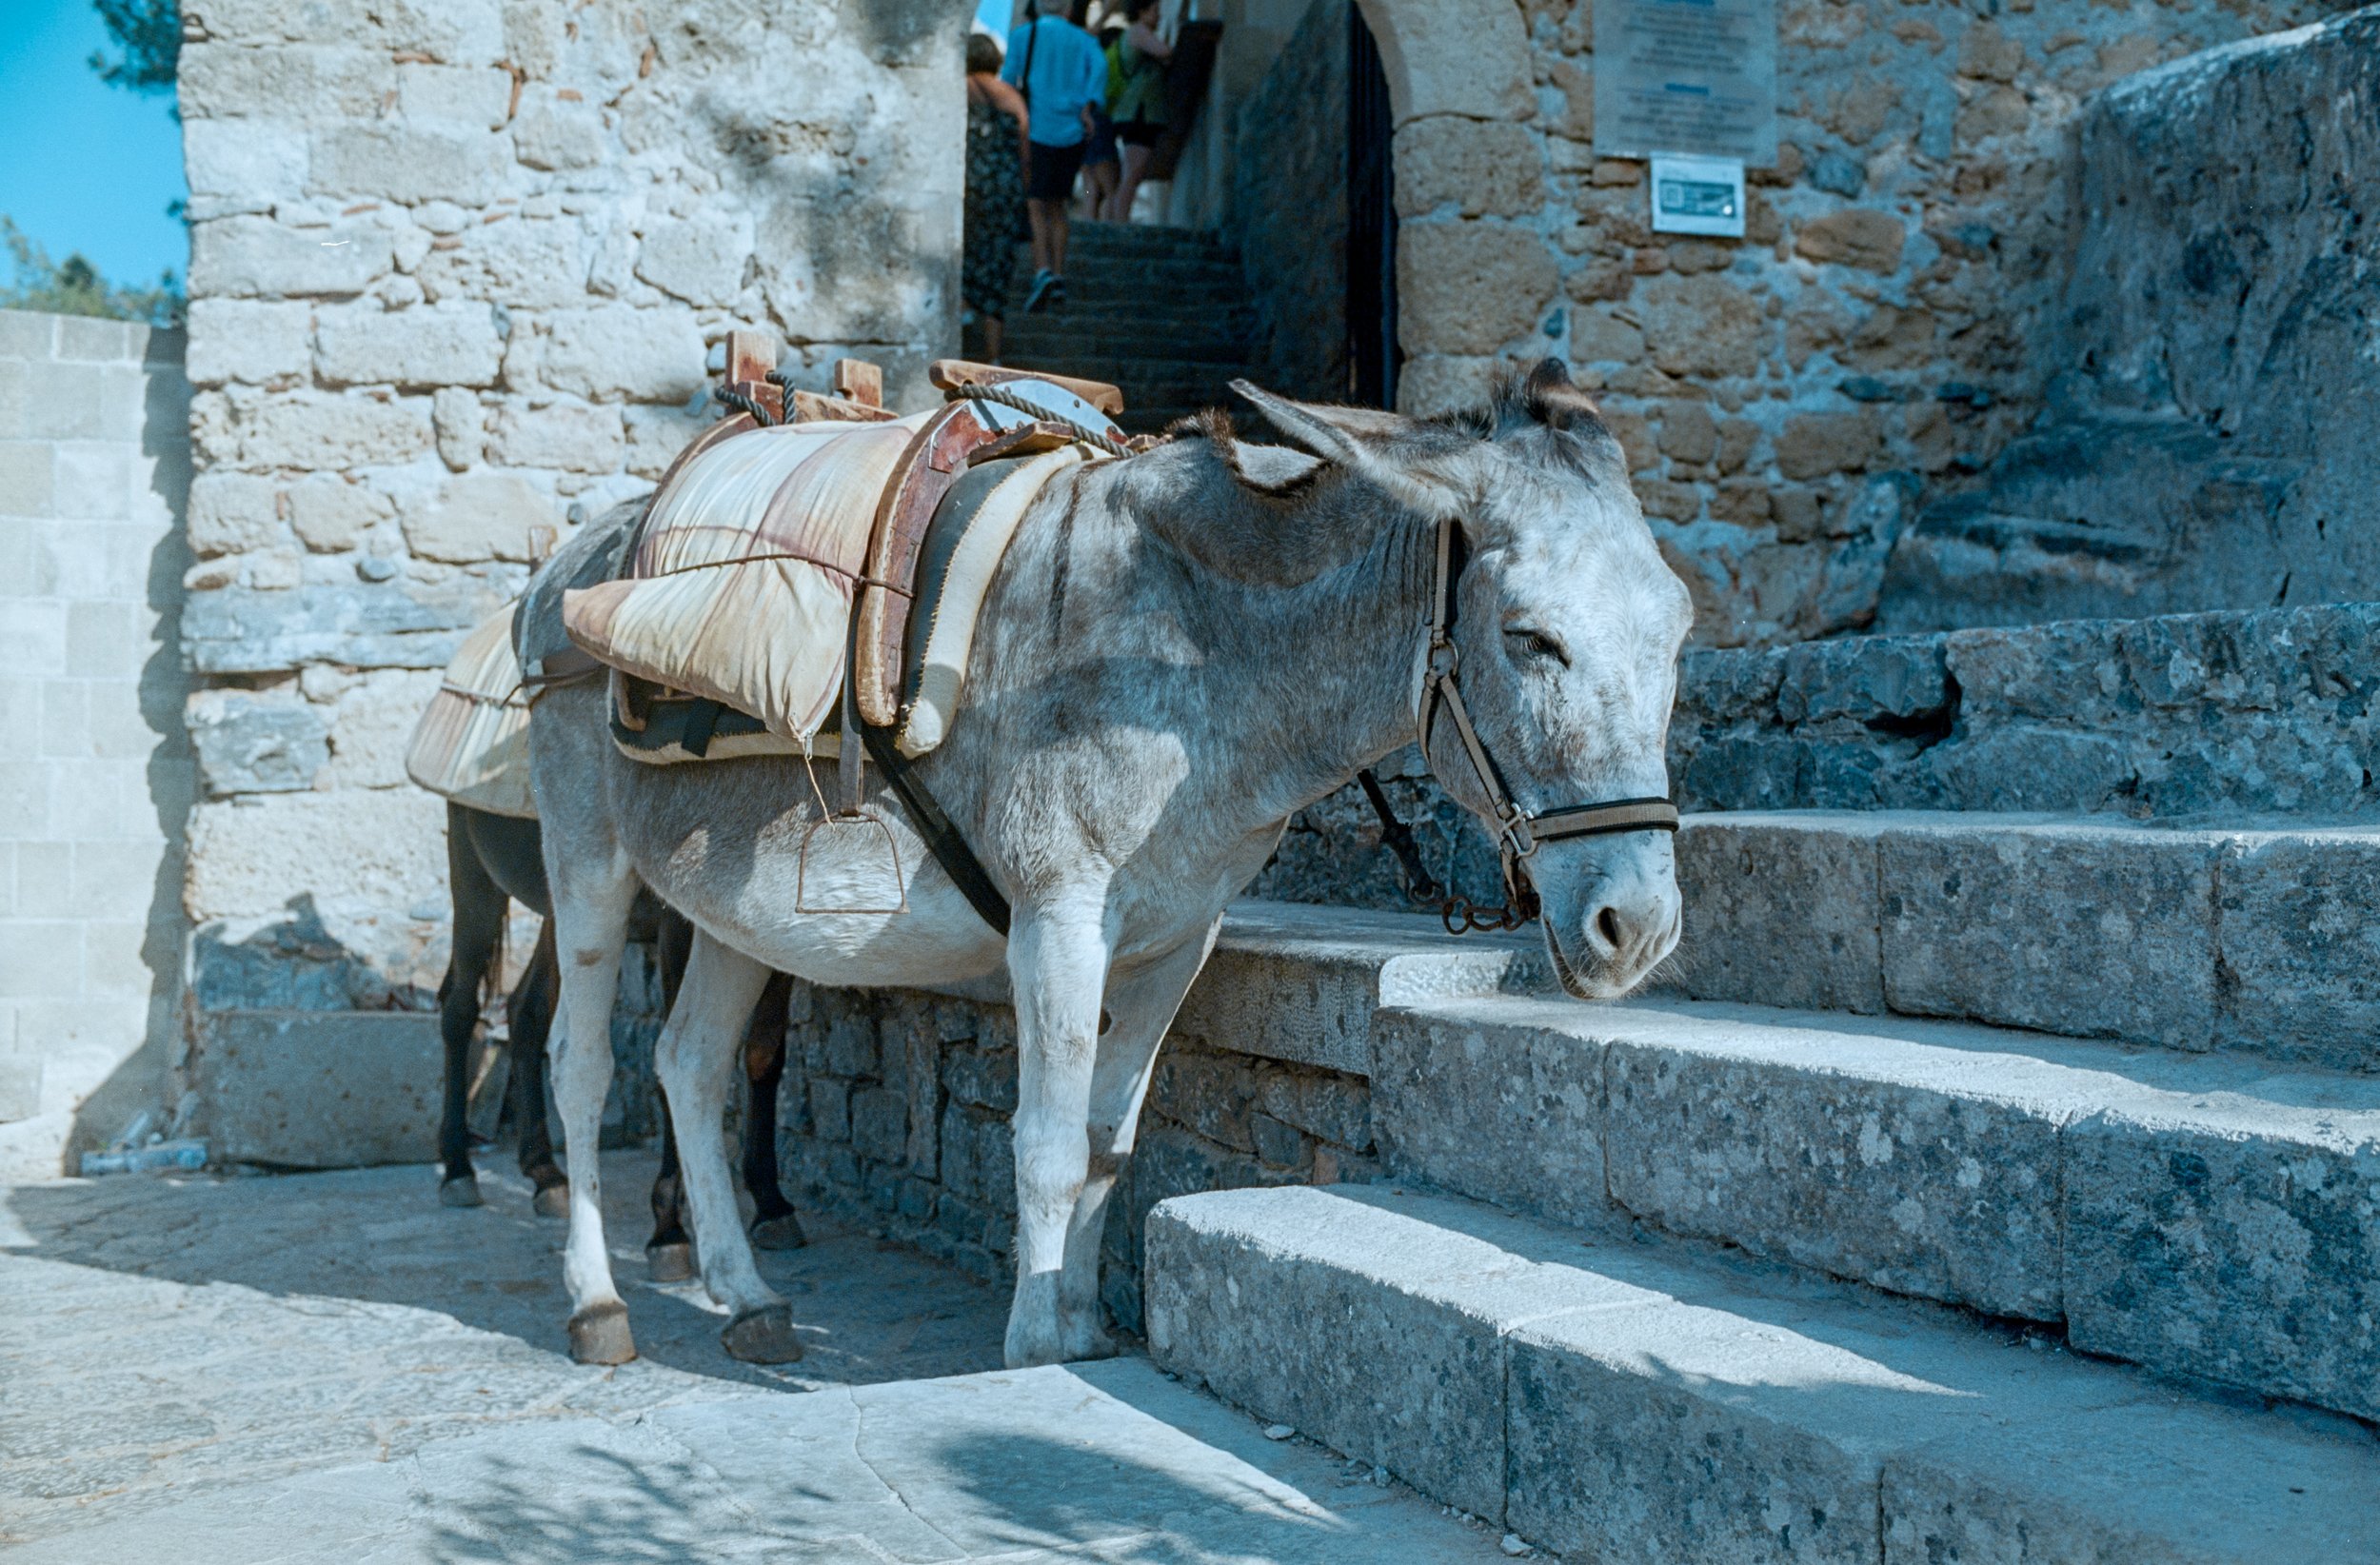
3 O'Clock donkey, Lindos - Ektar 100

Todo Bien - Ektar 100

St Pauls, Lindos - Ektar 100

Acropolis Lindos - Portra 160
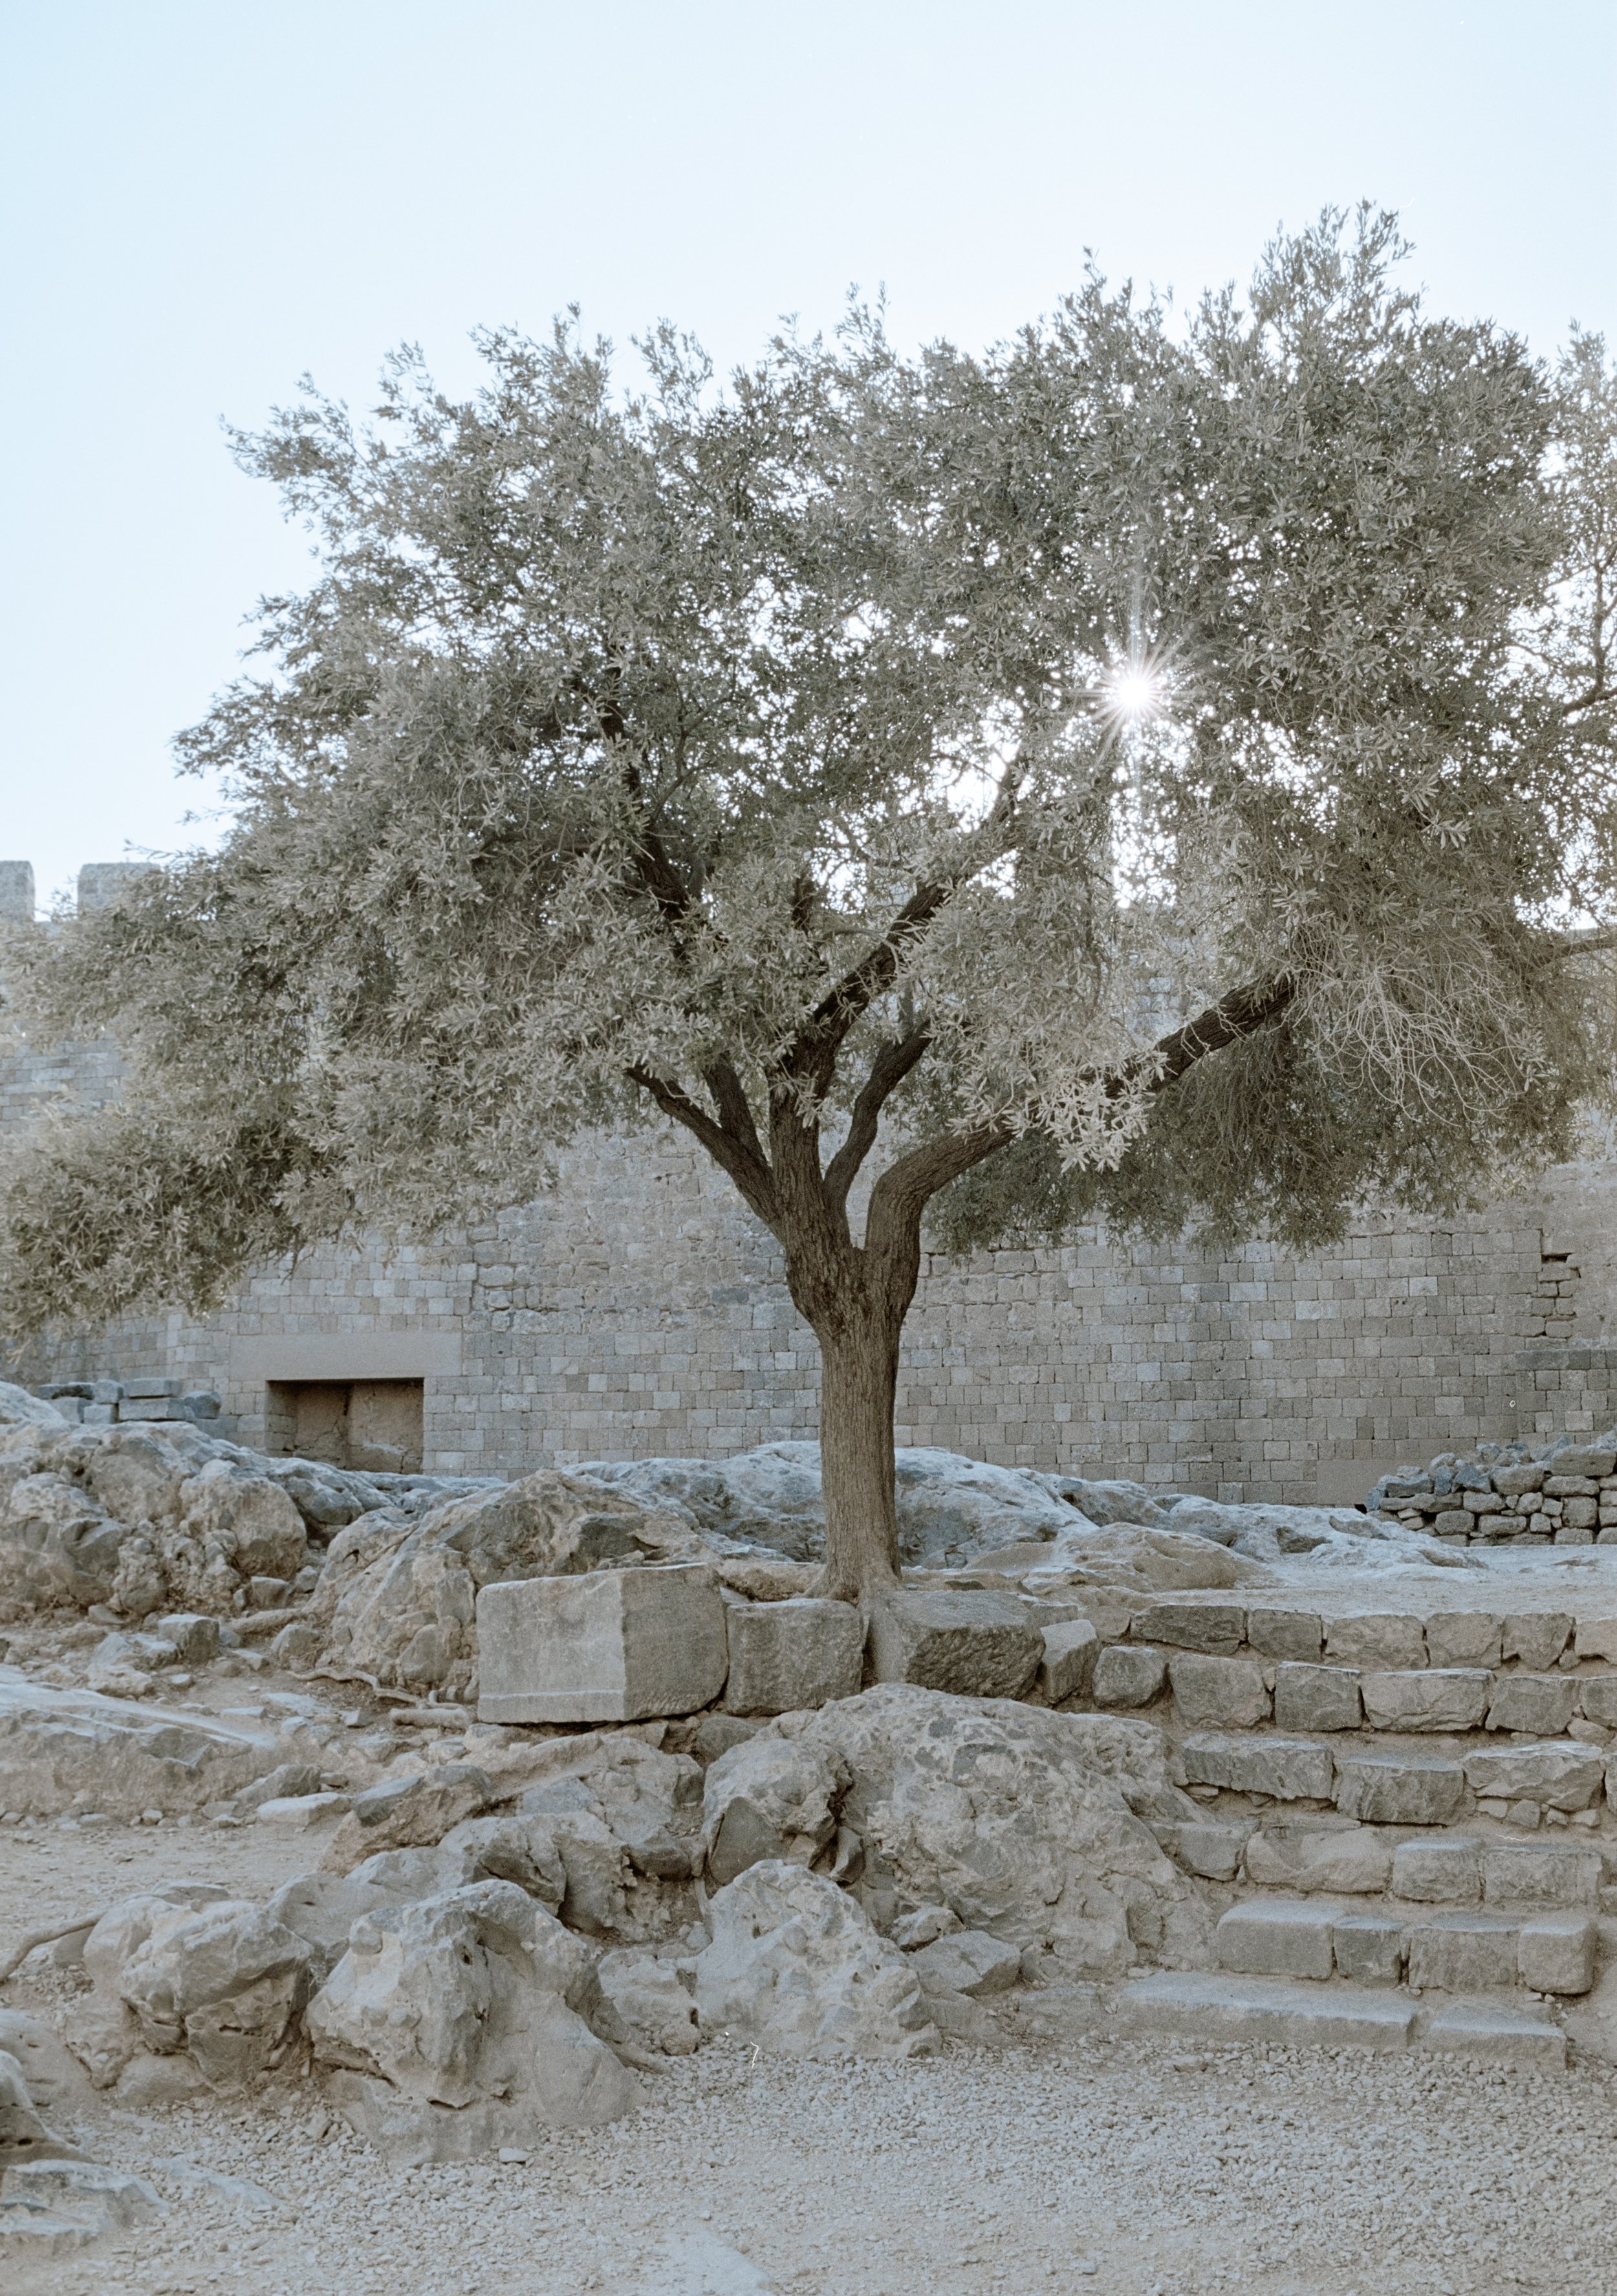
Acropolis Tree - Portra 160
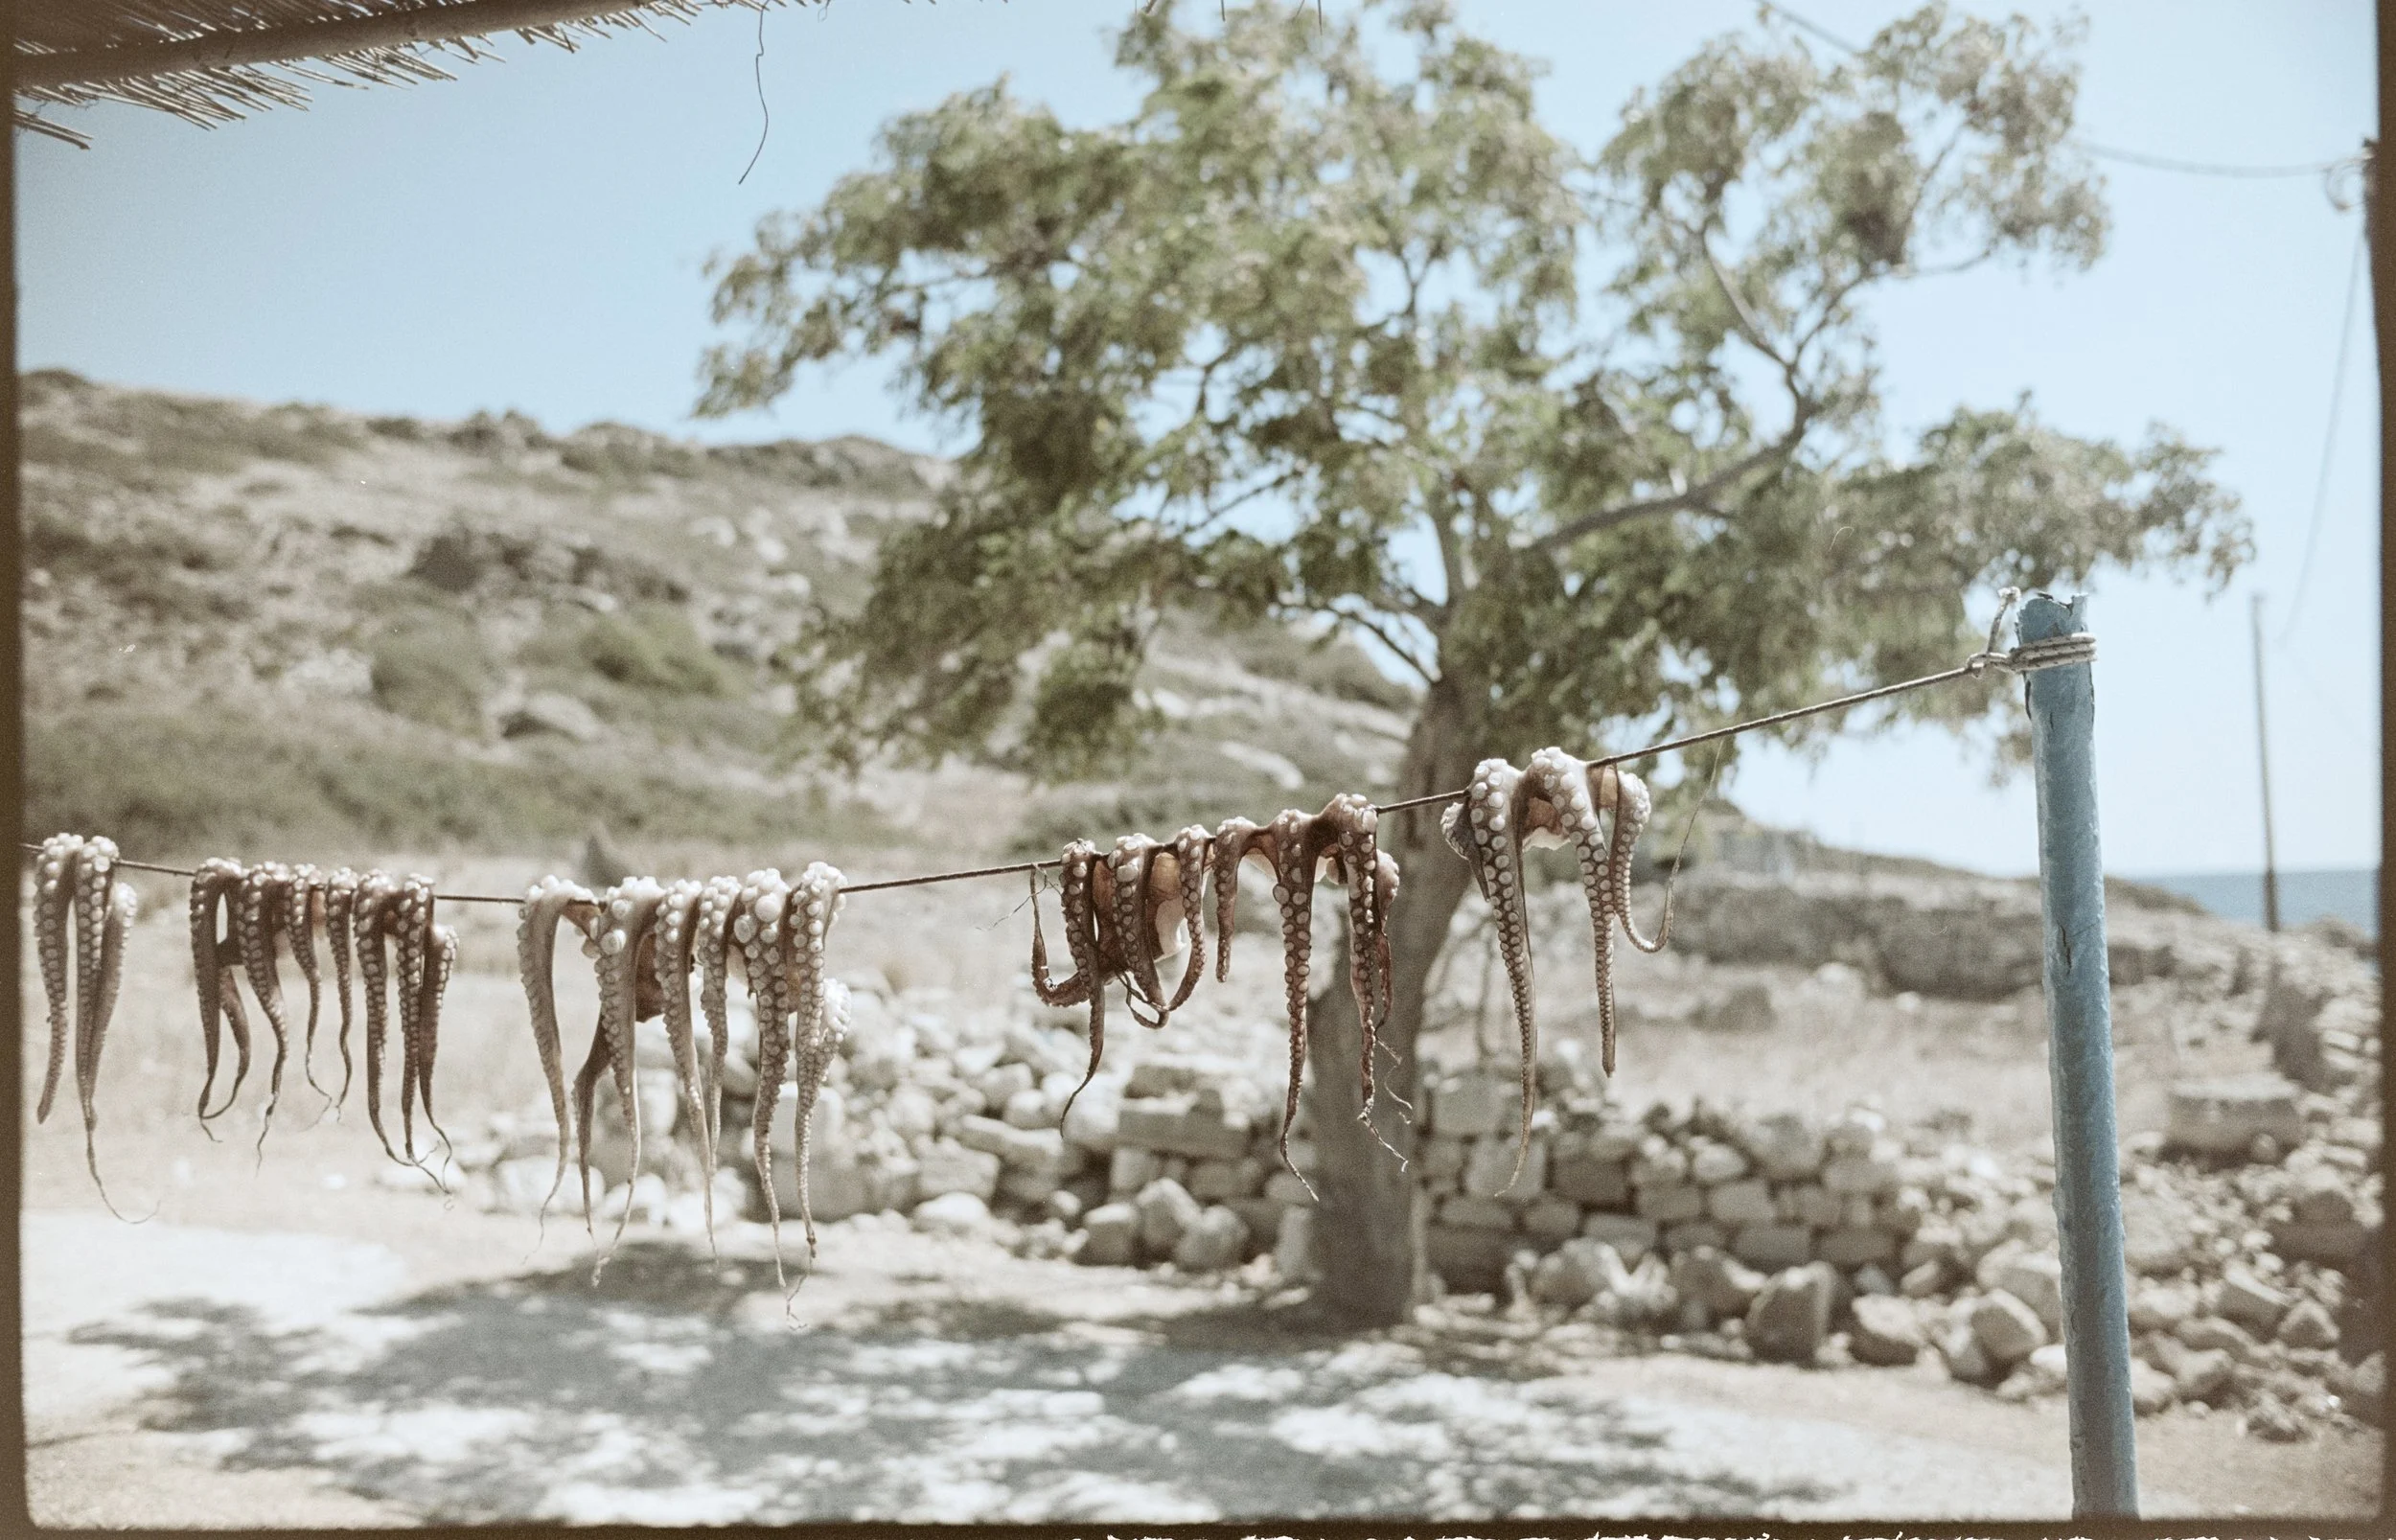
Plimmiri - Portra 160
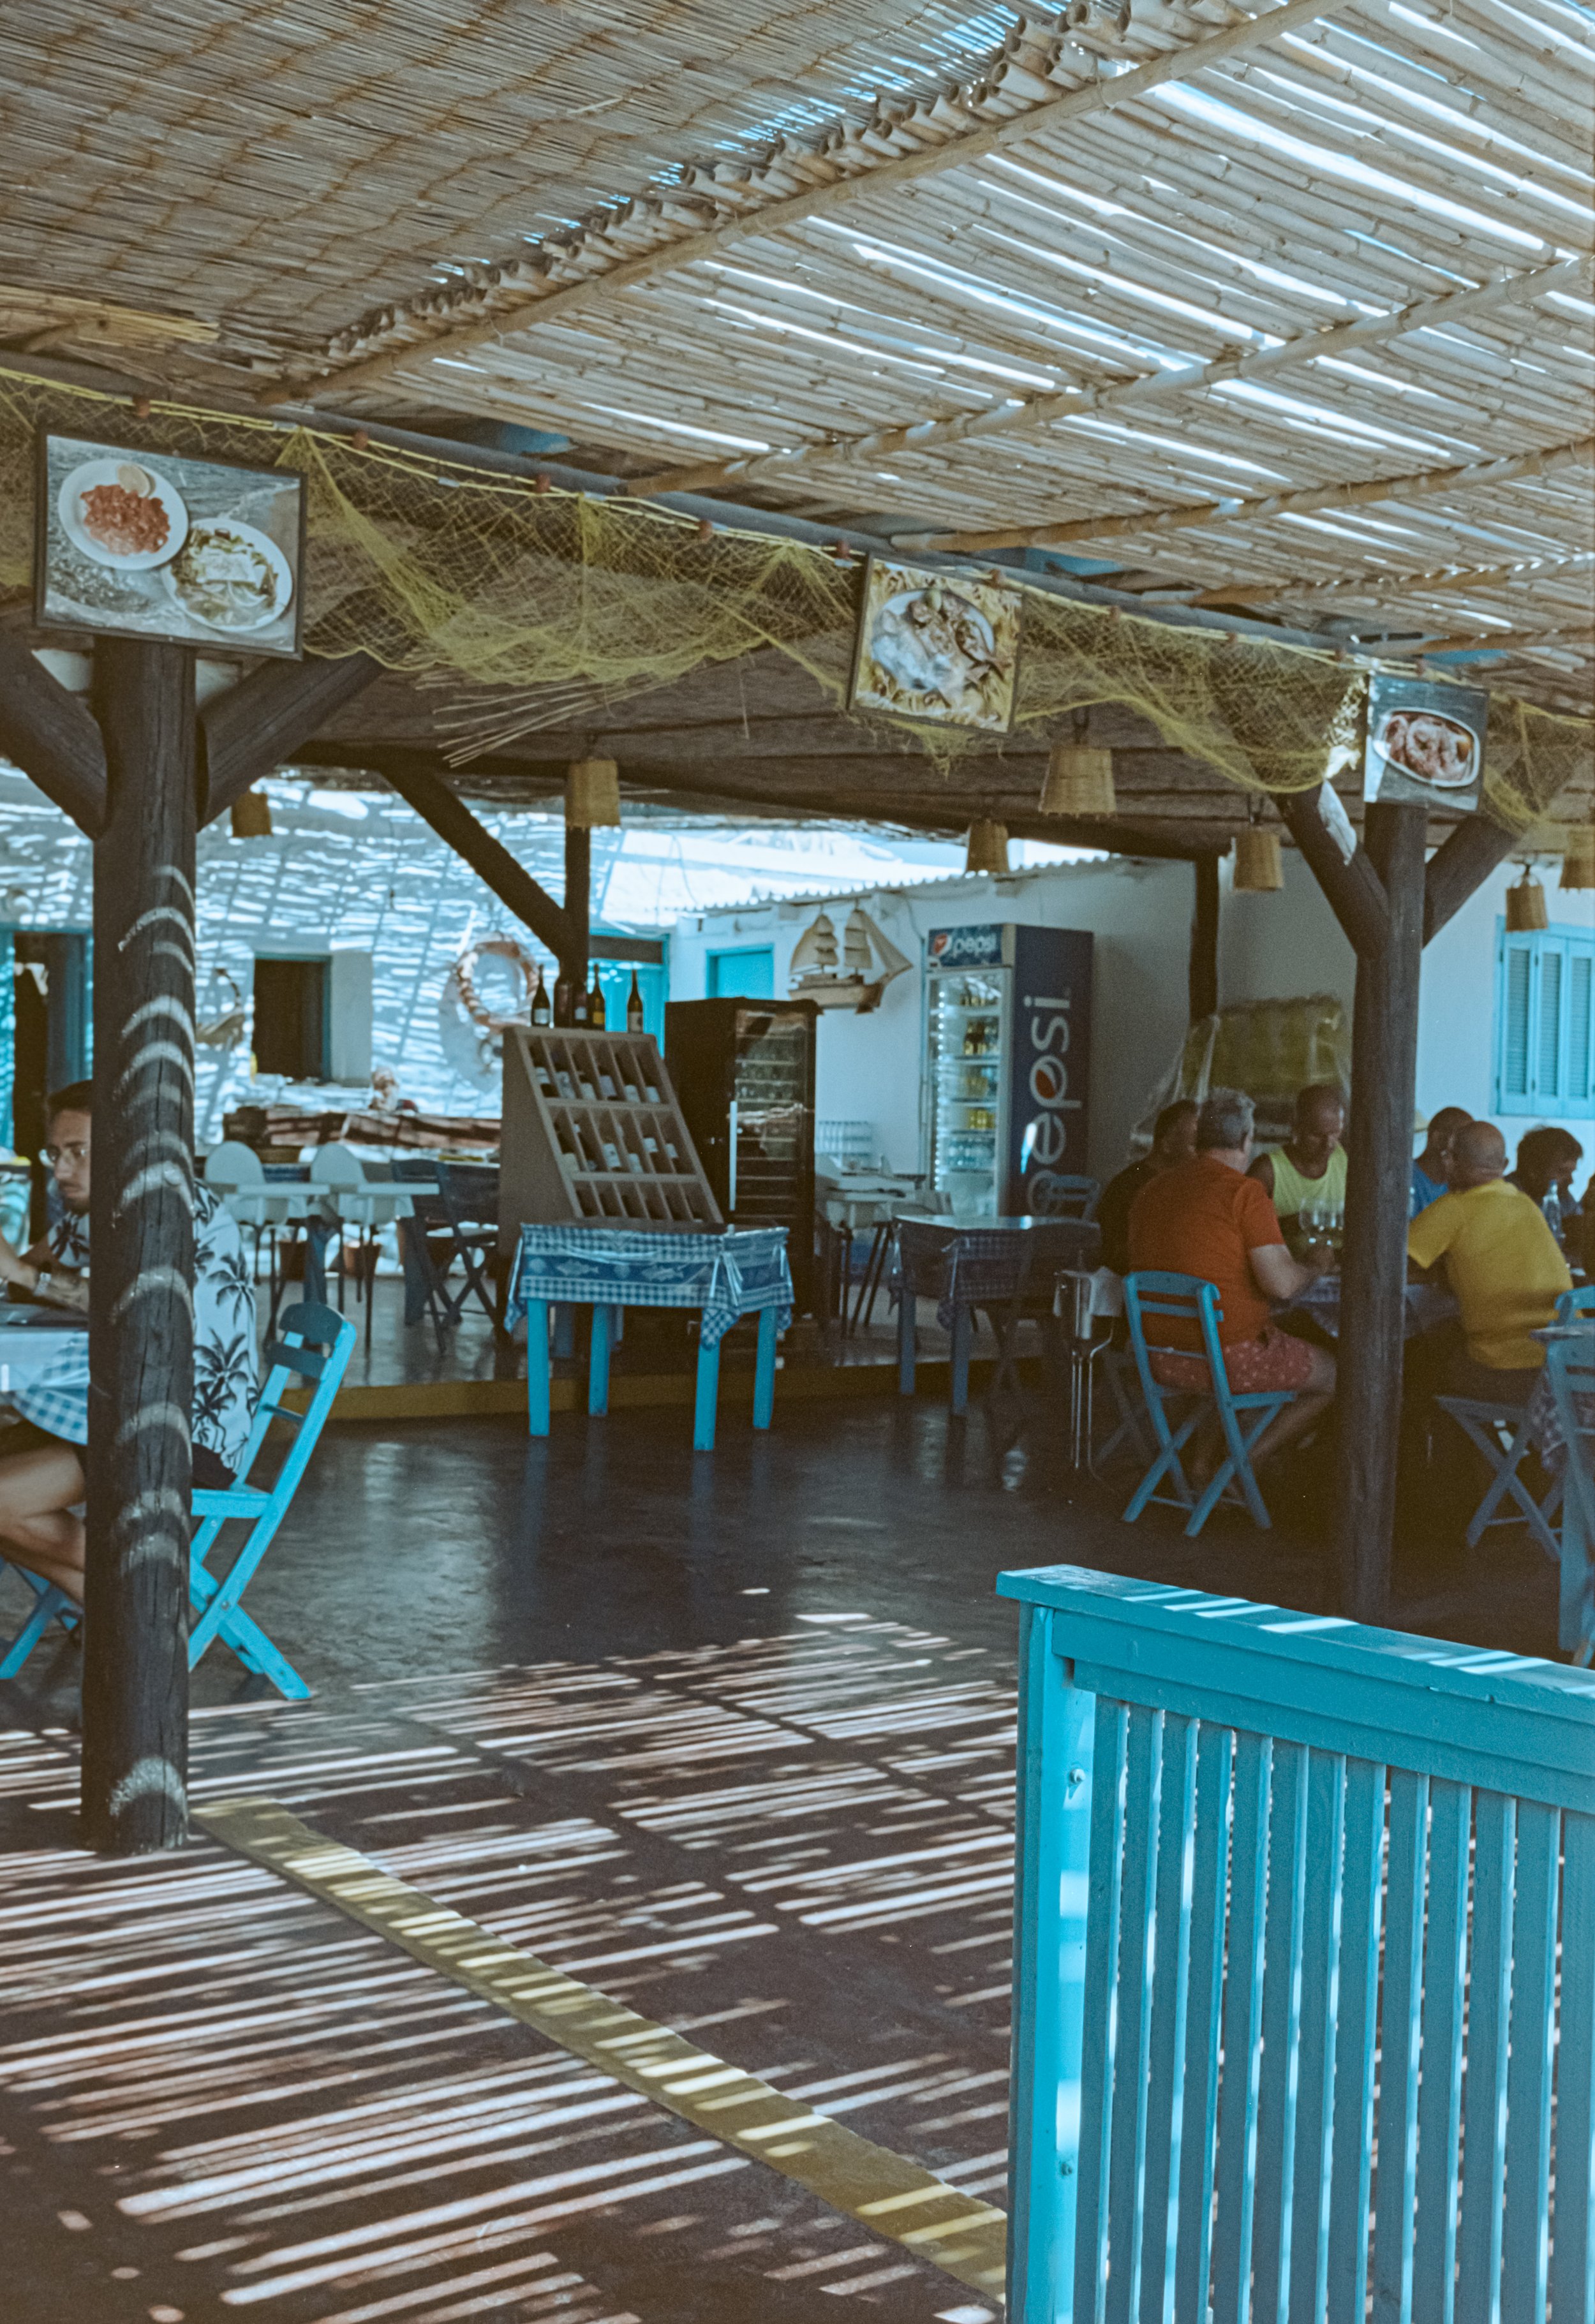
Plimmiri Fish Restaurant - Portra 160

Plimmiri - Portra 160

Prassonisi - Portra 160
Prassonisi - Portra 160
Prassonisi - Portra 160
Prassonisi - Portra 160

Mediterranean meets Aegan sea - Portra 160

Kameiros Beach - Portra 160

Kolymbia - Portra 400

Levante Kolybia - Portra 400

Levante - Portra 400

Levante - Portra 400

Kolymbia - Portra 400

Levante - Portra 400

Affantou Beach - Ektar 100

October
A busy ‘film’ month for me defined by three main areas:
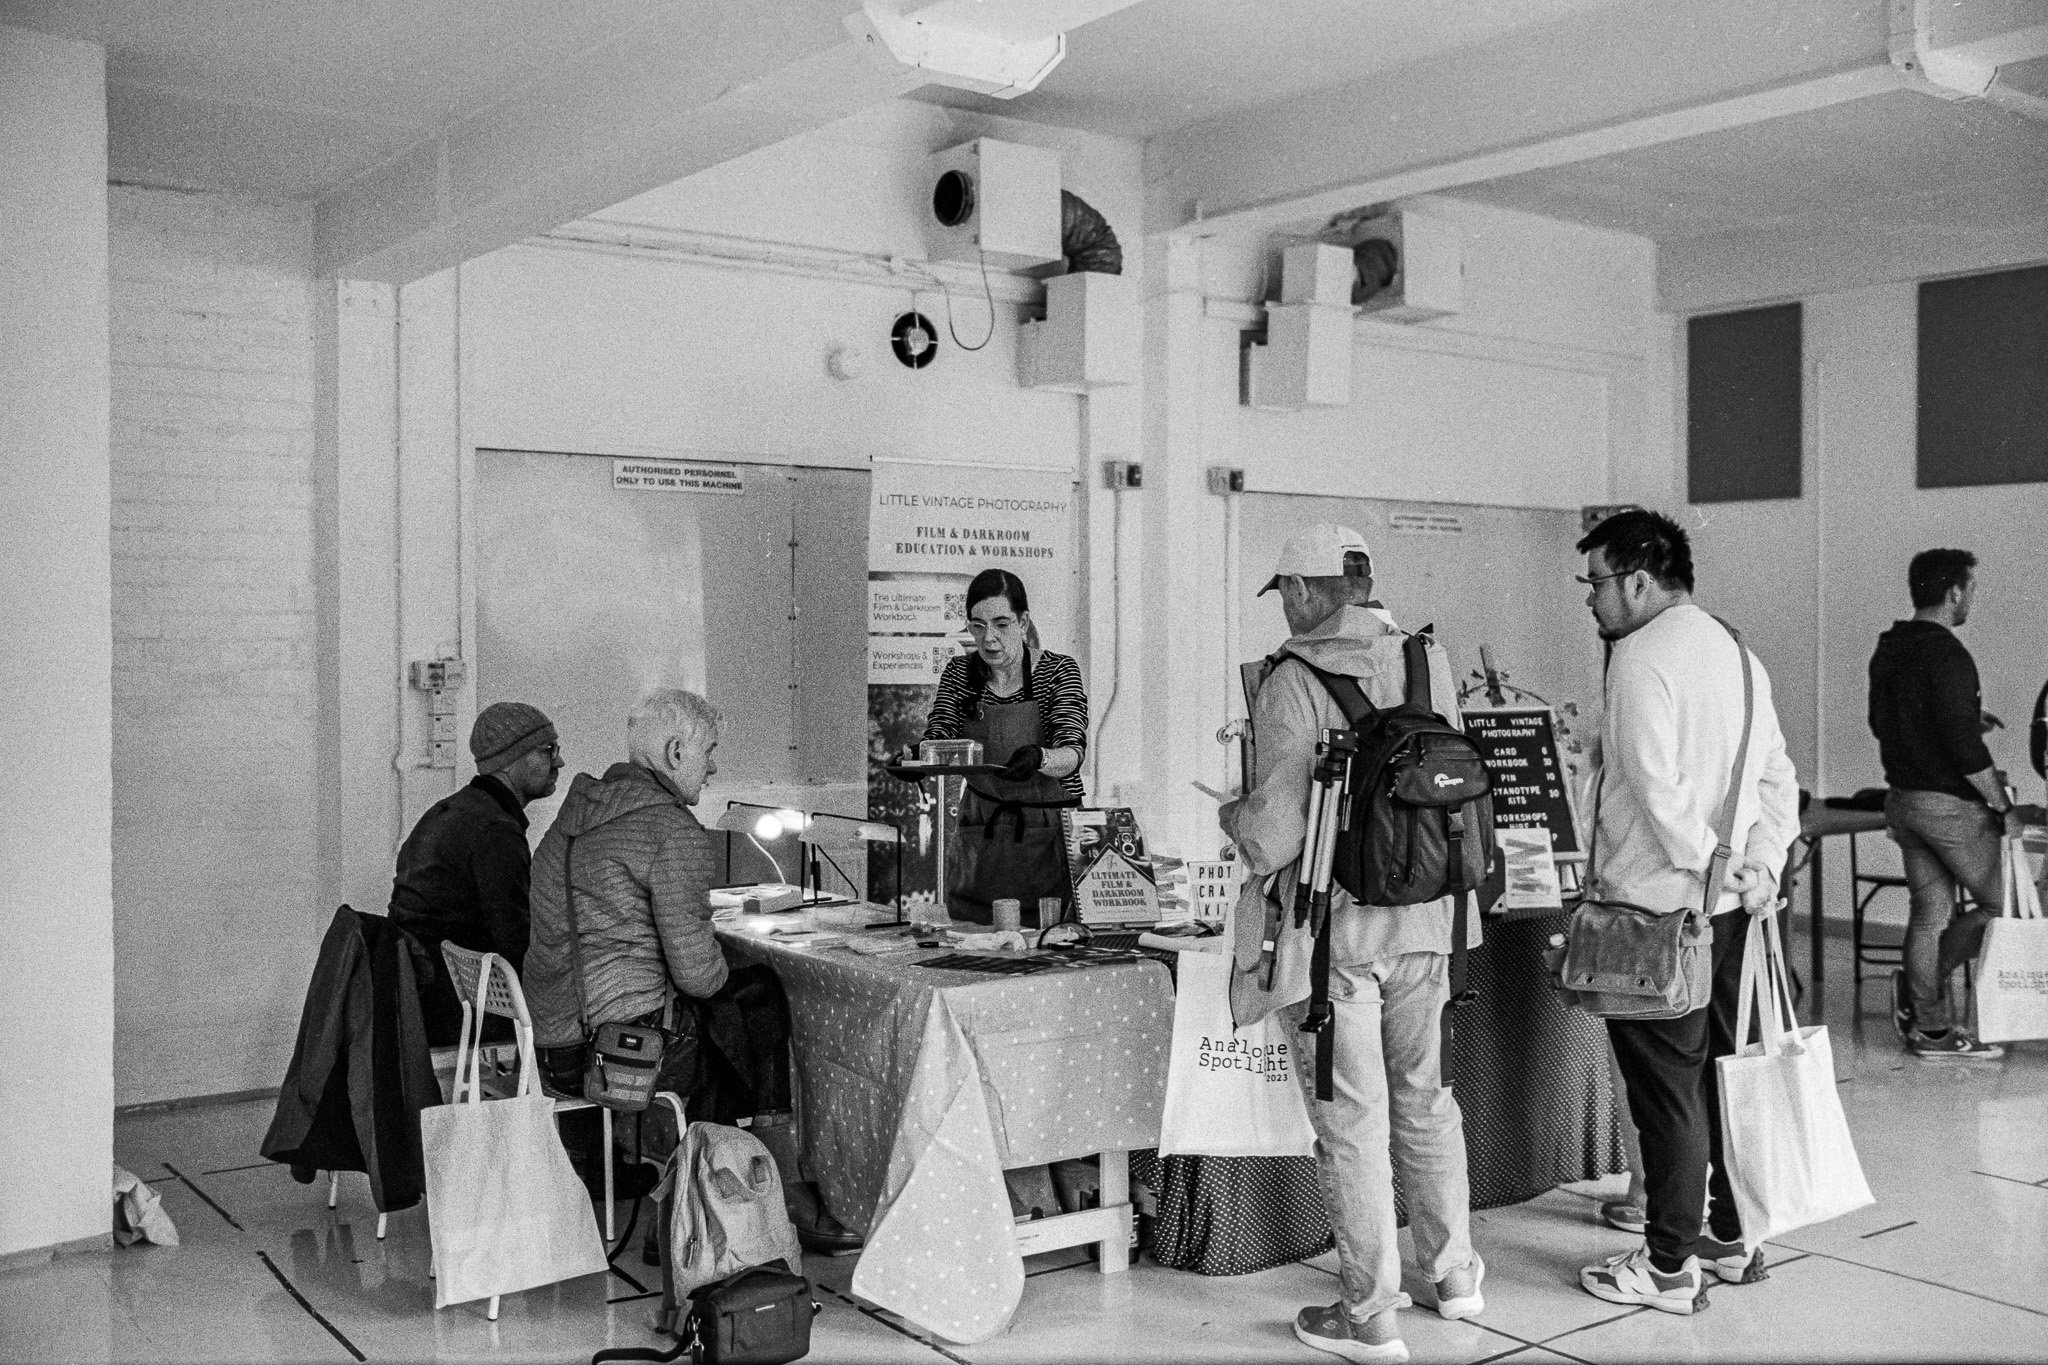
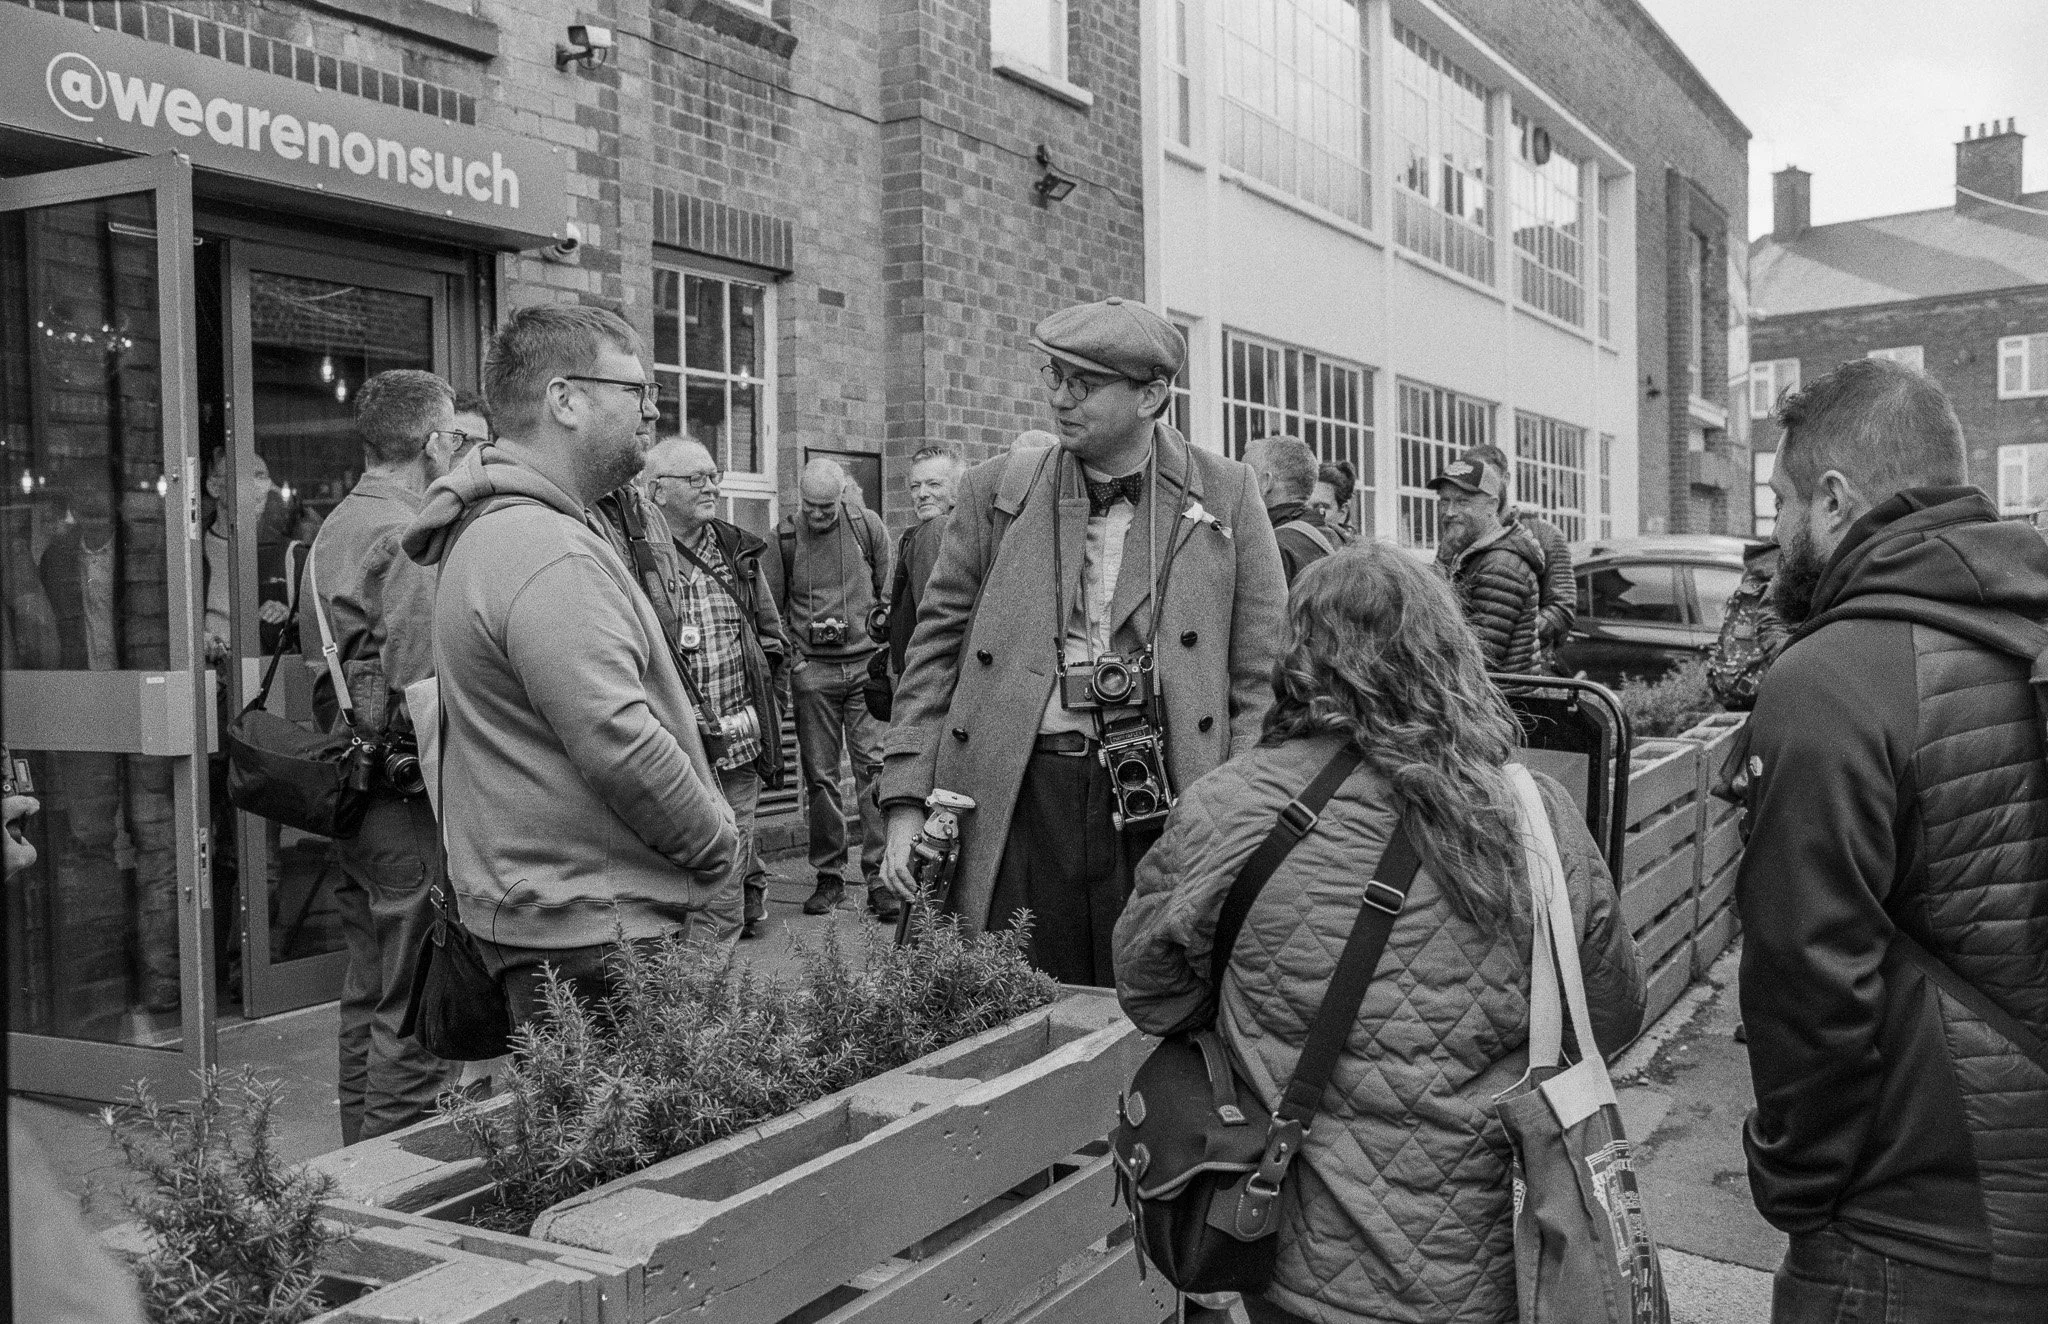
Analogue Spotlight (Nottingham) - An event organised by a small team of dedicated volunteers bringing workshops, talks, presentations and a photo walk to the film community. I made lots of new friends and met with many of the vendor/sponsors who helped host the event. I’ll definitely be doing more with these guys.
Rollei 35 - Some time ago, I purchased a tiny pocket ‘viewfinder’ camera because I liked the look of it and it was cheap. Known for its lovely 40mm Tessar lens I thought I’d give it a whirl and it turns out to be a brilliant street photography camera being so small and inconspicuous.
Silvergrain Classics (Germany) - I’m no stranger to studio photography but until now, I’d never done it with a film camera. During a visit to Leica HQ in Wetzlar, I was able to shoot some film at the Silvergrain Classics studios in collaboration with Cinestill films. Two boxes ticked in one sitting, film studio photography and trying cinestill film.Handy, because I’ve just purchased some at Analogue Spotlight as well.
Analogue Spotlight - Nottingham
All images shot on Leica MP / 35lux and Ilford Delta 400.

Cafenol Workshop - Develop you films in Coffee
Cyanotype Workshop

Our venue for the day

Euan from LCE chatting pancake lenses
Some of the folks from the day heading out on the photo walk

A shot down a dark alley in Nottingham city centre
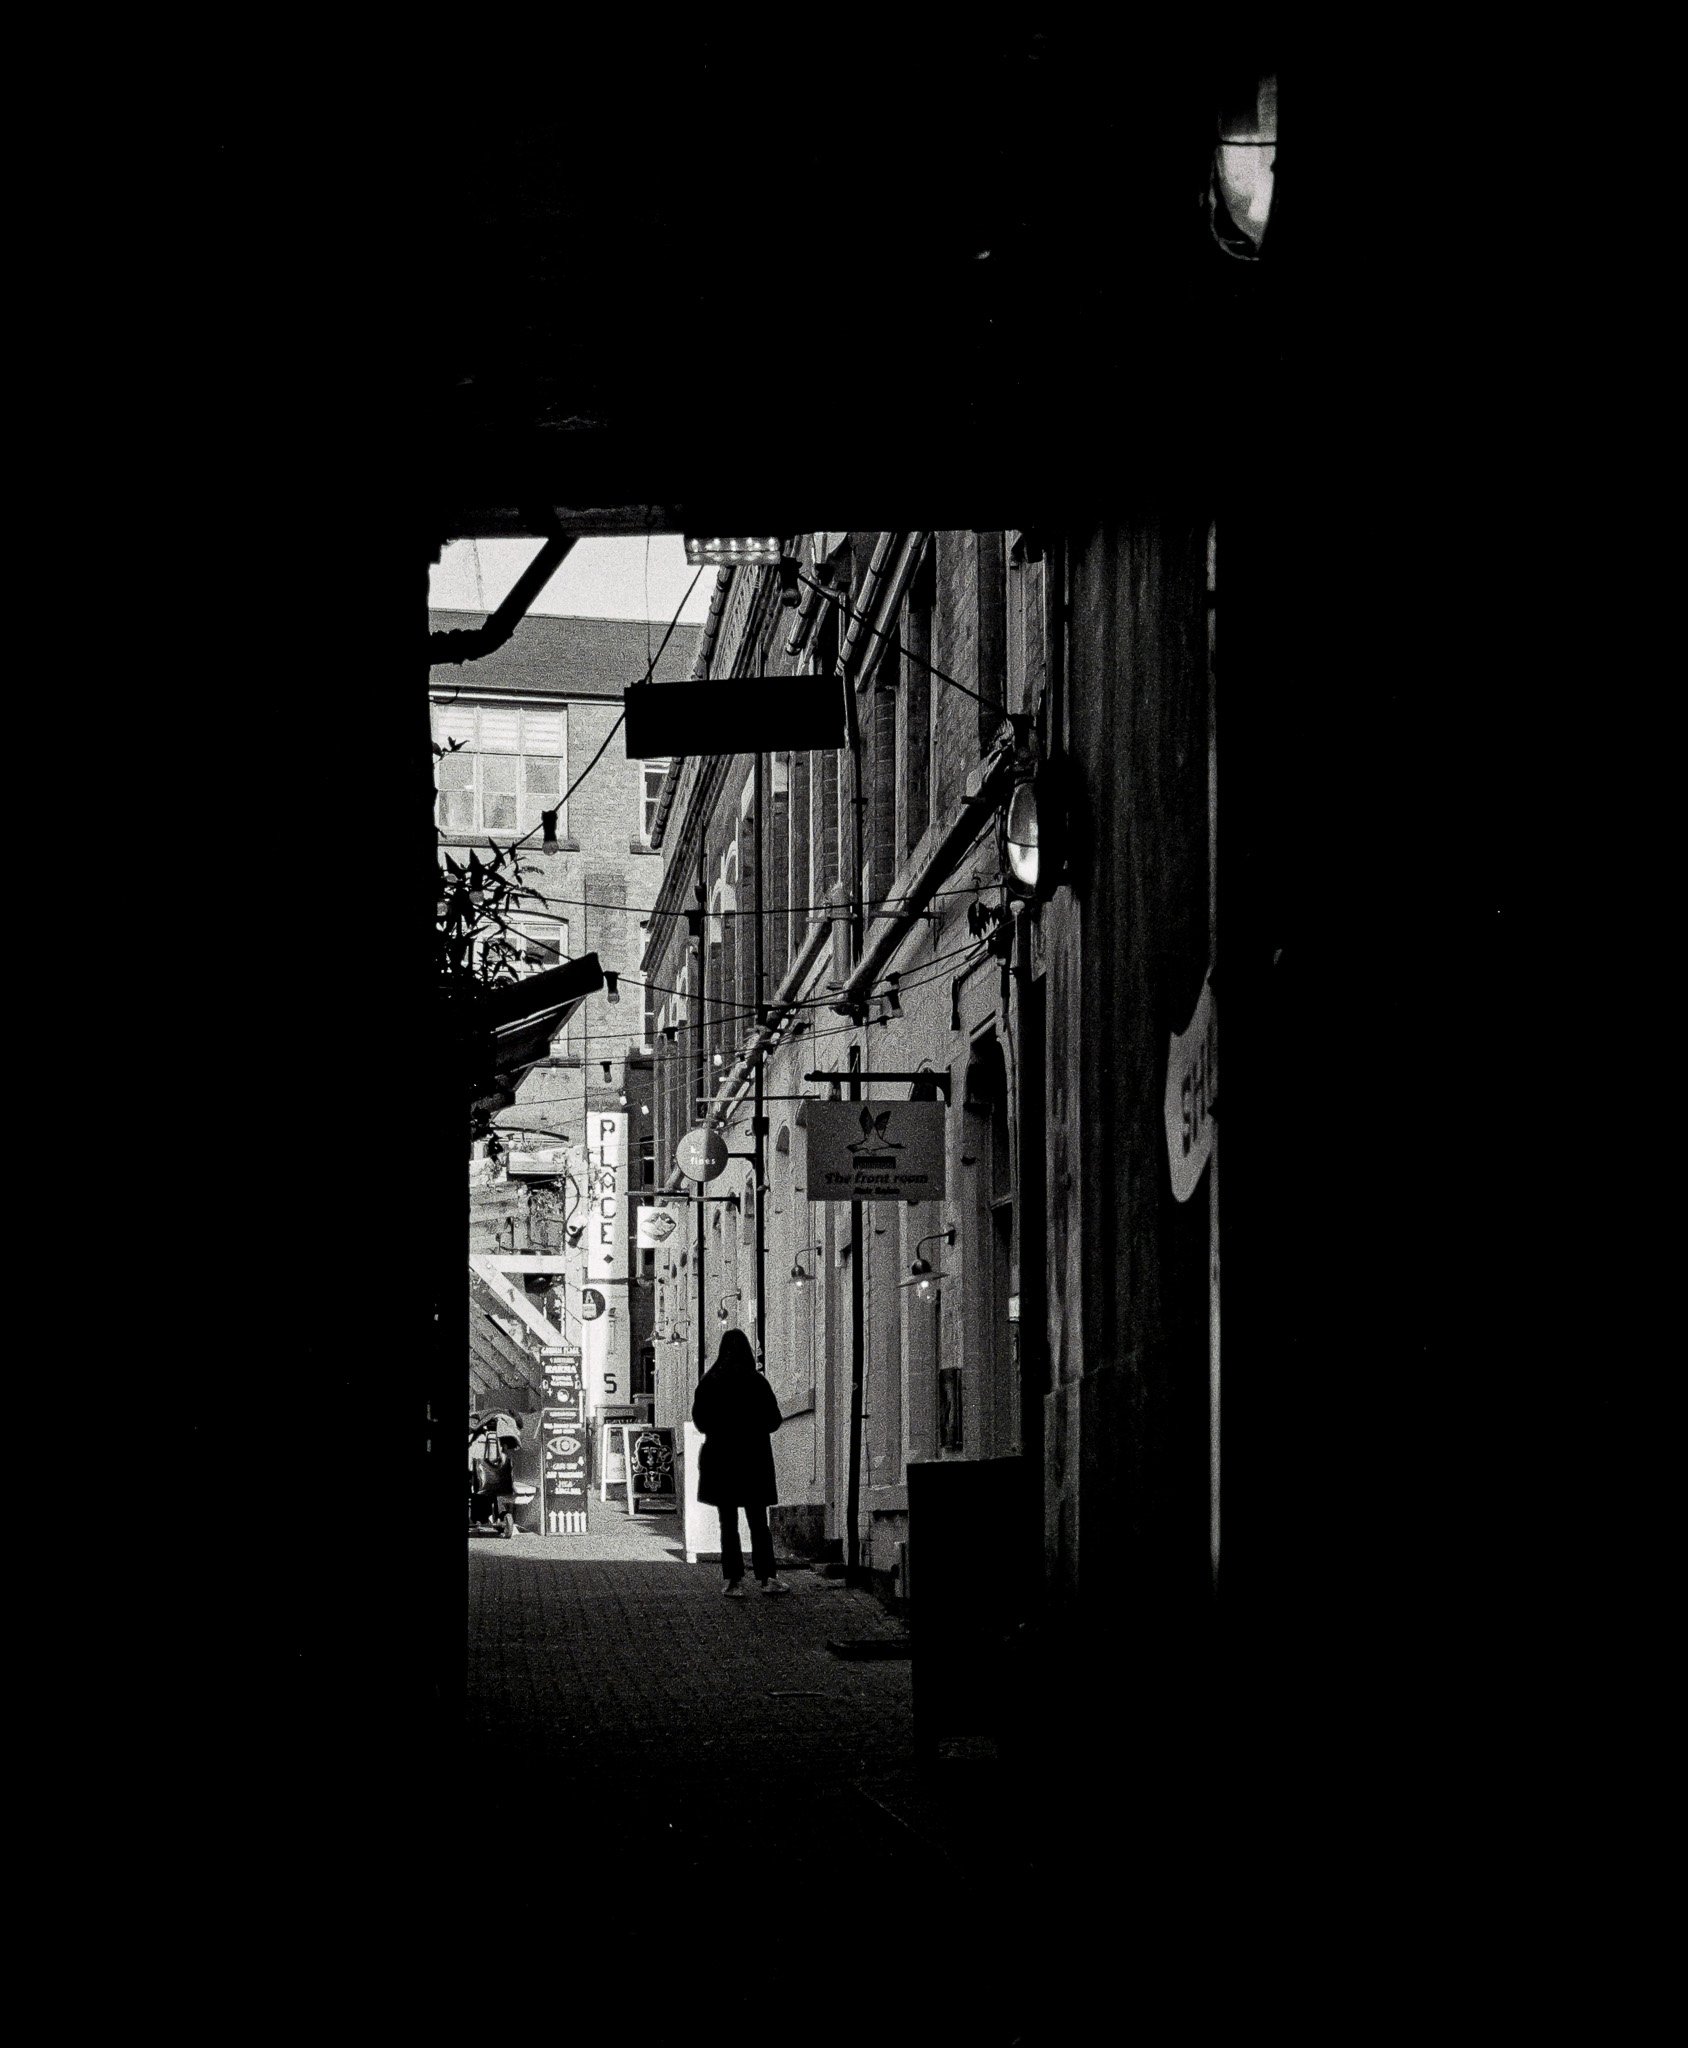
Another arty alley shot

Stunning architecture and detail from this Delta400 film
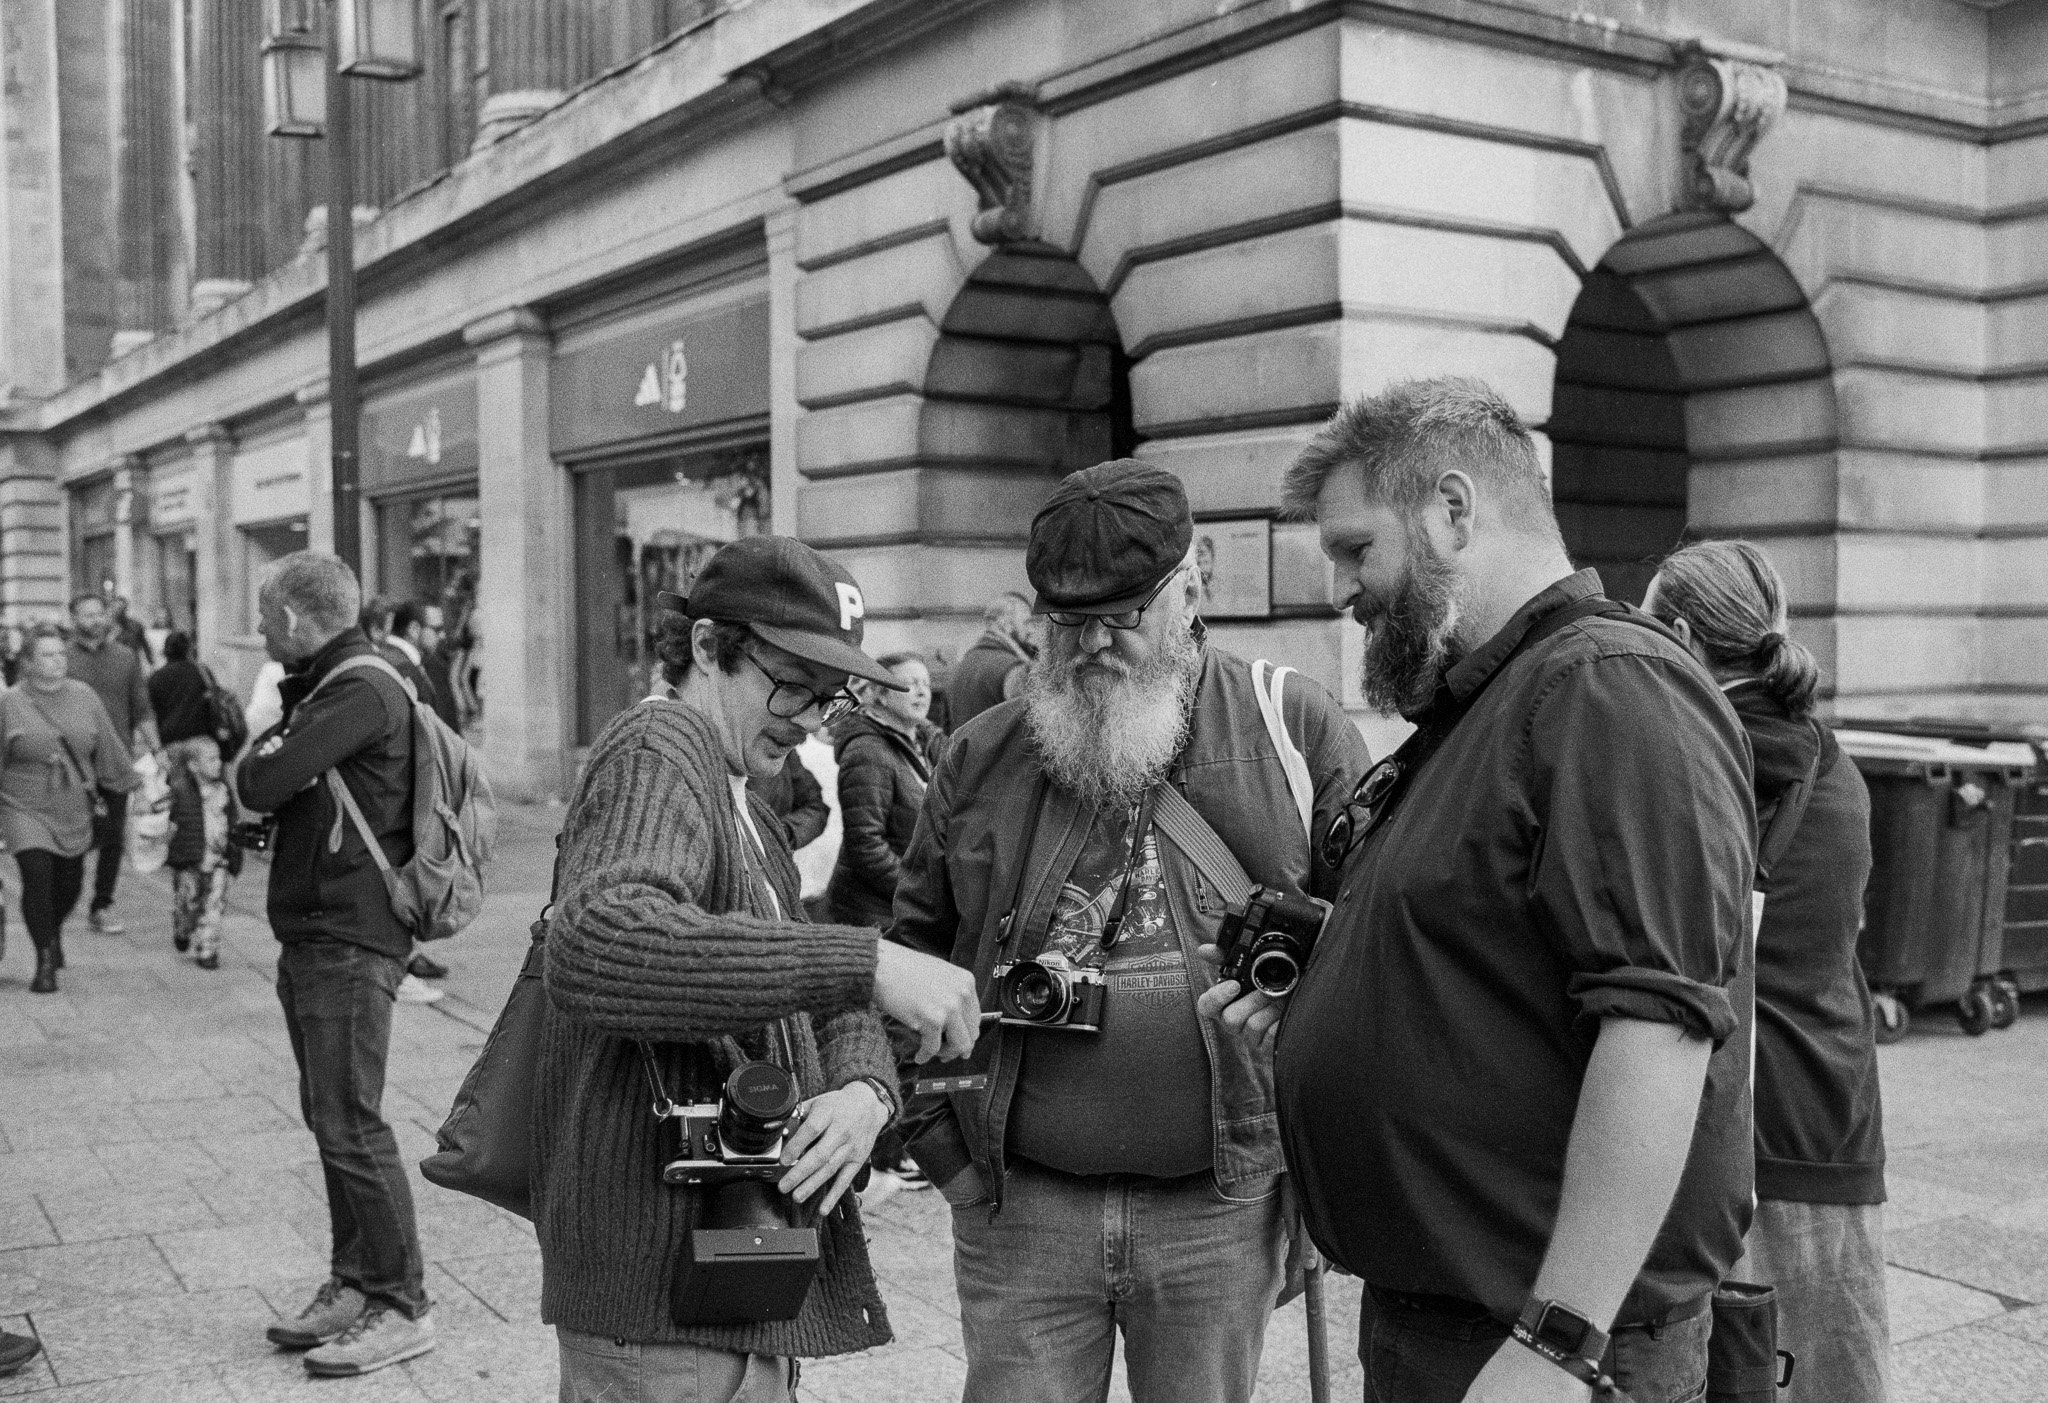
Camera chat

Meeting the locals

Local parrot fan
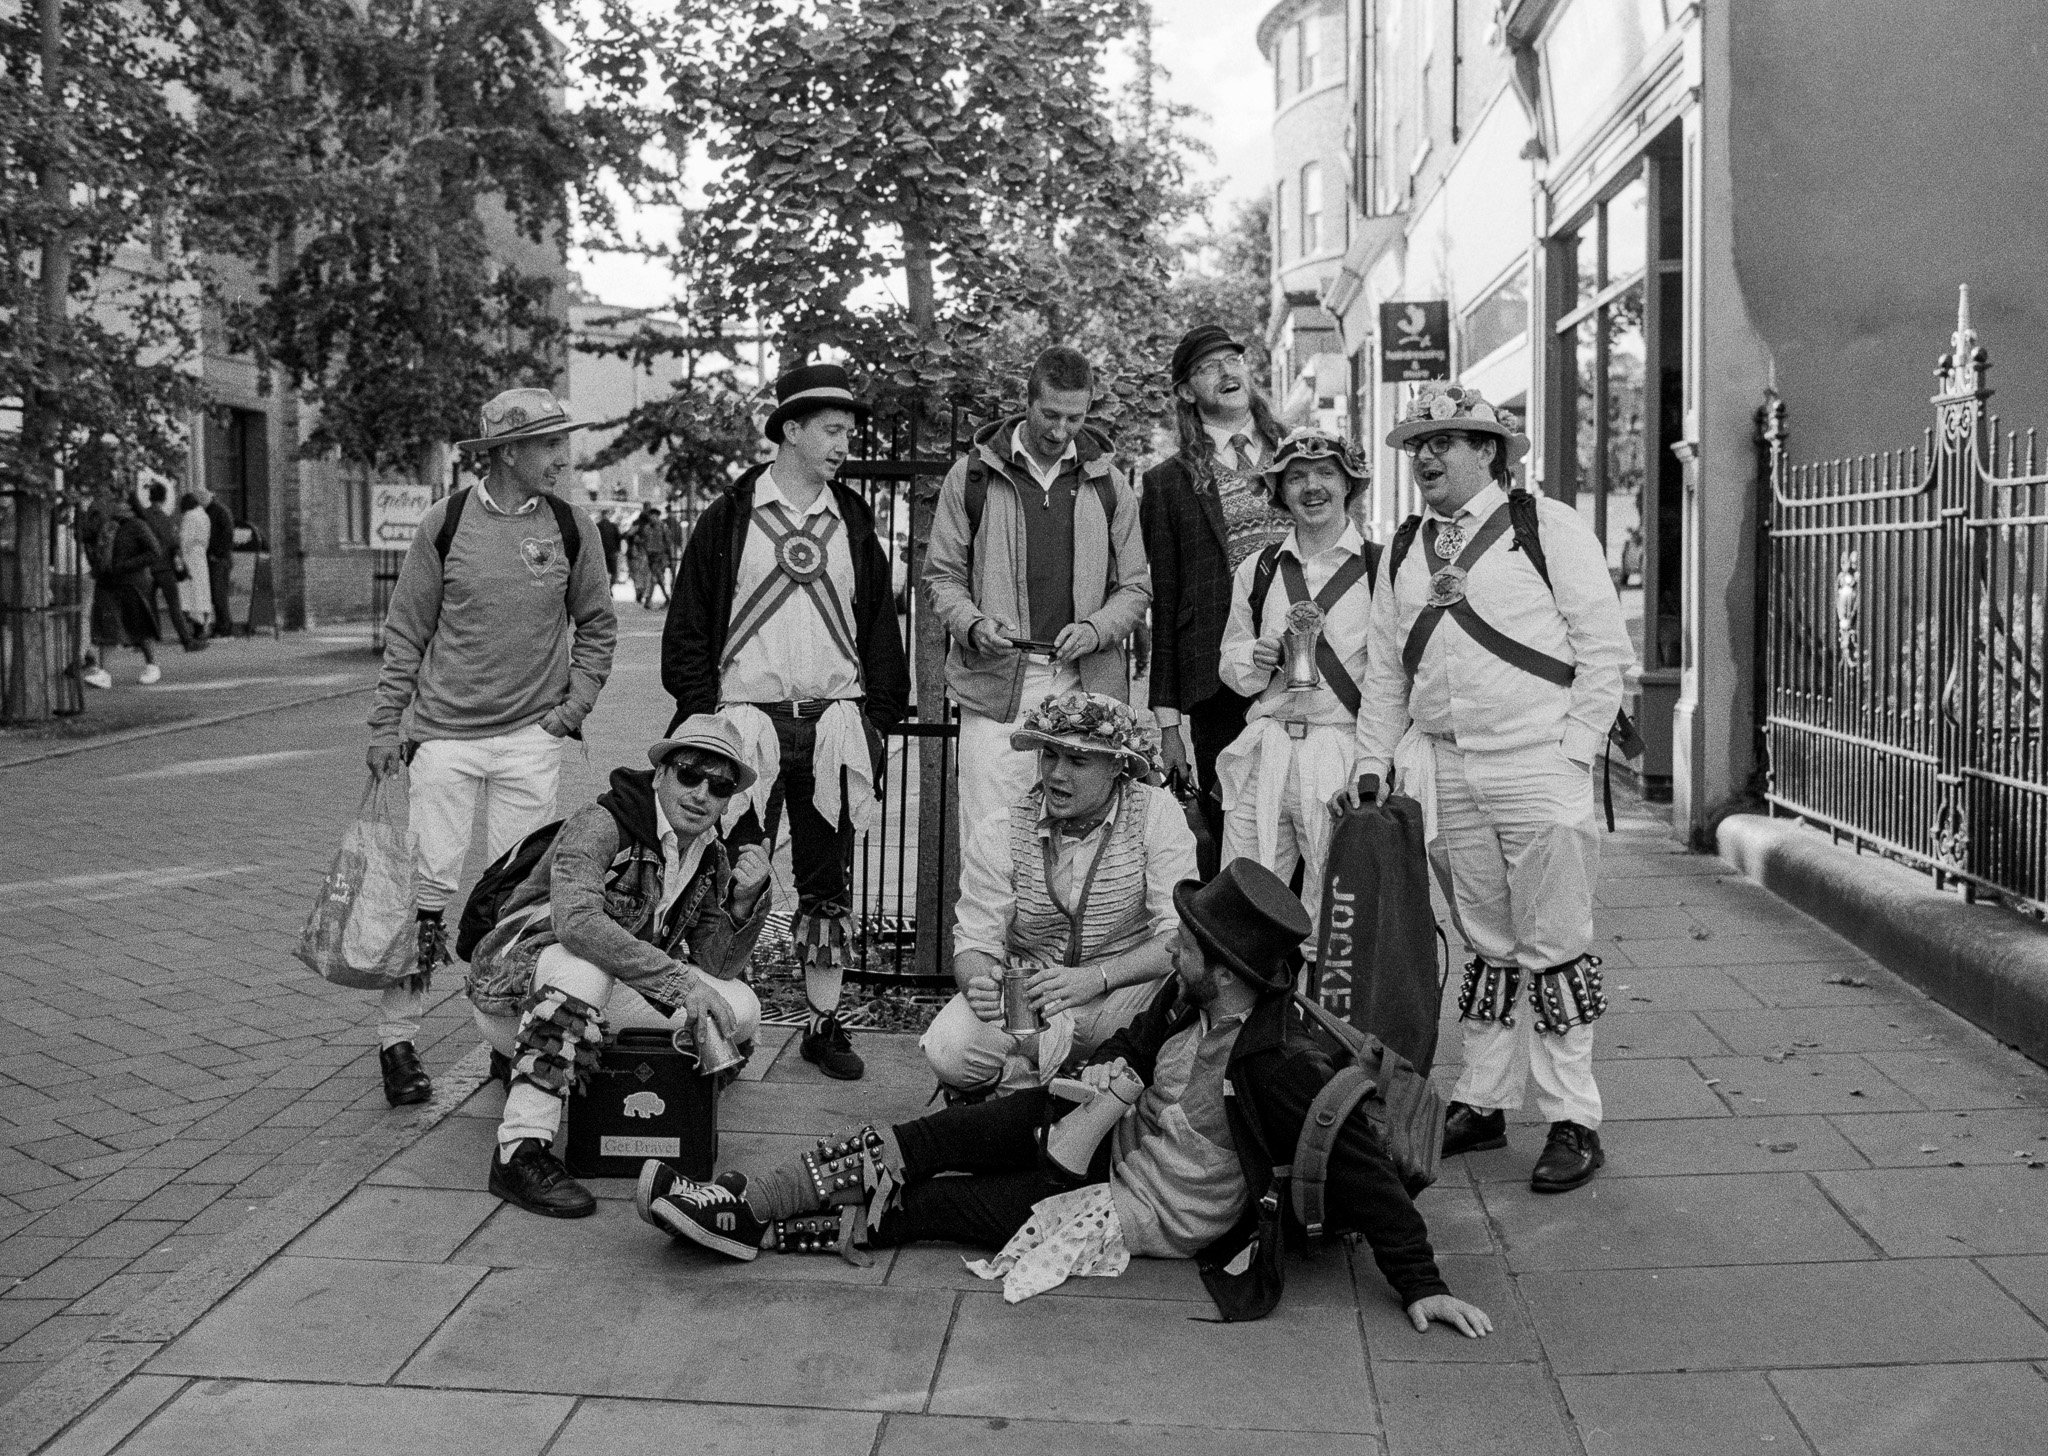
A cheerful bunch of morris dancers with a song for everything.

A few more locals posed for this portrait

Beautiful pub

Well it was going to happen right?

Street portrait
KP and his snaps

Hasselblad XPAN II
Rollie 35 & Silvergrain Classics
All black and white images shot on Rollei 35 with Kodak Tri-X 400. Colour photos from Silvergrain Classics shot on Cinestill 50D
Euston Commuters

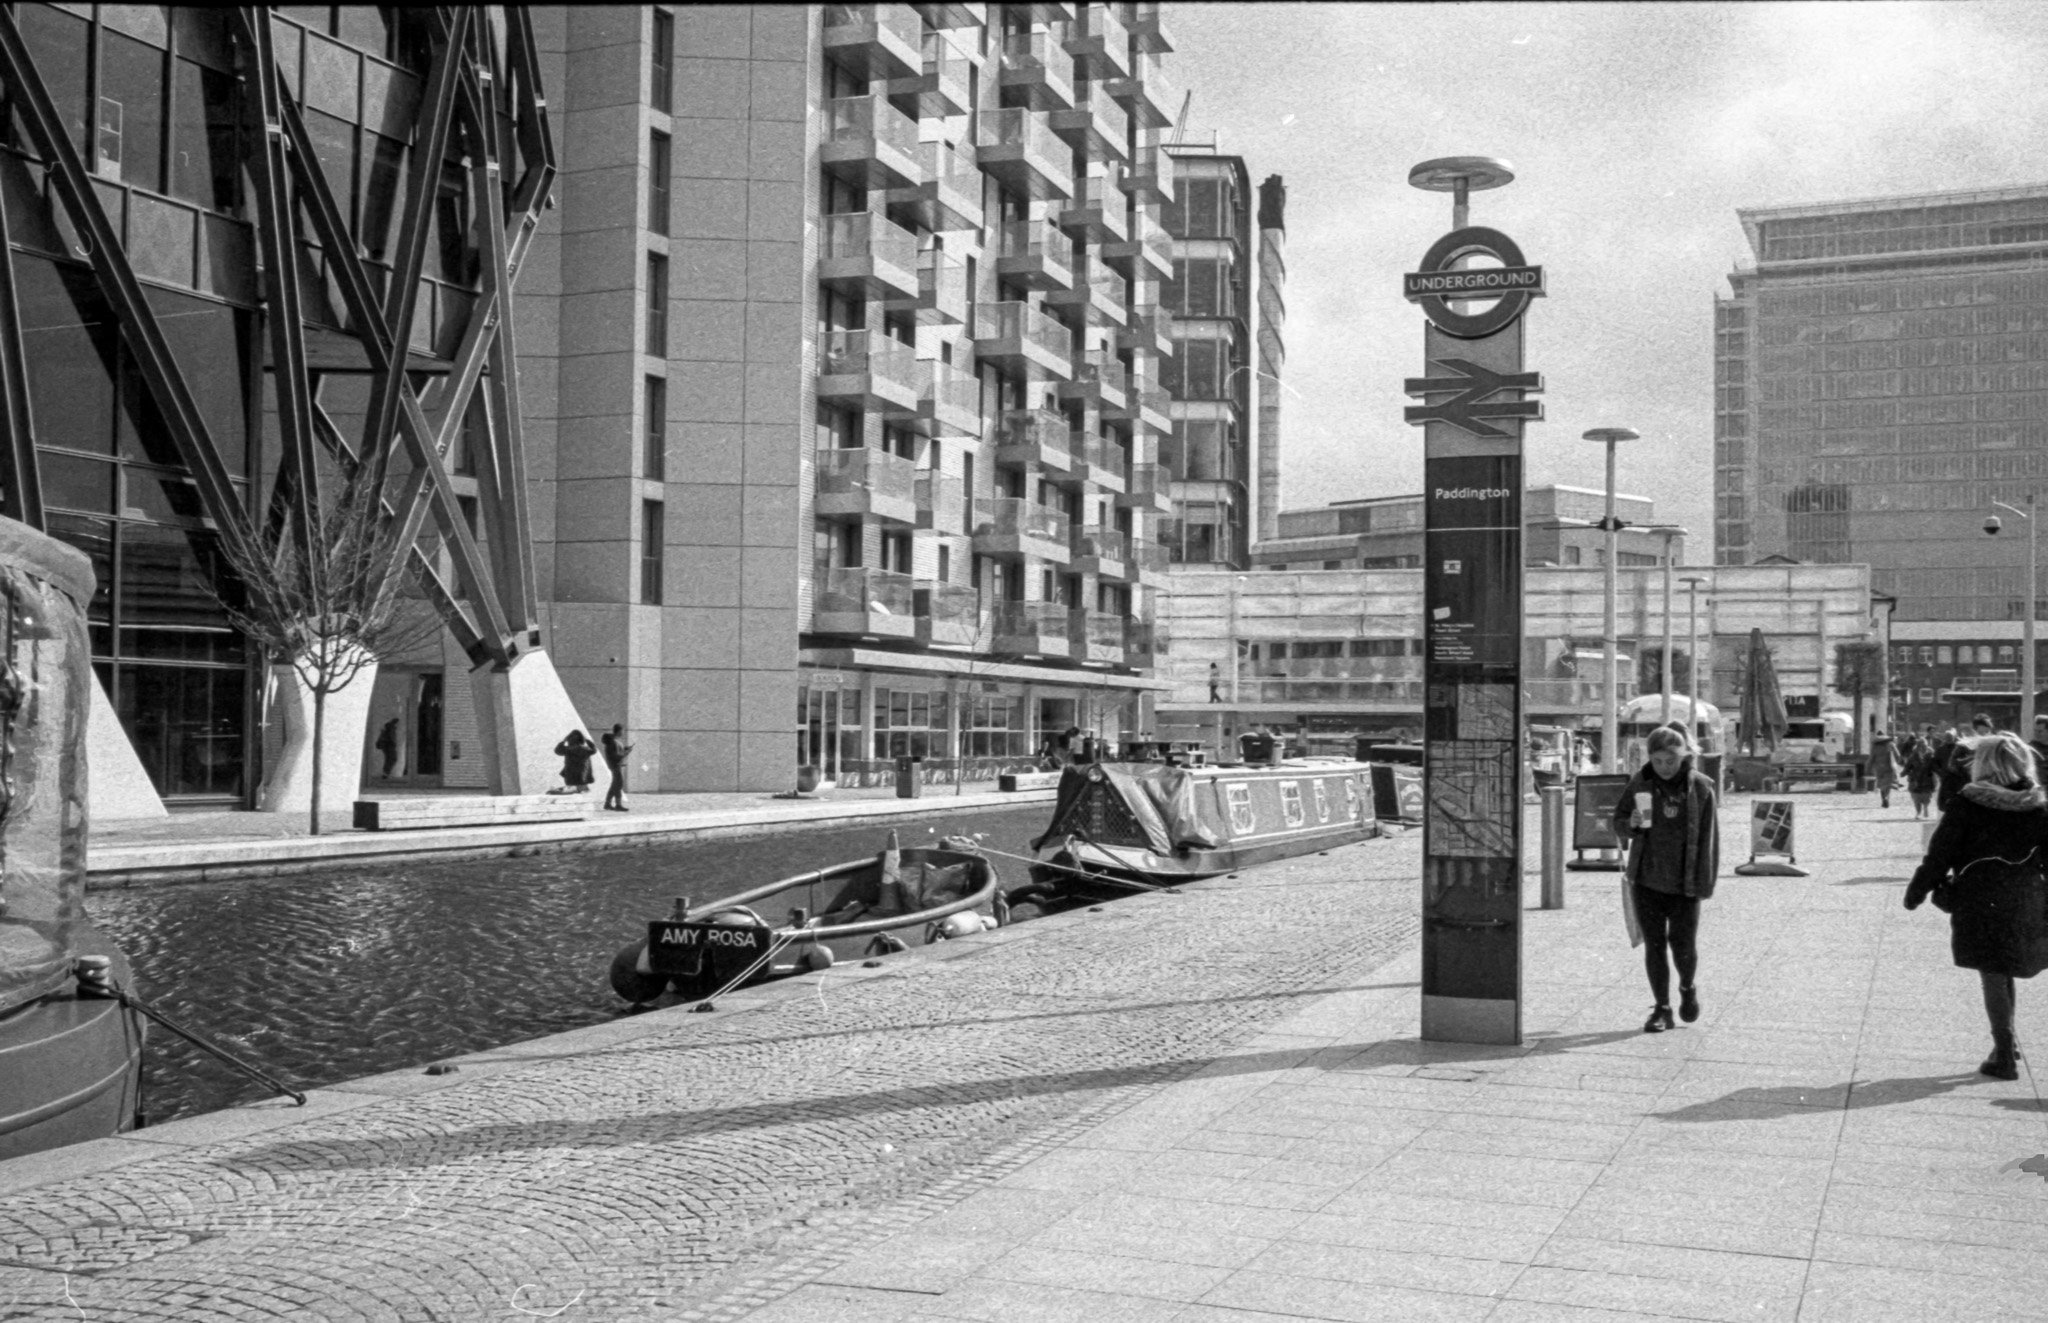
Canal boat - Grand Union

Apsley Lock

School's Out

Silvergrain Classics Studio Shoot

Silvergrain Classics Studio Shoot
NOVEMBER
Pushing Limits
This month has been all about pushing limits. It started with accidentally underexposing some film and having to compensate in the development process. I also had some fun playing with an extraordinary Hasselblad XPAN II panoramic camera running a super-wide 30mm lens with an external finder.
Since I started this project, I've largely shot film at its designated 'box' speed. All of my images have been metered and exposed for the correct ISO according to the film rating.
Pushing or pulling film is a process of metering scenes at a faster speed (Pushing) or, a slower speed (Pulling) and then compensating later in the development process to get the right final exposure.
The easiest way to push or pull a film is to set the light-meter on your camera to the desired speed noting the number of stops to adjust the development process by. If using an external light-meter or Sunny-16 rule, simply calculate the exposure at the desired ISO rating.
There are a number of reasons to 'push' film (shoot it at a faster ISO). The obvious one is when you only have one film type with you and the light isn't bright enough to get workable shutter speeds. Another might be to deliberately get more contrast or grain character out of your film. Pushed films, usually exhibit more contrast. The other common reason, which happened to me was that you have changed the film in your camera say from ISO400 to ISO100 and forgotten to set the ISO dial meaning all your images are under-exposed by 2 stops.
Pulling film means shooting at a faster speed than the film rating. Shooting an ISO400 film at ISO200, or ISO100. One reason to do this is to reduce grain and get sharper results. Another, more common reason is to use fast (wide aperture) lenses in bright conditions when you don't have an ND filter available.
There are finite limits on how far you can go and it's totally dependent on the film stock. Some films respond really well to pushing and others don't. Kodak Tri-X or Ilford HP5plus are great example of films with a wide latitude for pushing.
There is plenty of online information available about different films and how much they can be manipulated. Sometimes though you might accidentally exceed the guidelines by mistake but all if not necessarily lost. At this point, it's up to you… you have 1 chance to compensate with developing and see if you can recover your images. This can be frustrating, or a lot of fun depending on how you look at it. If the images are important, a lab can usually sort your film for you but it's fun and very rewarding to try sorting it yourself.
This month, I accidentally shot a roll of Ilford FP4plus rated at ISO125 at ISO400. Recommendations from Ilford say you should only push this film to ISO250 max. Unable to find a developing recipe online to recover my images, I just made one up. Ilford said 9 minutes to push to ISO200, so I added another minute. As it turned out, I nailed it with interesting results. The images were much higher contrast than usual for FP4 and I really liked the look as it suited this particular set of photos. This might not have worked so well for other types of images though.
Later in the month, I wanted to use up some TMAX100 as I have loads of it, but light conditions were very low. I rated the film at ISO200 and shot a couple of rolls around Bristol. The resulting images were high-contrast tack sharp that work really nicely for street photography. I'm definitely going to do this again with T-Max.
It's all about experimentation which is great fun if you've got a ton of film to play and even better if you bulk-load your own film because you can make small rolls with just a few exposures to test your results before you commit to an expensive roll of your favourite film. You can always ask a lab to push or pull the processing of your films if you're not confident to try it yourself but I'd definitely recommend giving it a go as the results can be very rewarding.

FP4 Push 2 stops - Old and New

FP4 Push 2 stops - Breaking down

FP4 Push 2 stops - Halloween

FP4 Push 2 stops - Tab

FP4 Push 2 stops - Art Deco

FP4 Push 2 stops - Paddington Bear

T-Max 100 push 1 stop - College Green

T-Max 100 push 1 stop - Coffee at Arrow's place

T-Max 100 push 1 stop - Autumn

T-Max 100 push 1 stop - College Green

T-Max 100 push 1 stop - Euan with the crazy XPANand 30mm lens

T-Max 100 push 1 stop - Street Art

T-Max 100 push 1 stop - Brandon Hill

T-Max 100 push 1 stop - Brandon Hill Church

T-Max 100 push 1 stop - 4 guys and a turtle

T-Max 100 push 1 stop - Street Portrait

T-Max 100 push 1 stop - Catch 22

T-Max 100 push 1 stop - Bristol Harbour
T-Max 100 push 1 stop - Bristol Harbour

T-Max 100 push 1 stop - College Green

T-Max 100 push 1 stop - Don't look back
T-Max 100 push 1 stop - Bristol Harbour
T-Max 100 push 1 stop - outside MSHED

T-Max 100 push 1 stop - Pero's Bridge
Going Wide
Hasselblad XPAN


December
Finishing up
All good things must come to an end else they will drag on and become meaningless. I’d set out to challenge myself and shoot film for a whole year and that’s exactly what I did. It doesn’t mean I now have to stop shooting film, but I do need to draw a line under this project.
I wanted to finish up with something special, so this month I decided to shoot motion picture film cut and spooled for 35mm.
Motion picture film renders beautiful results as you might imagine but it’s a little bit quirky to use. With time spent in Bristol, London, Scotland and a fancy dress new year’s eve party, there is no shortage of opportunity to test cinematic film.
Kodak Vision 3 500T
A tungsten balanced cinematic film, which requires specialised ECN-2 processing. This film also has a rem-jet layer, which is designed to do two things. Firstly, it prevents static build up in movie cameras running through at high speed. Secondly, it provides an anti-halation layer to prevent glow from light sources. For best results use an 85b filter for daylight use, or slightly overexpose and adjust in post processing. Vision 3 produces outstanding skin tones and colour reproduction. It has a very fine grain allowing for plenty of detail in the shadows.
Vision 3 is very cheap to buy and delivers stunning results with a cinematic look but requires ECN-2 processing. This includes a step to remove the rem-jet layer and is highly sensitive to accurate temperature control. Being more specialised than regular C41 colour, it costs a little more. I don’t develop colour film at home (yet), but there are ECN-2 home kits available.

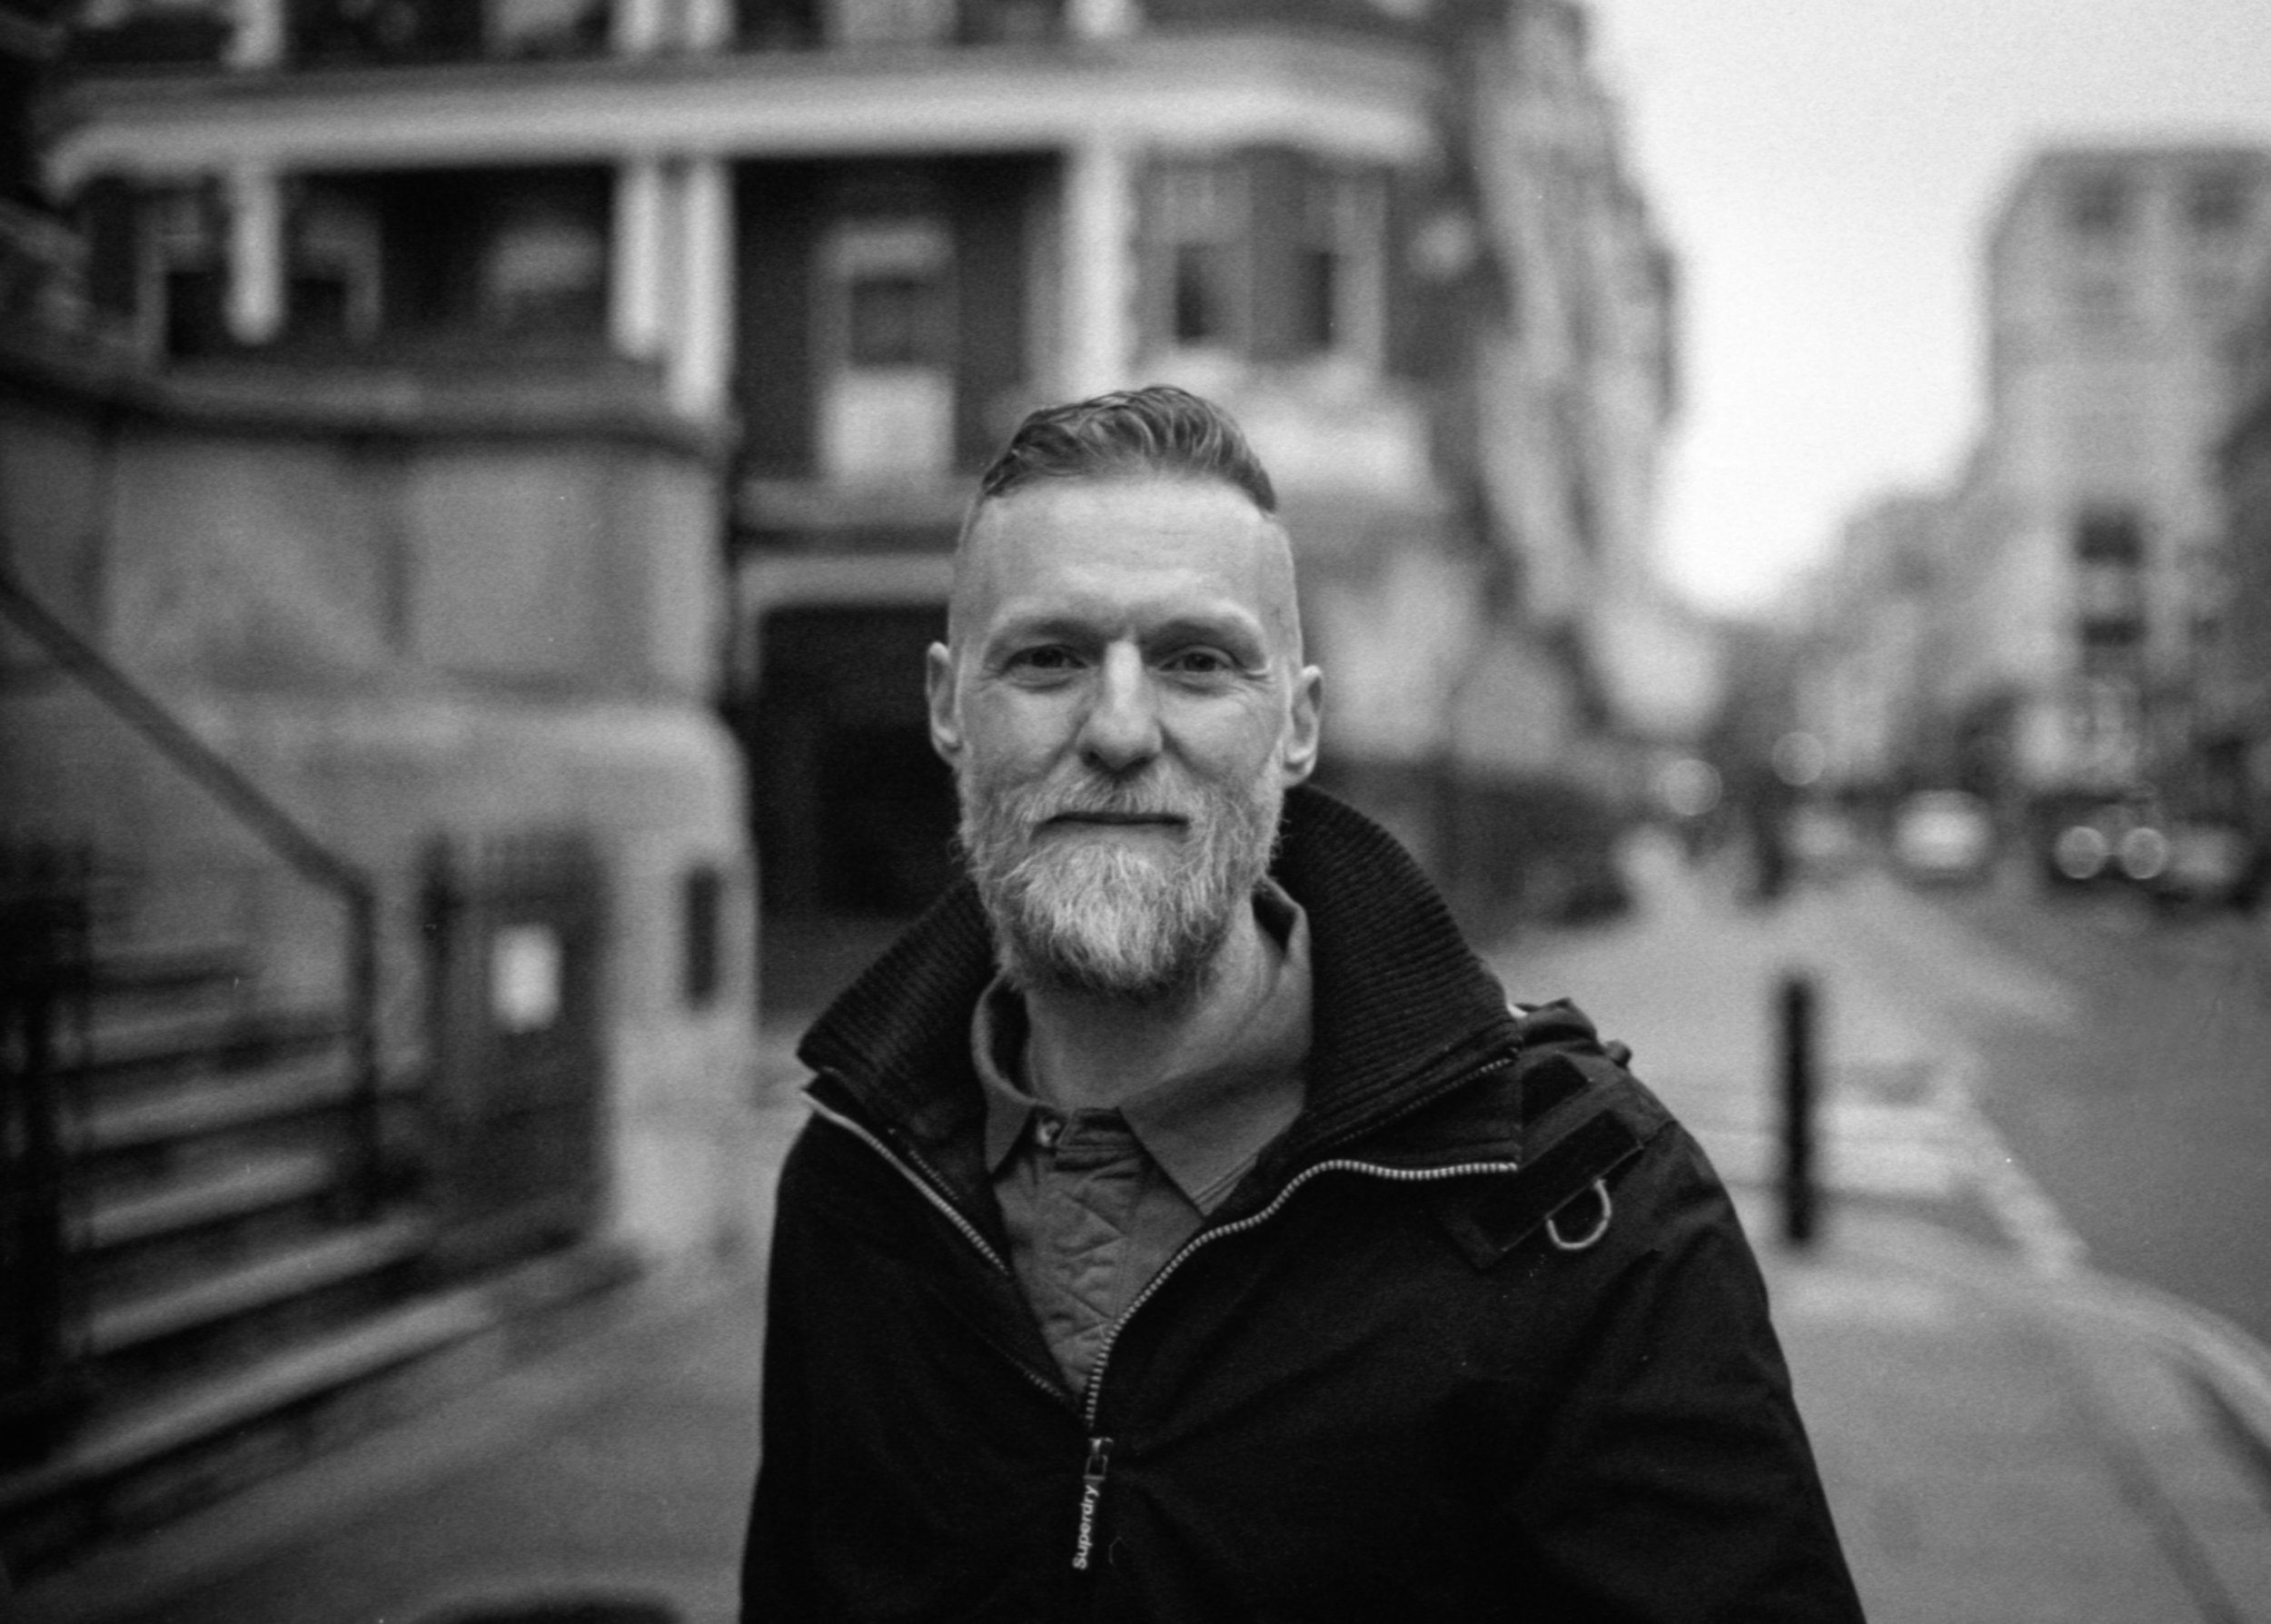
My friend Paul who I met for a photo walk in Bristol
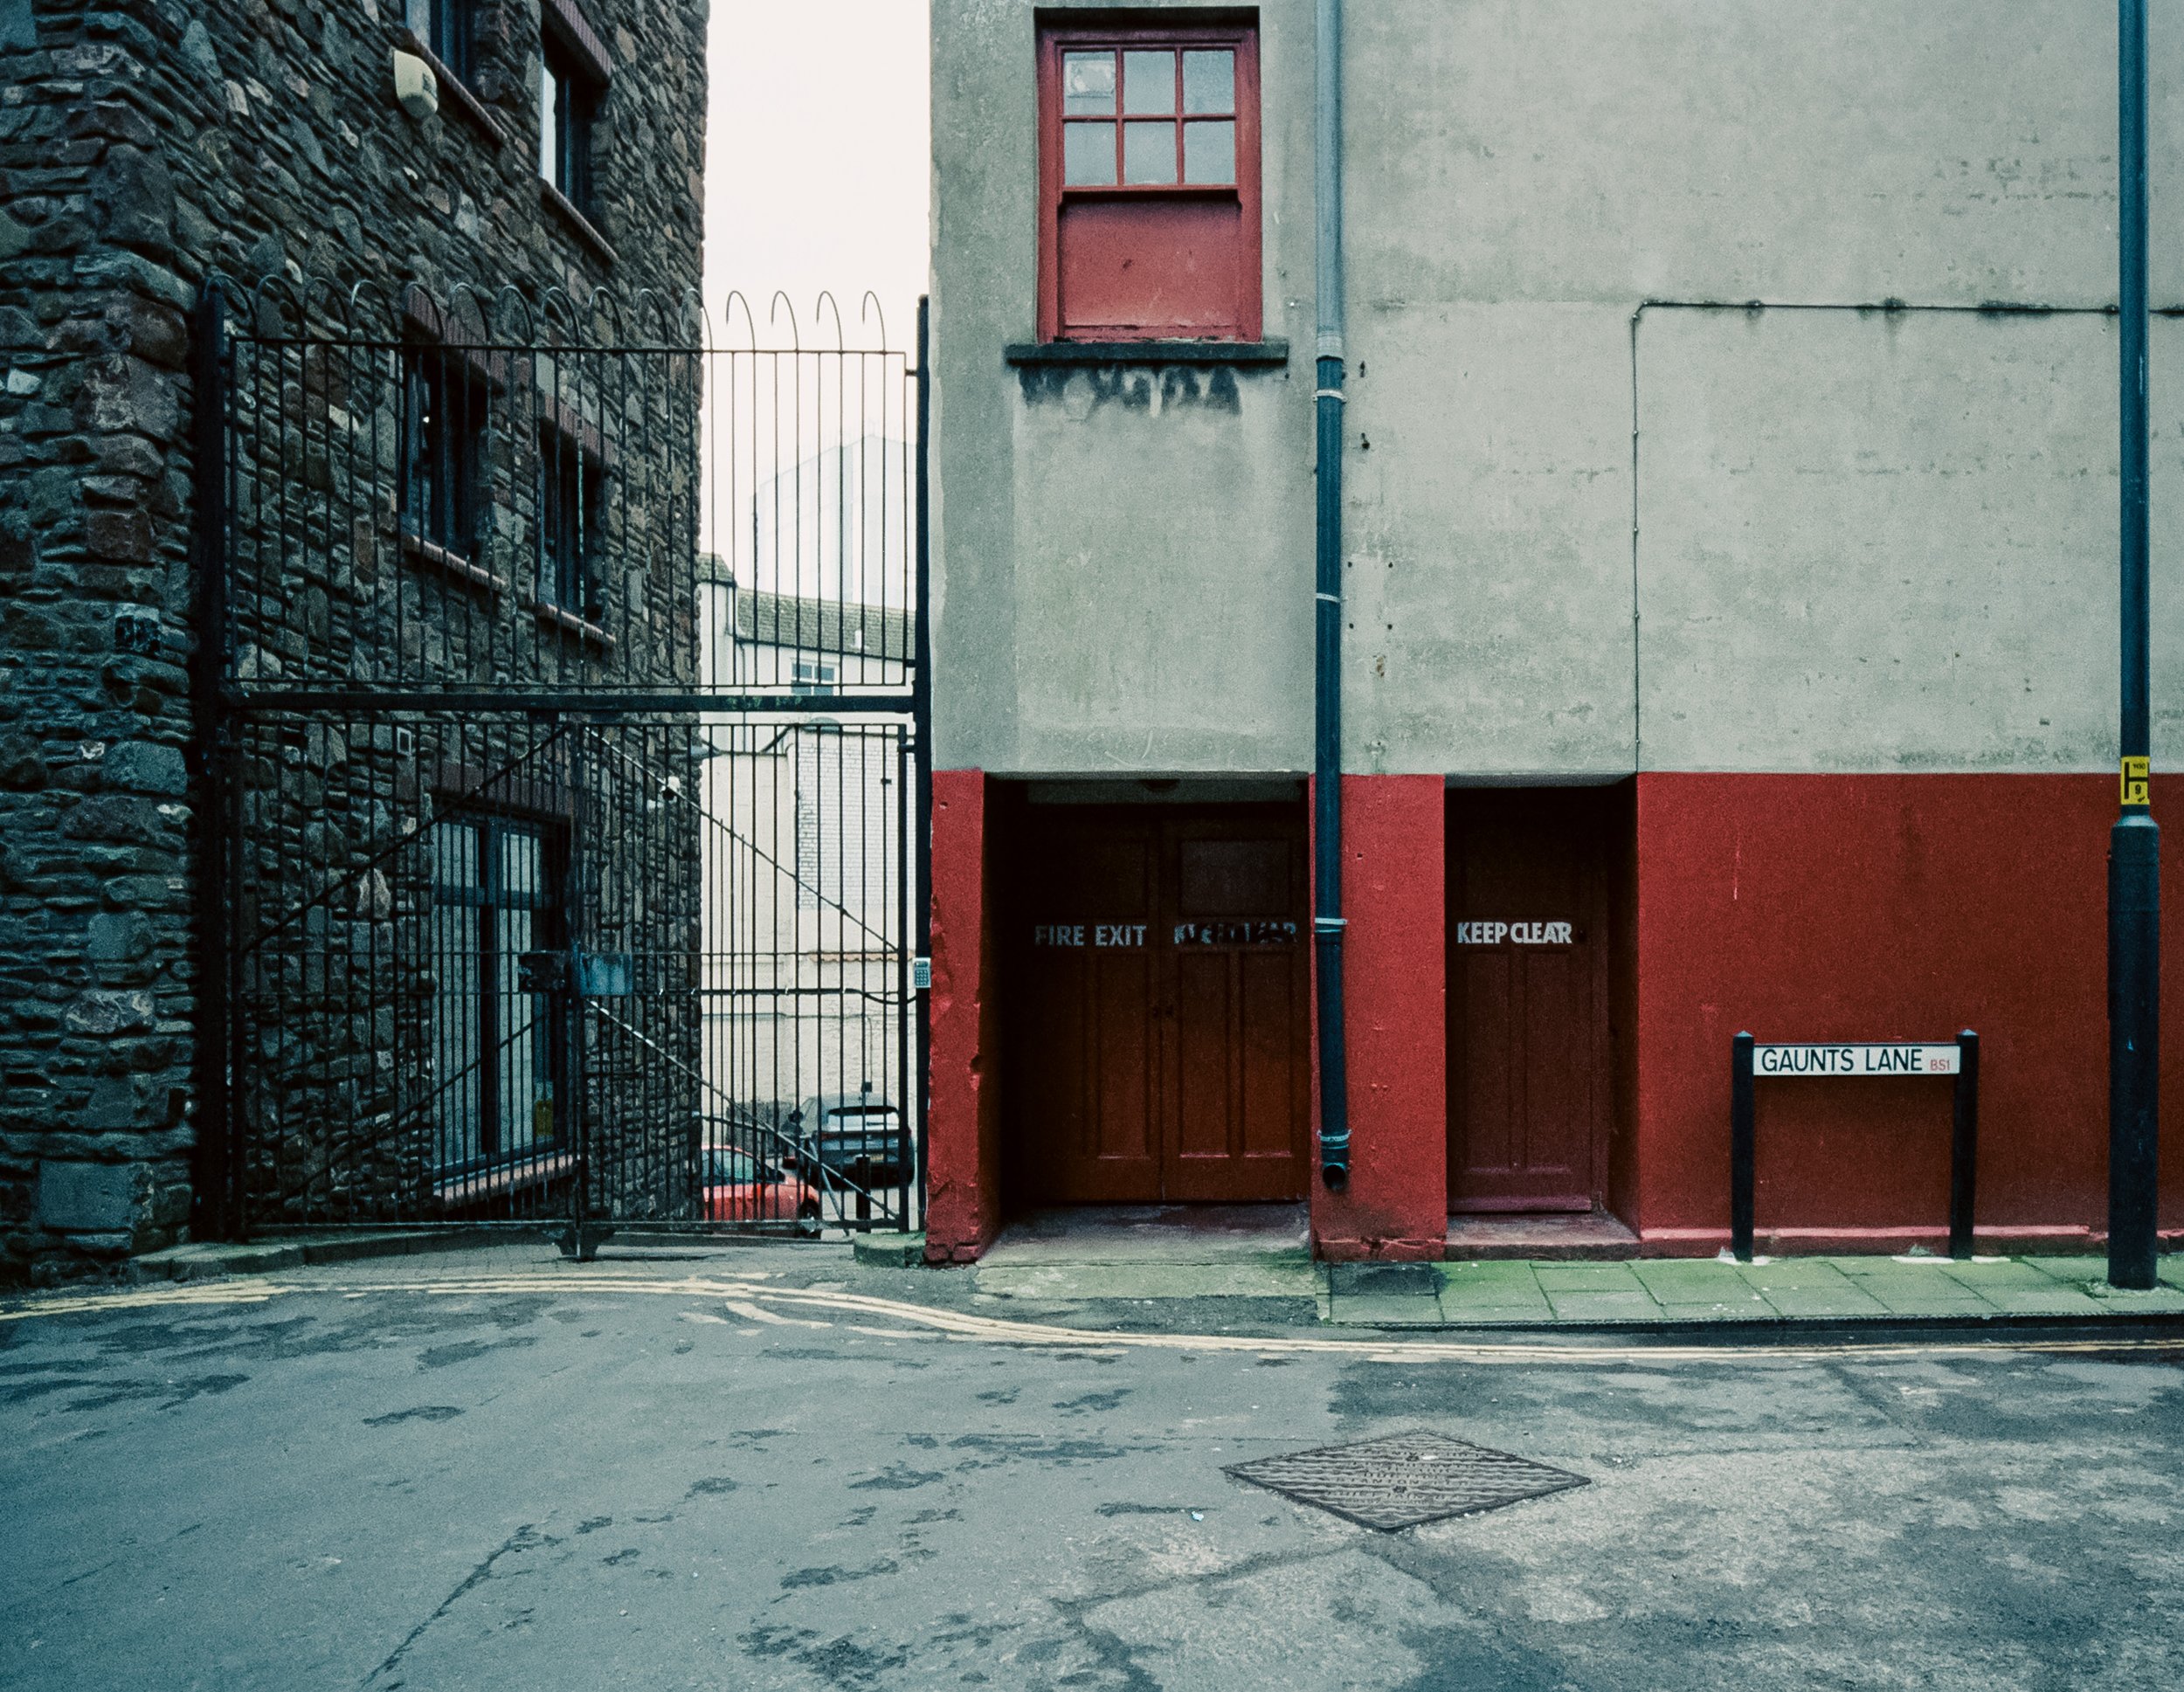
Gaunts Lane Bristol

Society Cafe

Four wise monkeys
Centre Space

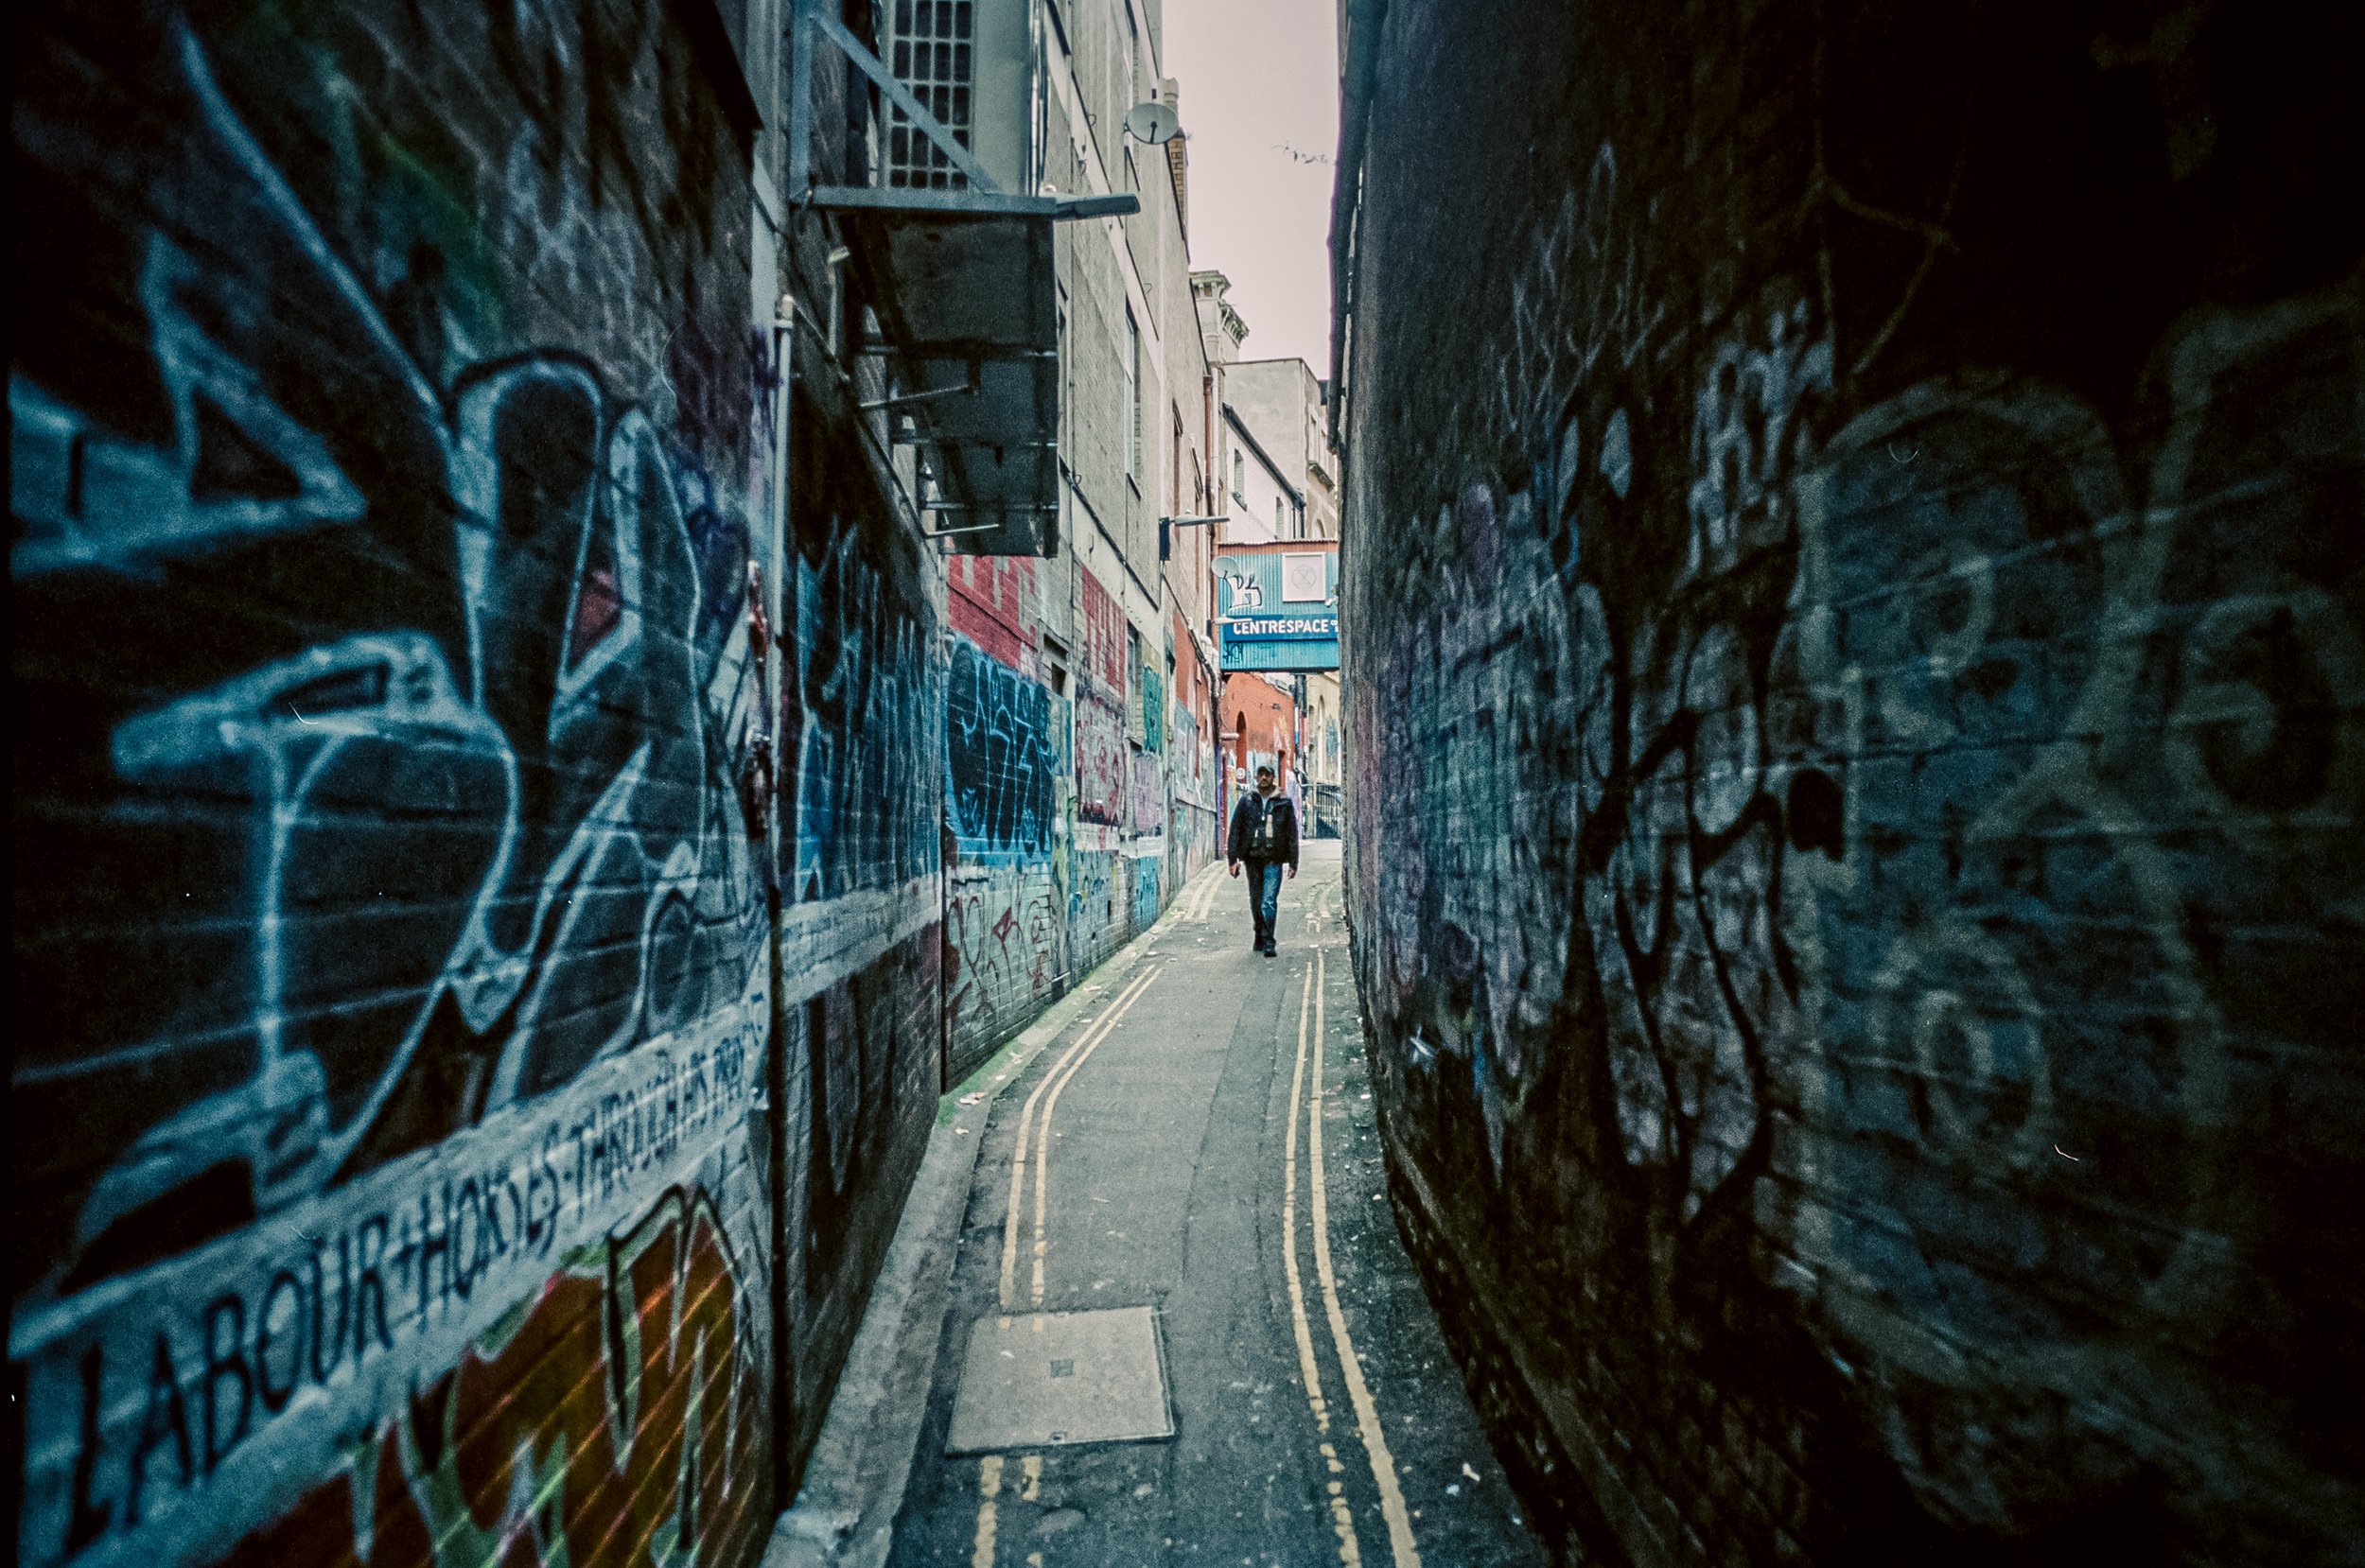
Paul in Bell Lane

Bell Lane Tunnel

Anadale Water, Scotland
Shoreditch East London

Anila in Shoreditch

Sonny & Cher

Skint Eastwood & Patsy

Henry VIII & Ann Boleyn


Fab Four

Ann bringing cakes

Fred Flintstone and Ginger Spice
Cinestill 800T
Another tungsten balanced cinematic film but a little faster than vision 3 at ISO800 making it suitable for low-light work. With no rem-jet layer, there is no protection against ‘Halation’. So, a strong characteristic of this film is the way it produces red glow around bright light sources. It has a beautifully cinematic feel and also a huge latitude for exposure without any pushing or pulling making it one of the most flexible films available. As with Vision 3, use an 85b filter for daylight use, or slightly overexpose and adjust in post processing.
Cinestill 800T is very technologically advanced meaning it’s also very expensive but it can be processed cheaply in standard C-41 chemistry. The quirky nature of this film is not for everyone, especially the halation but used well it can deliver outstanding results. It also renders beautiful skin tones and the fall-off grain is absolutely stunning.

Clevedon Pier 48s exposure

Crazy Beans, Bristol

Park Street, Bristol

Fun Fair at Millenium Square

PizzaRova, Bristol
Award winning Portrait of Alan

Mark in his workshop, London

We are the Curious, Bristol
Mark, London

Tom, Bristol

Millenium Square, Bristol

Looks like a bit of light piping at the beginning of the film
Closure
With this amazing year-long project now complete, I’ve learned a lot about shooting film and continue to do so all the time.
Shooting film has become an integral part of my photography having learned how to get the results I want. I shoot colour and black and white with a few favourite films and recipes for darkroom chemistry to get the best from my processing. Scanning is quick and accurate though takes a little more time with colour.
I will write up a summary blog and am also putting a book together about my experiences shooting and learning about film. I want to become more active in the film community and will be hosting some film workshops and photo walks in Bristol and London and putting up an exhibition in Bristol to show off some of my work.
Thank you for taking the time to read this exhaustive project and blog, I hope you both enjoyed it and found it useful.